This post may contain affiliate links. Please read my disclosure policy.
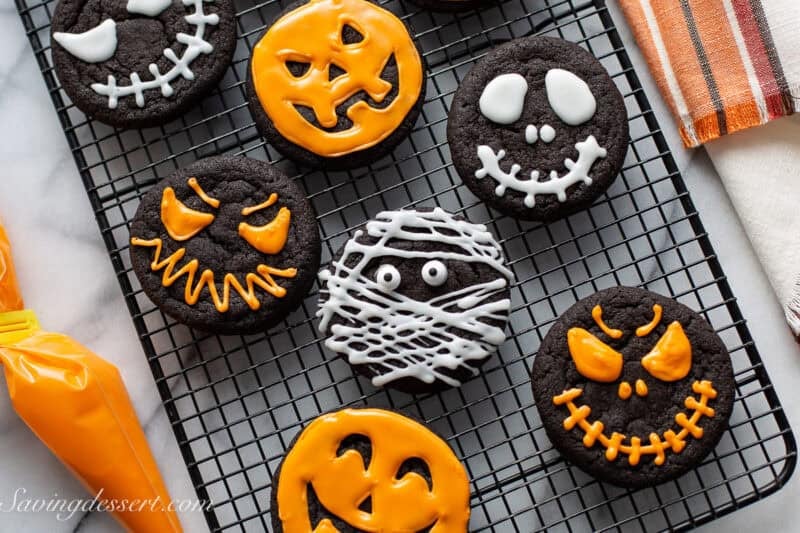
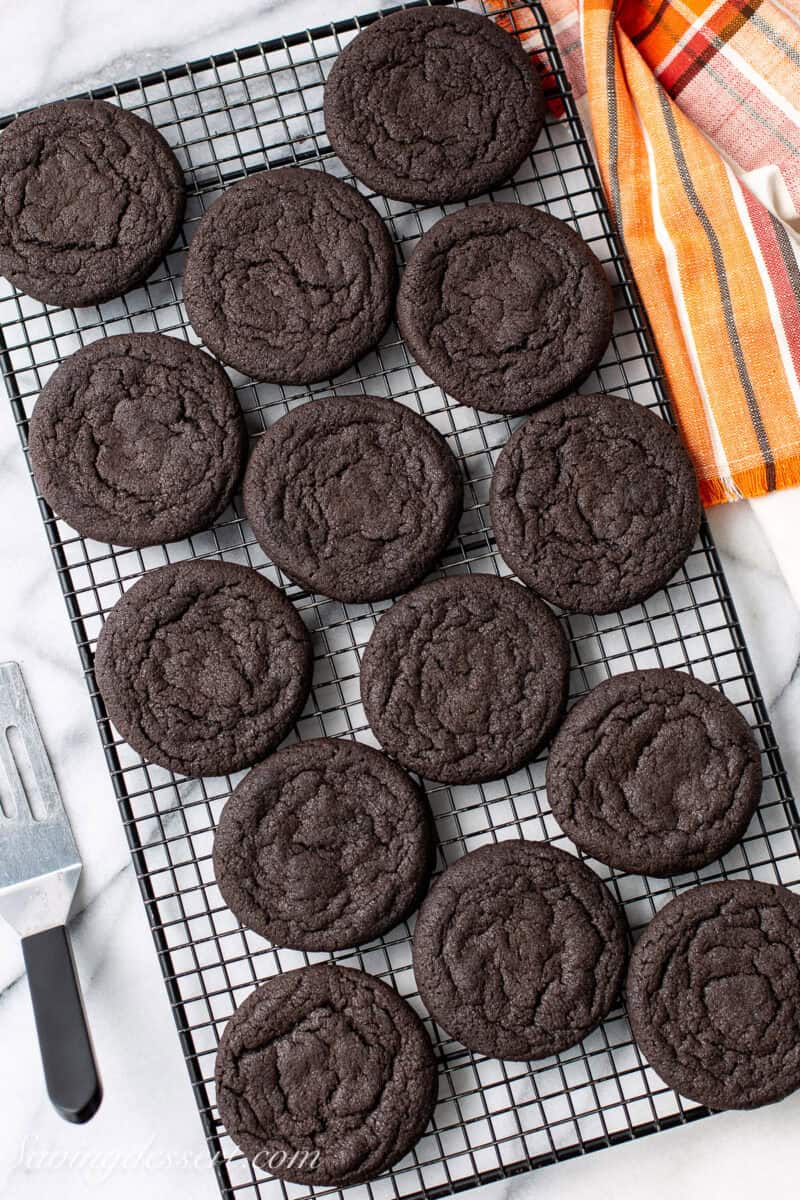
Deep, rich, black cocoa Halloween Cookies will thrill your spooky little cuties and all your grown-up zombie loving peeps. Decorate with our tasty simple icing (that sets up perfectly) or roll in coarse sugar before baking.
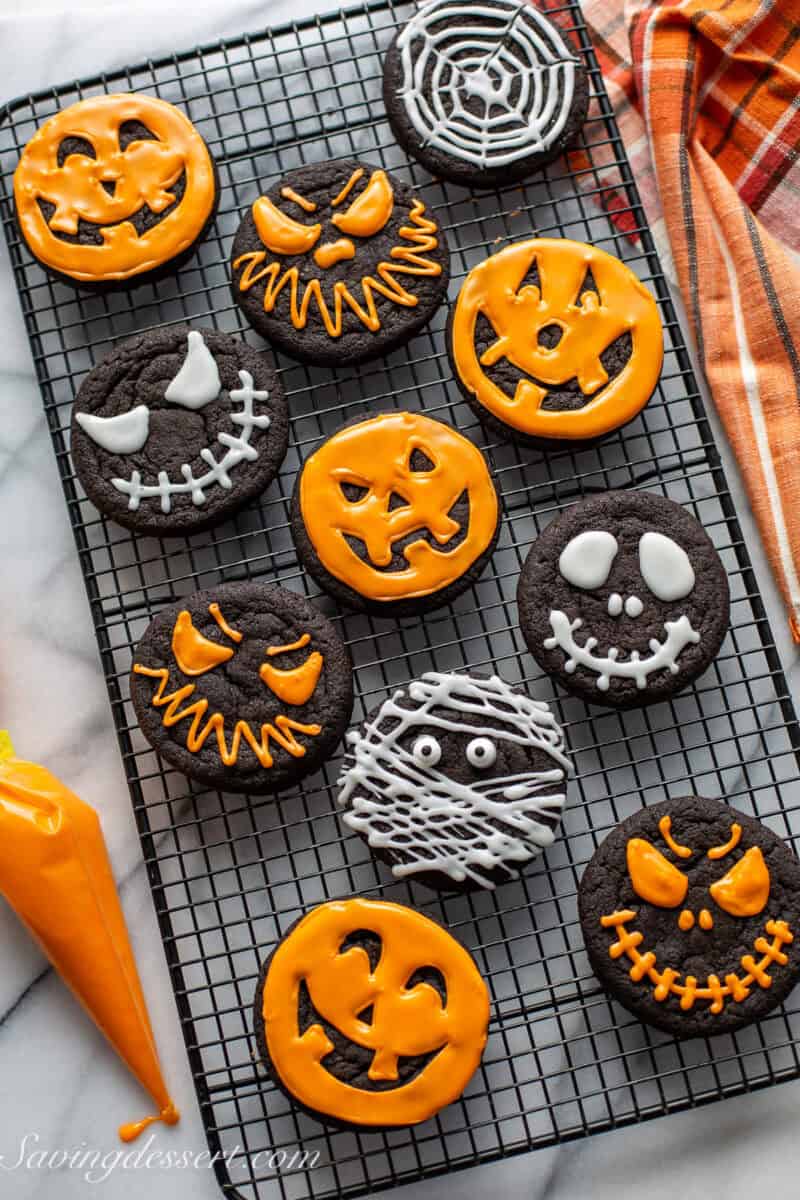
Decorated Black Cocoa Halloween Cookies
Halloween is such a fun themed holiday-ish excuse to buy multiple bags of candy and decorate your house in all things spooky. I’m more of a fall or autumn decorator but as a grandmother it’s essential I participate in all things ghoulish, too.
Even my grown up neighbors love these deliciously fun cookies. All our taste testers have enthusiastically begged for more so don’t be afraid to make a double batch!
What you need to know about this recipe…
- Yes, you can make these cookies with regular Dutch-process cocoa powder instead of black cocoa but they won’t have the same black color or deep, super rich chocolate flavor.
- Black cocoa powder is available on Amazon (affiliate link) or you can order my favorite from King Arthur Flour.
- If you bake regularly a bag of black cocoa powder will not go to waste. I always substitute one tablespoon of regular cocoa powder for black cocoa in all my chocolate recipes.
- This recipe has been tested many, many times and makes exactly 19 large cookies using 40 grams of dough in each. The baked cookie is approximately 1/2-inch thick and 3 1/4 inches wide leaving plenty of space for decorating.
- The cookie dough can be made ahead, rolled into balls and refrigerated or frozen until needed. Add a few minutes to the baking time if the dough is cold. I would test a few first before baking an entire pan full.
- These cookies are crispy around the edges but soft in the middle. Adding cornstarch ensures the cookies remain soft and chewy.
Easy to make Black Cocoa Cookies
- When developing this recipe I wanted a cookie that didn’t need to be rolled out and cut like our Cut-Out Sugar Cookies. I love my rolling pin but also realize some people prefer a fast and easy solution that doesn’t require much effort.
- This cookie dough is very easy to make with an electric mixer. If you use a kitchen scale (affiliate link) to weigh the dough balls, you’ll get perfectly round cookies that are all the same size.
- I wanted the cookies to spread a good bit, but not too thin. I also wanted them to remain chewy without being cake-like. After many variations, this final recipe is a winner and a keeper!
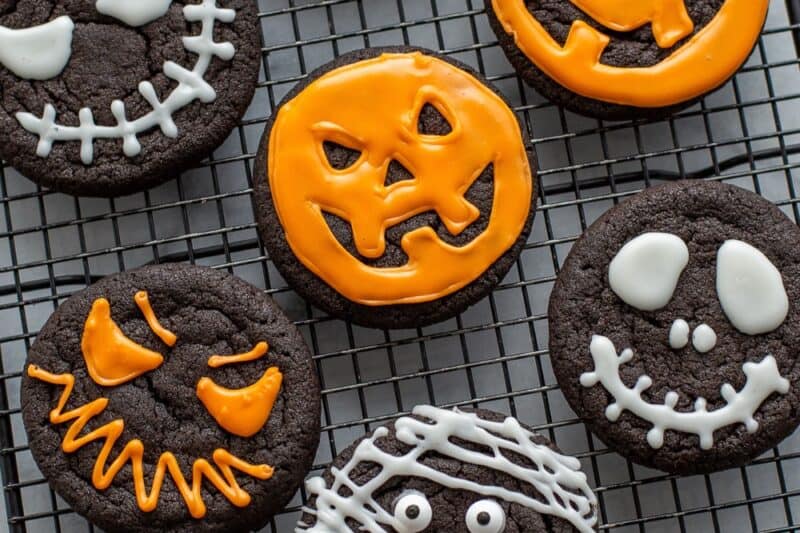
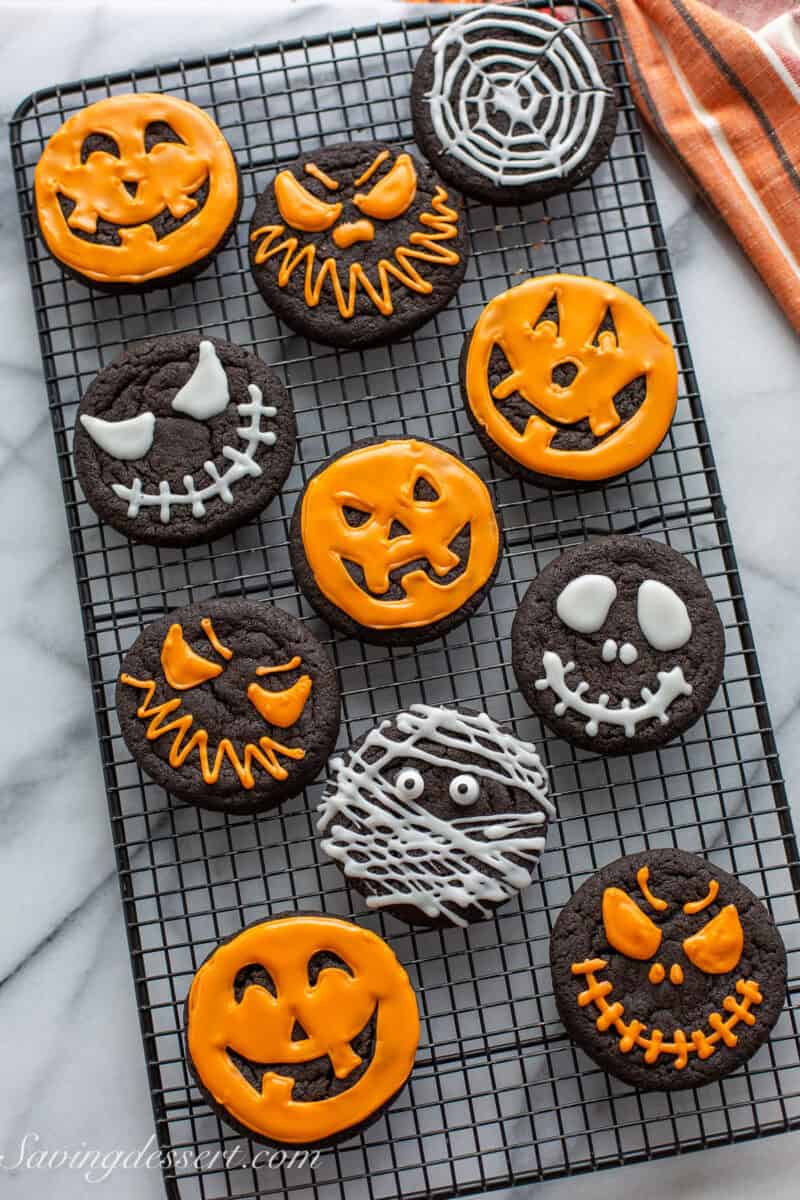
Decorating Halloween Cookies
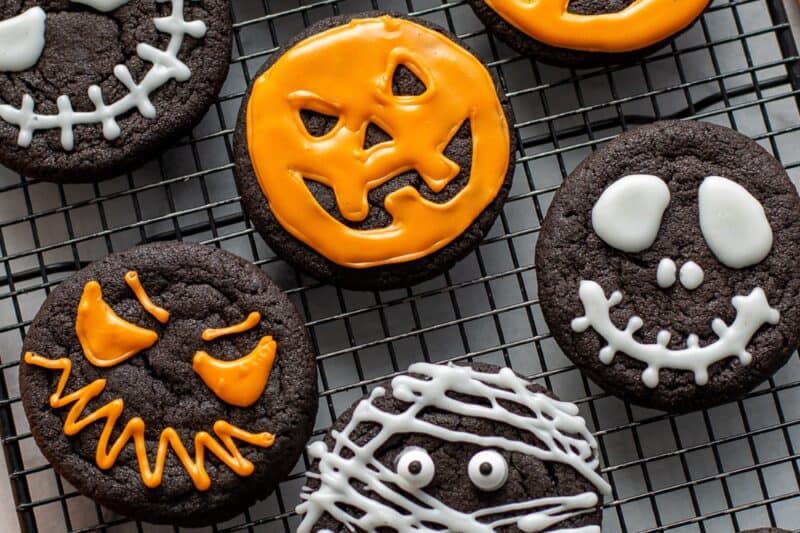
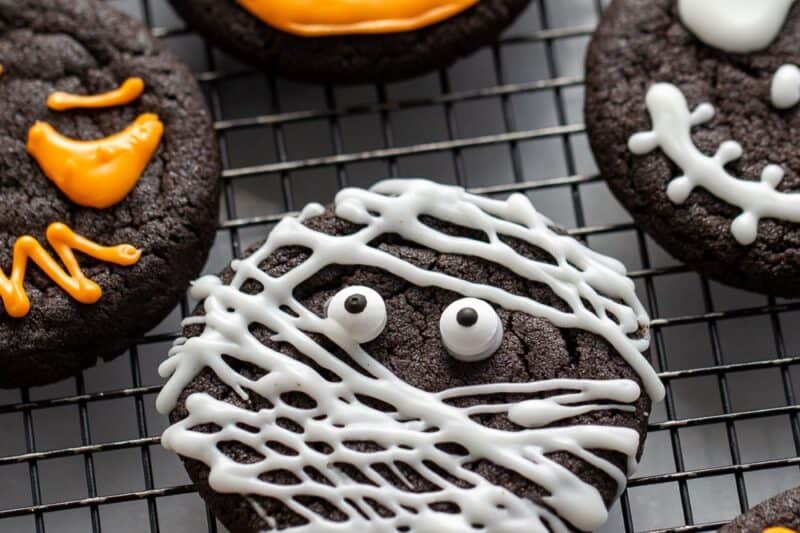
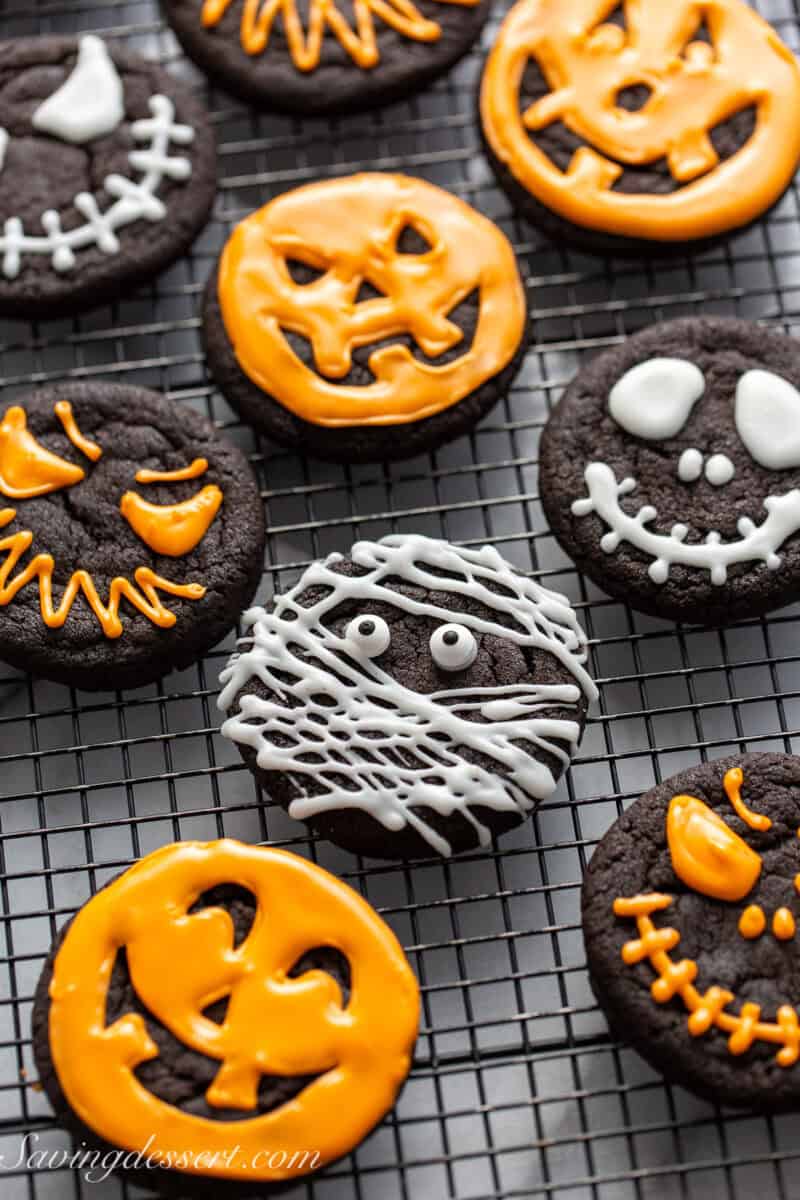
- We use an easy “glaze” icing that’s just thick enough to cover without being too runny. Leave it white or tint it with orange as desired. The little mummy cookies with candy eyes are incredibly easy to make and fun for little ones to help with too! 👻
- Allow the decorated cookies to rest at room temperature until the icing is completely set before storing. Separate cookie layers with wax or parchment paper to prevent sticking.
- If you want to decorate a few with white icing, do those first. Then add orange food coloring (affiliate link) to the remaining icing as desired.
- I use piping bags (affiliate link) with the corner cut off but feel free to use decorator tips if you have them on hand. I’m a much better baker than I am a decorator so please excuse the bumps and drips 😆.
- If you don’t want to decorate the cookies roll each dough ball in coarse sugar before baking for added sweetness and a little sugary crunch.
- Decorated cookies keep well at room temperature for up to 5 days.
Storing and Freezing Halloween Cookies
- Allow decorated cookies to set until dry before storing.
- Store in an airtight container with wax or parchment paper separating layers for up to 5 days.
- Dough balls can be refrigerated or frozen before baking. Flash freeze the dough balls before stacking to prevent them from sticking together.
- The baked cookies can also be frozen well sealed in an airtight container.
- Frozen cookies and dough balls will keep for up to 3 months.
- Thaw frozen cookie dough balls in the refrigerator overnight before baking.
- Add a few minutes to the baking time if the dough is cold.

Halloween Cookies
Ingredients
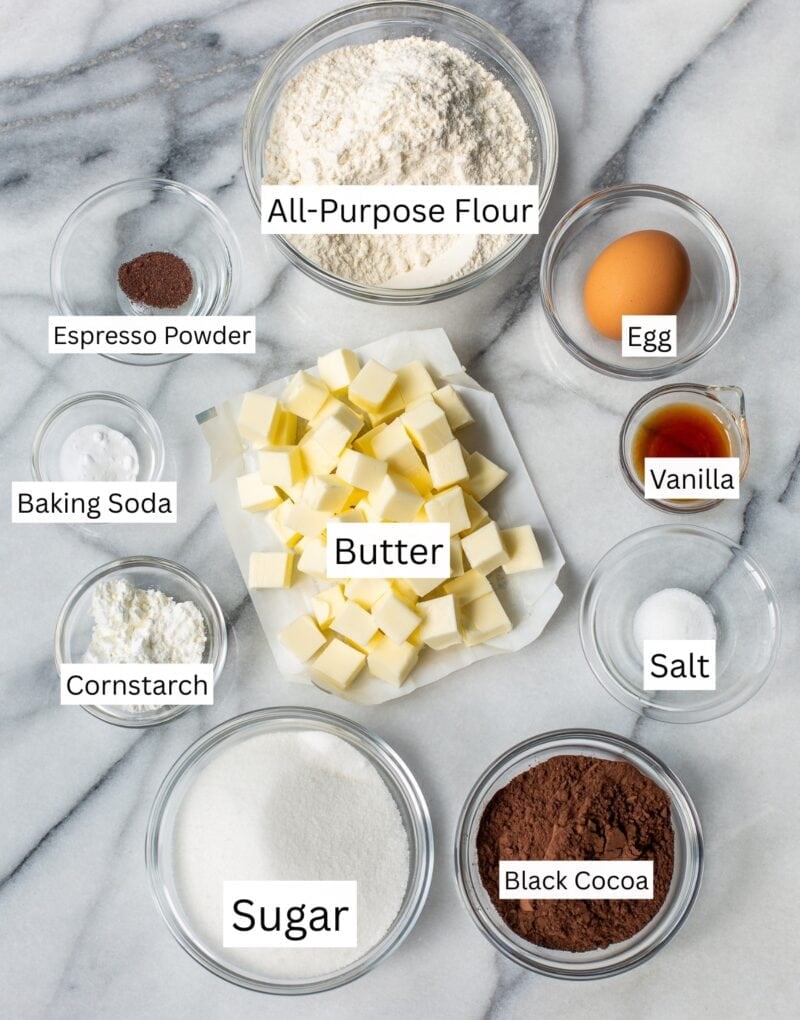
For the cookie dough:
- 1 ⅔ cups all-purpose flour (210g)
- ½ cup black cocoa powder (52g)
- 2 tablespoons cornstarch (16g)
- 1 teaspoon baking soda
- ½ teaspoon salt
- ¼ teaspoon espresso powder
- 14 tablespoons unsalted butter room temperature (7oz or 198g)
- 1 cup granulated sugar (222g)
- 1 large egg room temperature
- 1 teaspoon vanilla extract
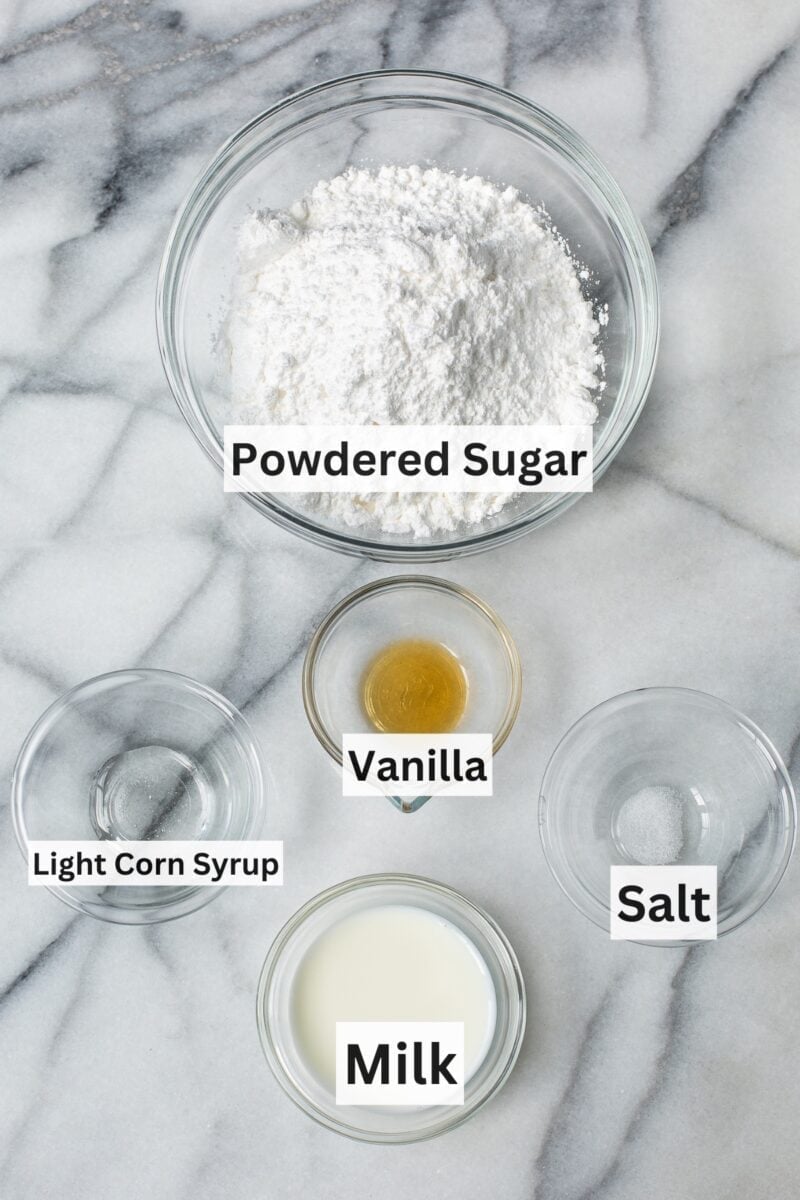
For the Icing:
- 2 cups powdered sugar (240g)
- pinch of salt
- 2 ½ to 3 tablespoons milk cream or water
- 2 teaspoons light corn syrup (optional)
- ¼ teaspoon vanilla extract
Instructions
Prepare the cookie dough:
- Preheat oven to 350℉. Line a baking sheet with parchment paper and set aside.
- Sift together the flour, cocoa, cornstarch, baking soda, salt and espresso powder. Set aside.
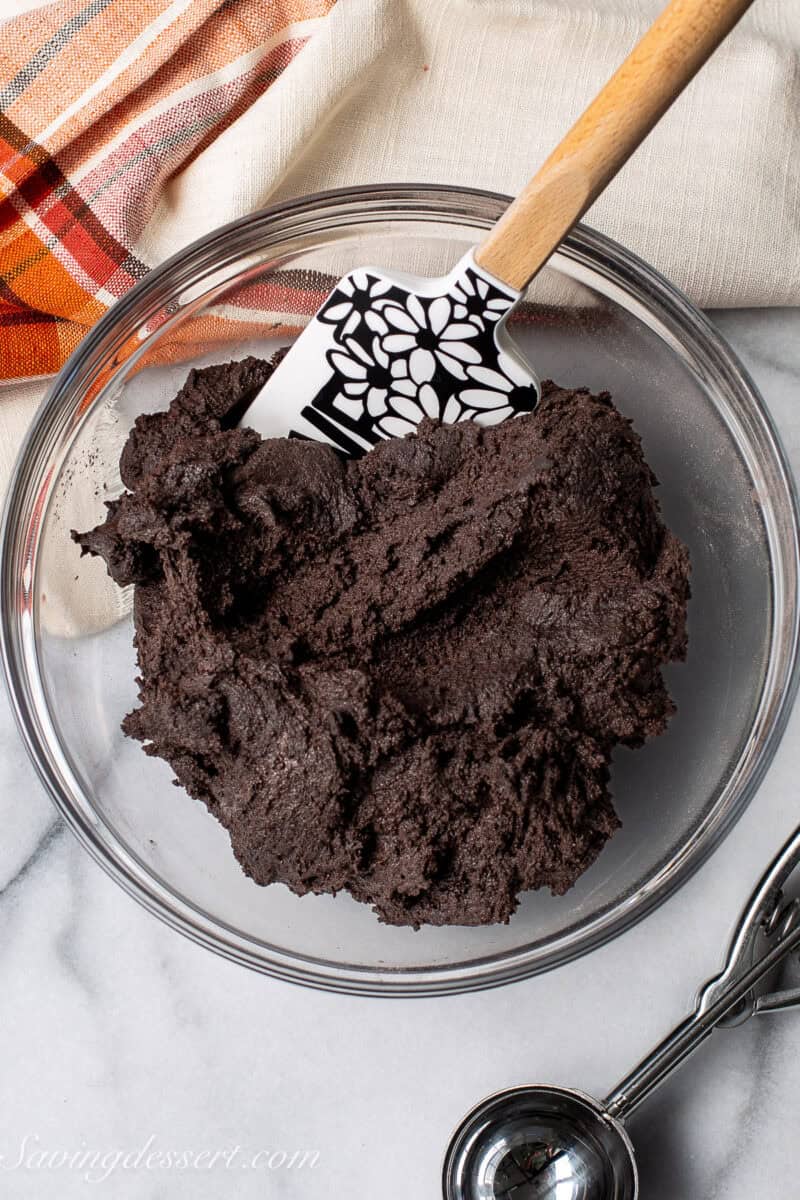
- In a large mixing bowl beat the butter and sugar with an electric mixer until light and fluffy. Add the egg and vanilla and beat just until blended. Scrape down the sides and bottom of the bowl.
- Reduce the speed to low and blend in the flour mixture in 3 additions. Scrape down the sides and bottom of the bowl as needed.
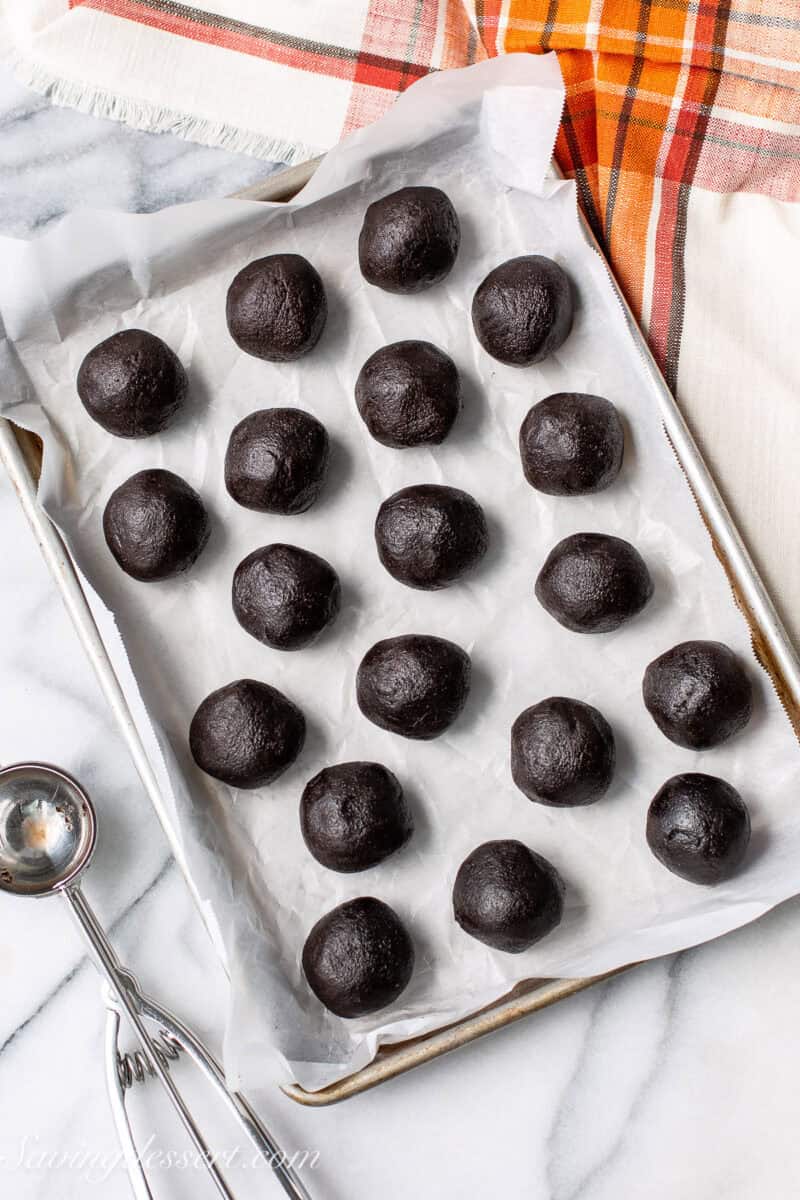
- Roll the dough into nineteen 1 ½-inch balls (about 2½ tablespoons or 40g each) and place 2 inches apart on the parchment lined baking sheet. Bake until the edges are firm, about 10 to 12 minutes. Don't over-bake. Cool on a wire rack.
Prepare the icing:
- With an electric mixer or whisk blend together the powdered sugar, salt, milk, corn syrup and vanilla. Add more milk or sugar for desired consistency.
- Tint orange or leave white. Scoop the glaze icing into a piping bag and decorate as desired.
Recipe Notes
- To bake without decorating, roll each dough ball in coarse sugar for added crunch and sweetness.
- Dough balls can be refrigerated for up to 24 hours or frozen for up to 3 months.
- Thaw at room temperature for at least 30 minutes before baking. You may need to add an extra minute or two to the baking time.
- Cookies will keep for up to 5 days at room temperature in an air tight container.
- Layer decorated cookies between wax or parchment paper to prevent sticking
Nutrition
More Halloween Treats
When my children were young we always had a Halloween themed party at our house. I often made a grave yard dirt cake complete with gummy worms and cookie grave markers. Such fun!`
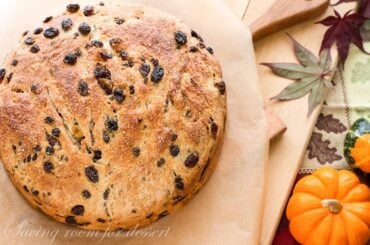
Barm Brack – Irish Halloween Bread
A traditional Irish recipe served around Halloween. A little sweeter than sandwich bread, but not as rich as cake.
View this Recipe
Easy Chocolate Cupcakes Recipe with Vanilla Buttercream
A deliciously moist chocolate cupcake that won't fall apart when you take a bite!
View this Recipe
Caramel Popcorn Recipe
Sweet and salty easy Caramel Popcorn with Butter Toffee Peanuts is the perfect snack for all occasions and for gifting especially during the holidays.
View this Recipe
M G
You are very creative!
Tricia Buice
Thanks! I hope you enjoy the cookies