This post may contain affiliate links. Please read my disclosure policy.

For more than a year I’ve read about these adorable little cookies and dreamed of one day making them in my own kitchen. Every time I come across a ‘how to’ post or recipe, I read it multiple times hoping to have this all figured out before I started making them. Silly me!
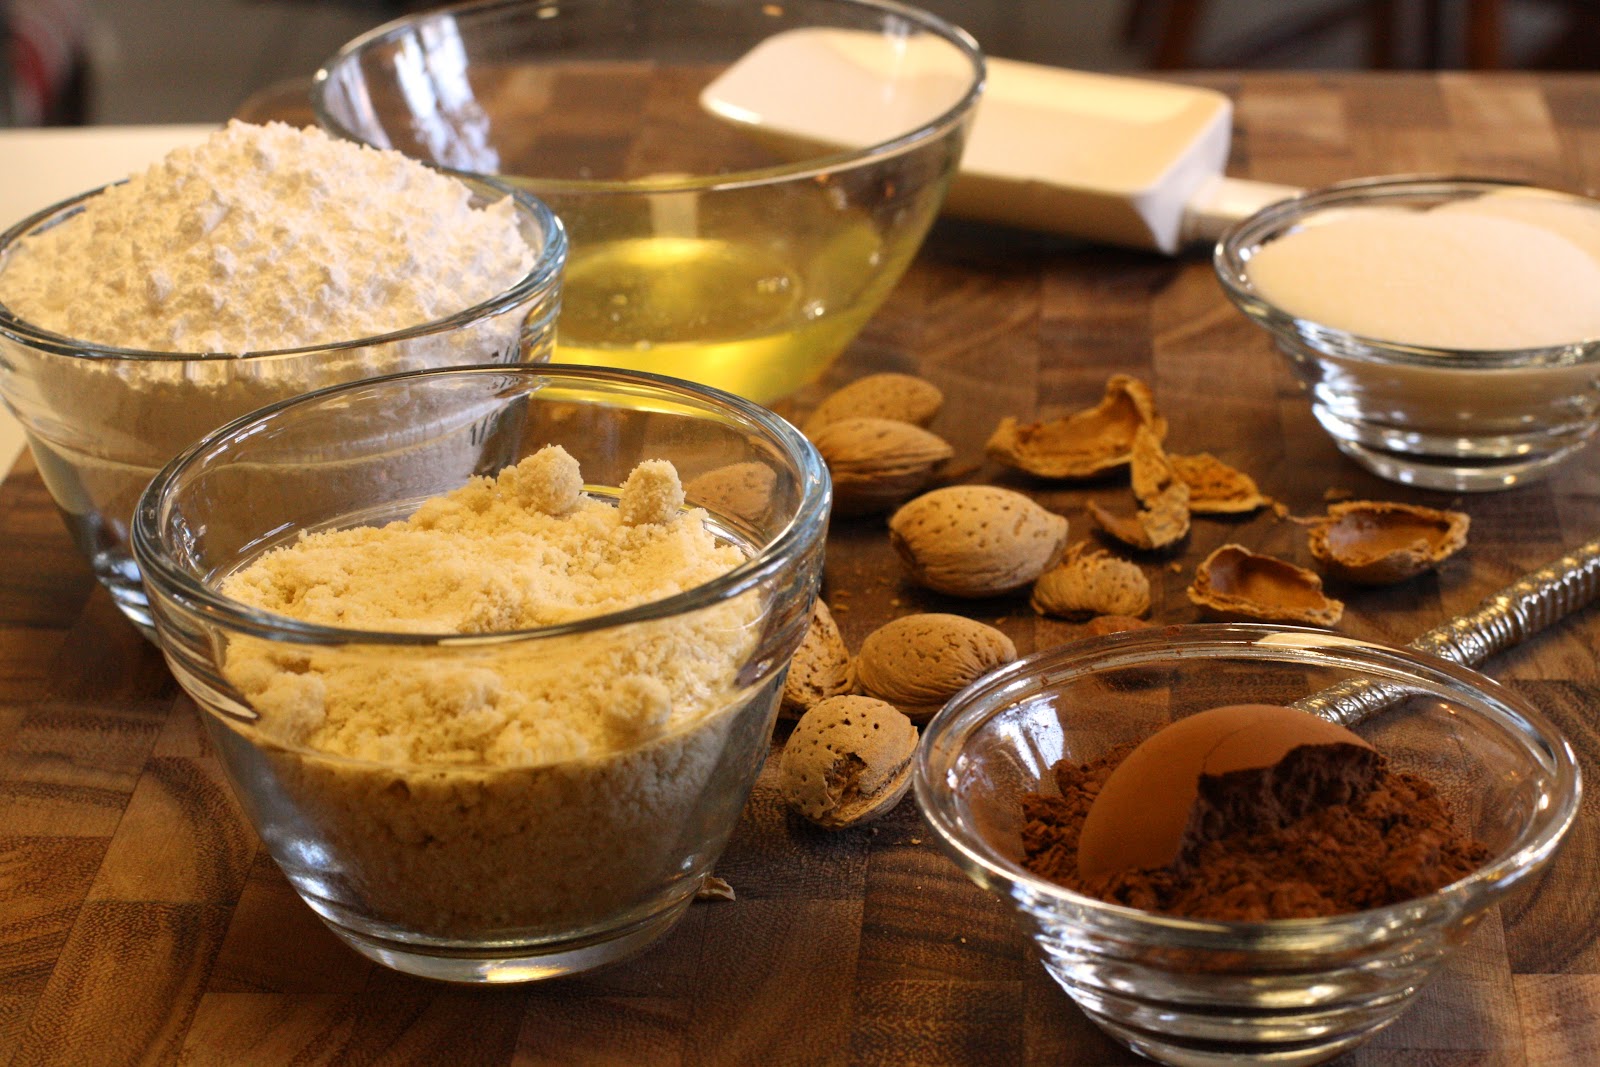
The ingredients for the macaron batter seems simple enough: powdered sugar, ground almonds; unsweetened Dutch process cocoa powder, egg whites, and granulated sugar.

I used ground almond meal left over from the almond cake I made a few weeks ago. Several recipes mentioned blending the almonds, powdered sugar and cocoa in a food processor to make sure the almonds were lump-free. I decided to sift the ingredients together removing the large chunks of almonds.

This would not fit through the sifter so I left it out.

I sifted the mixture twice and was very pleased with the fine texture. Set the dry ingredients aside.

Everything I’ve read about macarons insists the egg whites are room temperature. Some recipes mention leaving them out overnight. I separated the eggs in the morning and started in the afternoon. One recipe also mentioned using old egg whites. I used two of the oldest eggs in the fridge. Not sure if this mattered, just saying 🙂
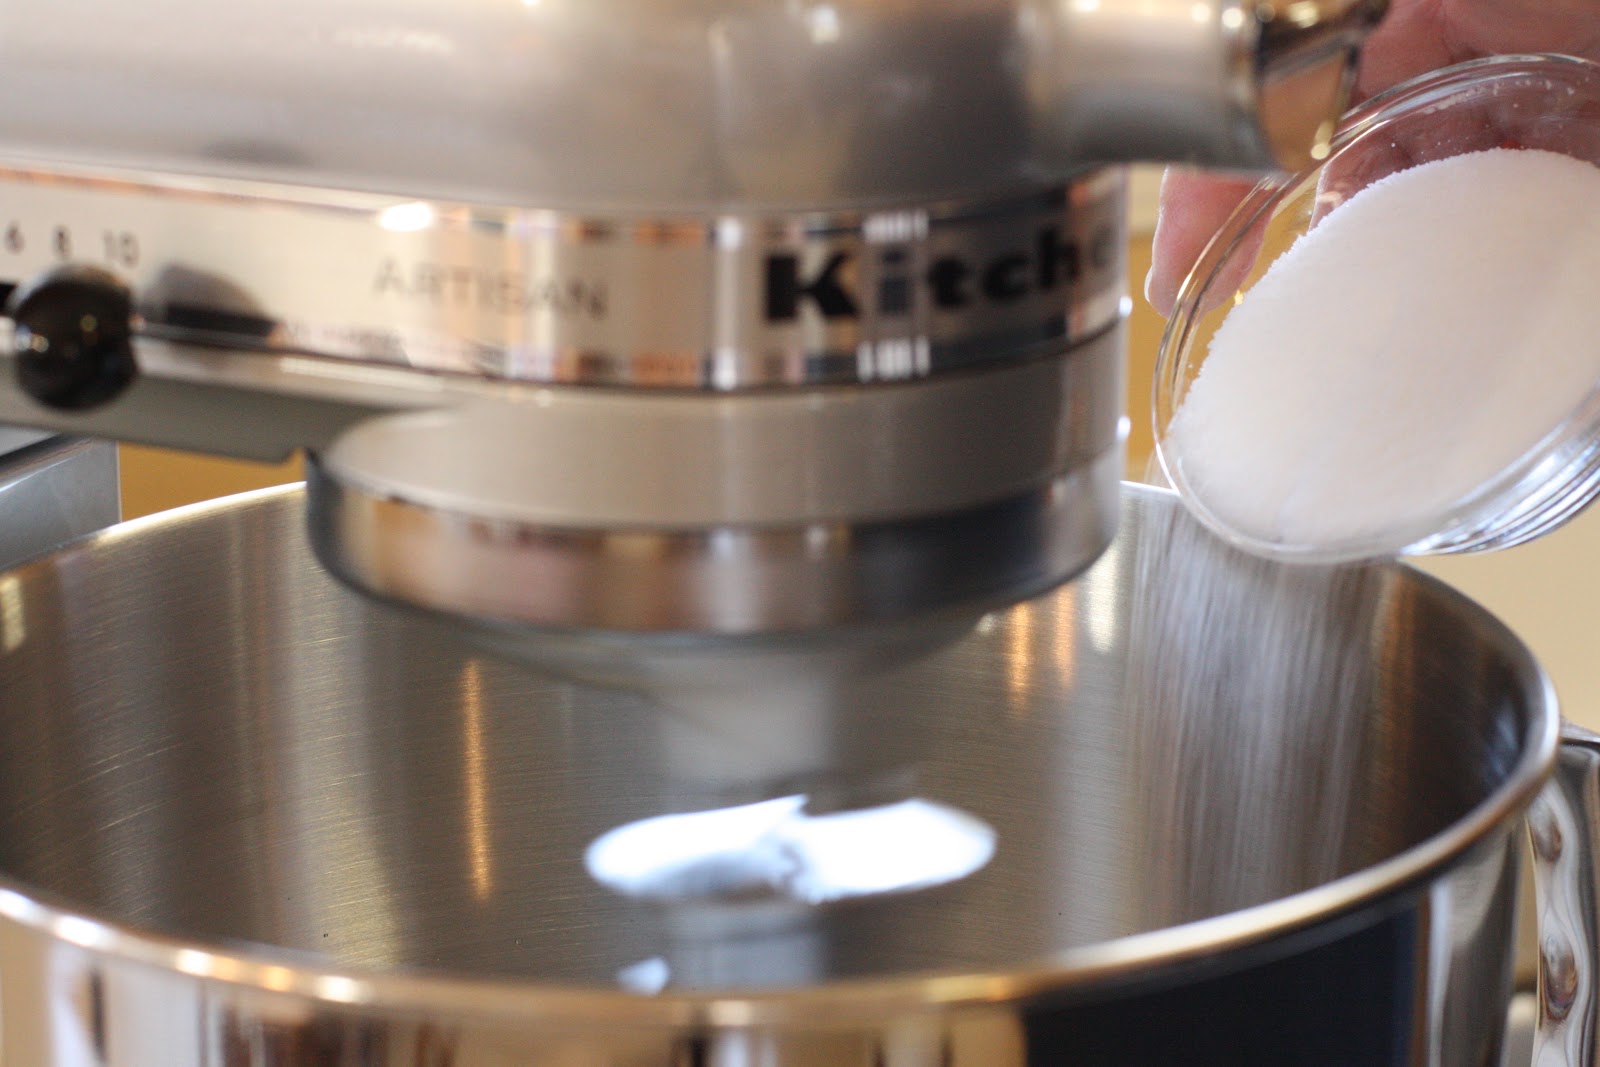
In the bowl of a stand mixer, beat the egg whites until they begin to rise and hold their shape. Continue beating the whites and add the granulated sugar a little at a time.

Beat until the meringue is stiff and firm.

Now we’re ready to mix in the dry ingredients. This is where I really started doubting my judgment. The recipe stated to gently fold half the dry ingredients into the egg whites taking care not to over mix. Once blended add the remaining dry ingredients and stop blending when the mixture is smooth with no streaks of egg whites. I was truly afraid of over beating the egg whites so I did the opposite, I didn’t blend it smooth enough.
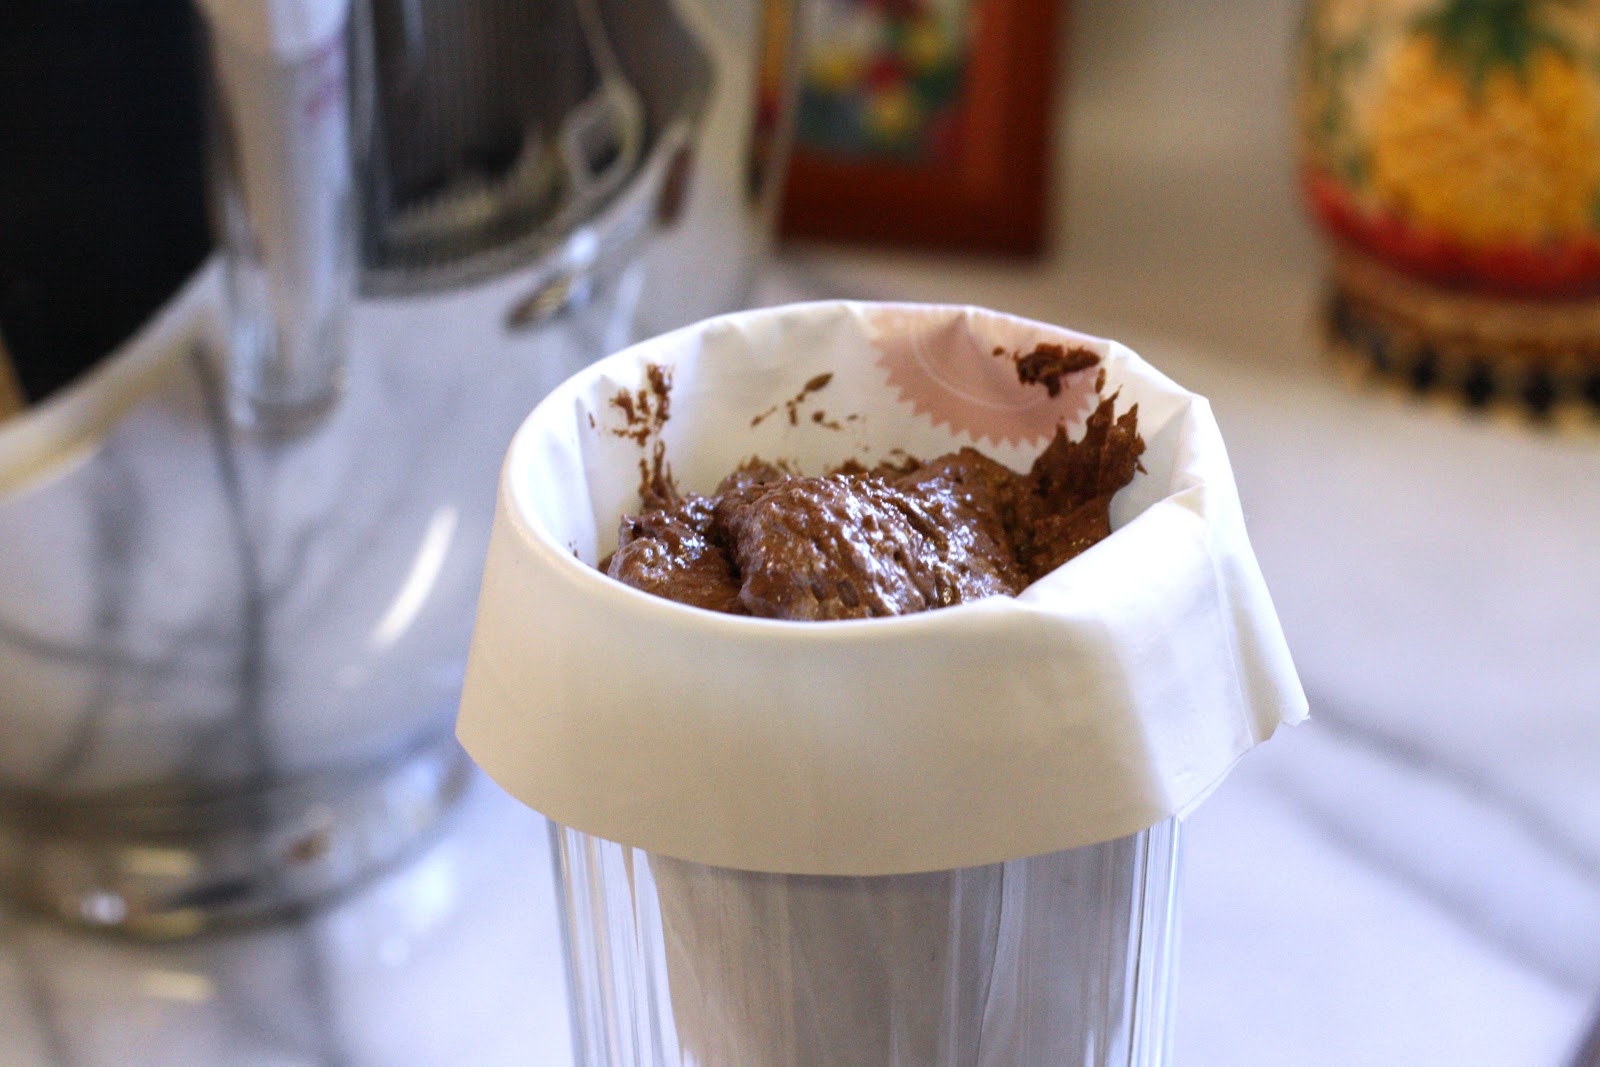
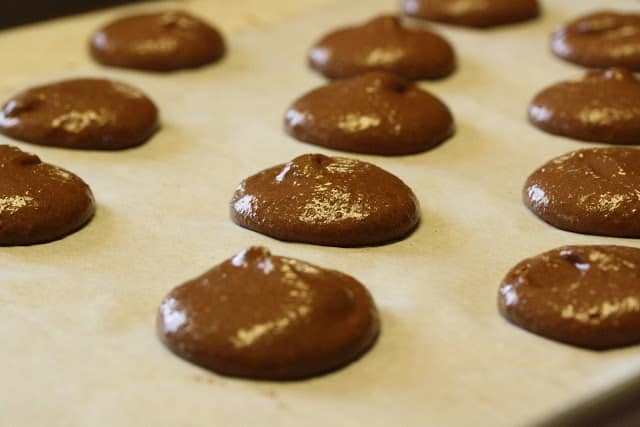
Needless to say, this was the first batch I made. It was thick and chunky. Not smooth and light. But I went on with it hoping my baking skills would prevail and the macarons would be a success. Yeah right. Spoon the batter into a pastry bag fitted with a 1/2 inch tip or opening.
Pipe the batter onto parchment lined baking sheets 1-inch apart in 1-inch circles. Rap the baking sheet on the counter to flatten the macarons a bit. This process also helps create the ‘feet’ of the cookie, which is also a sign of success.

Bake for 15-18 minutes or until set. As you can see, these did not turn out correctly.

These macarons split and oozed and totally fell apart.

There were about three macarons that had potential, but lacked the smooth top.
Unfazed by my failure, I made another batch. This is where it’s important to be ready with extra room temperature egg whites. I blended the batter a little more this time and only piped half on the baking sheet.
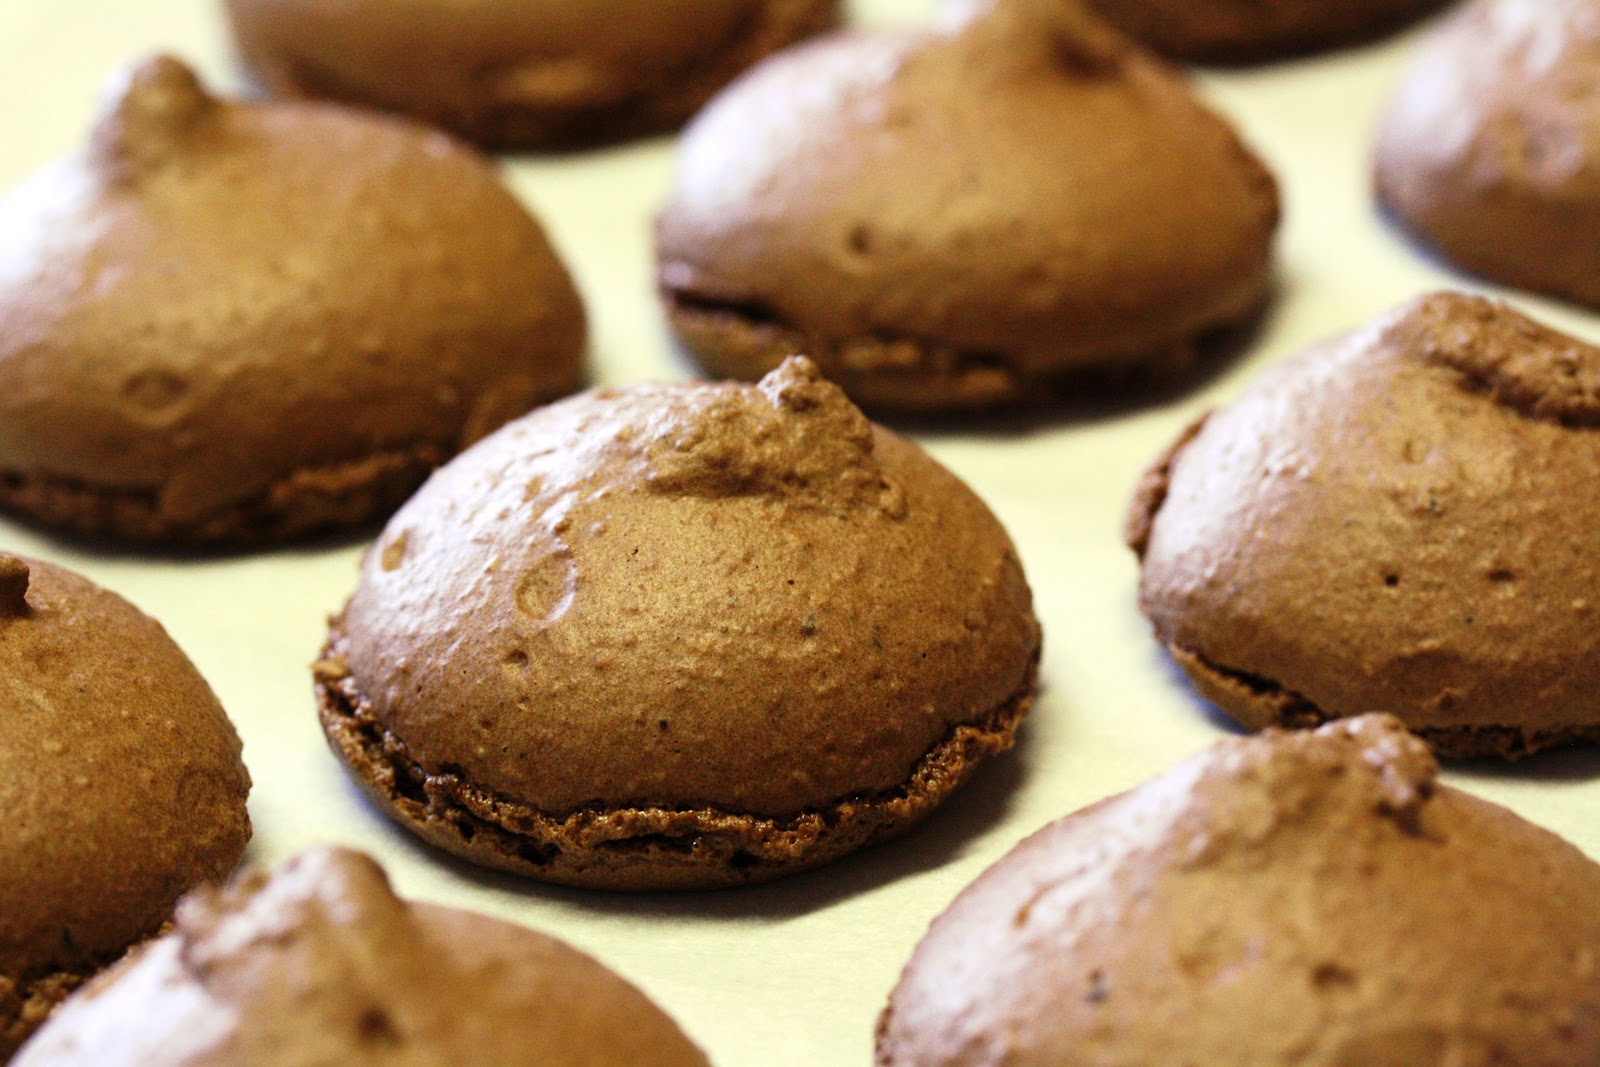
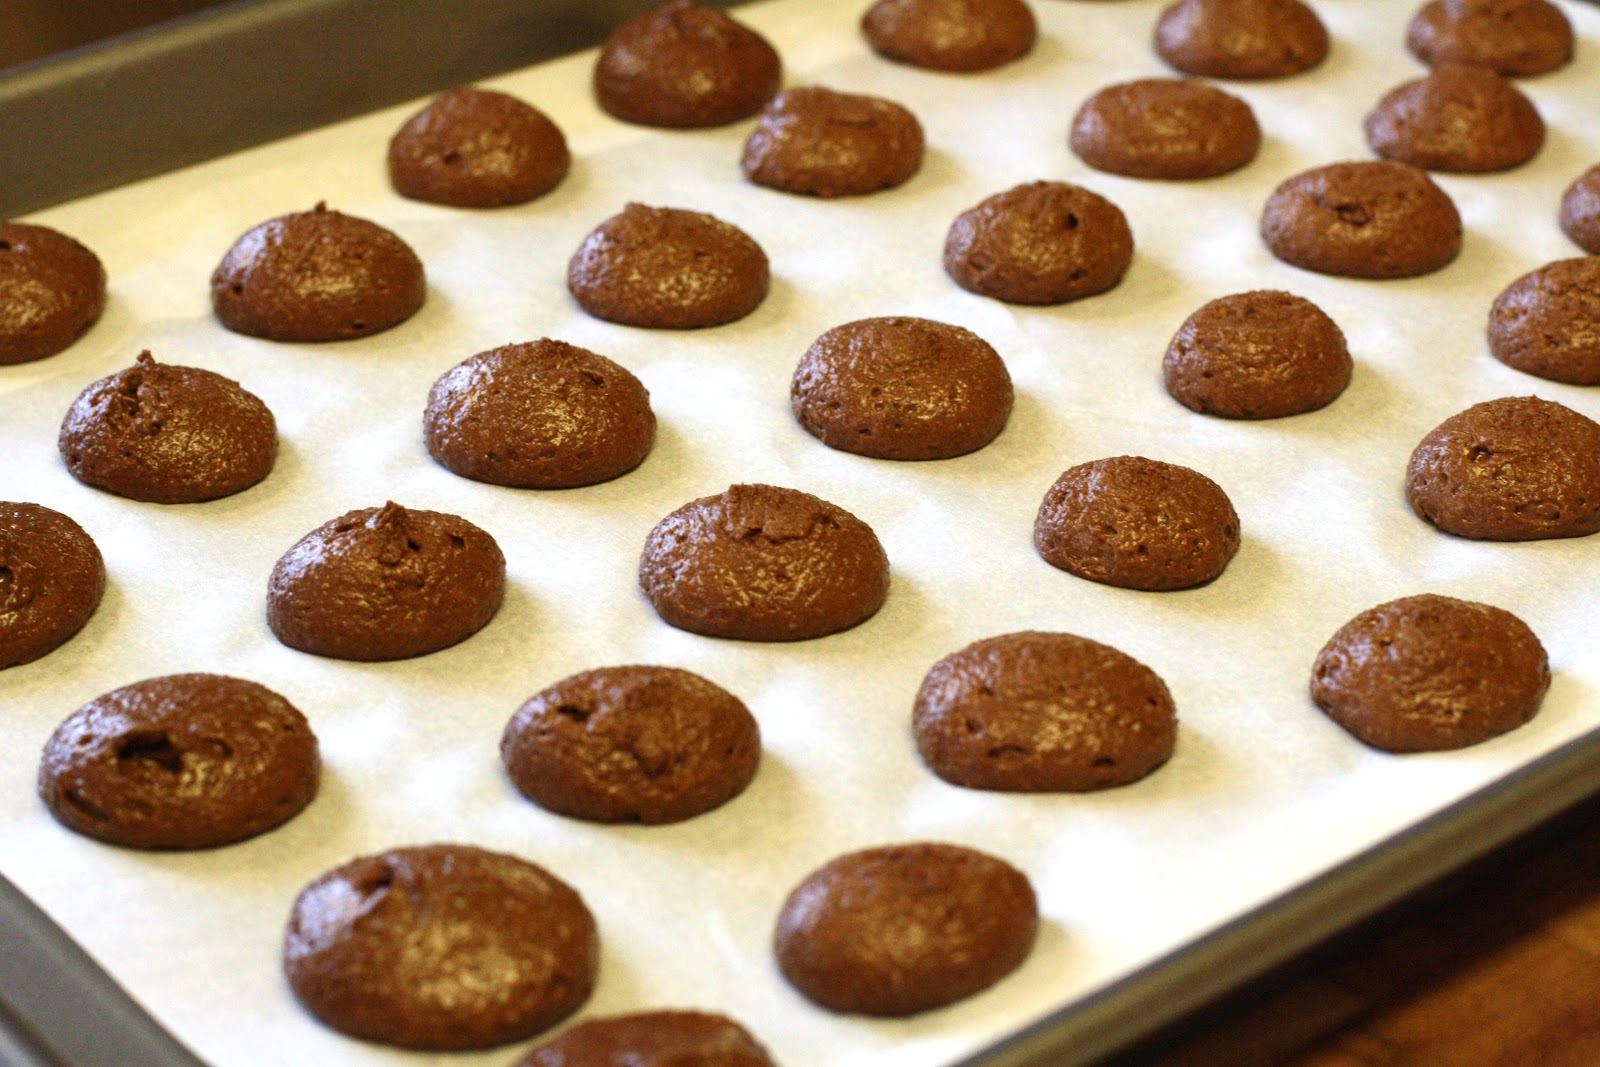
These did better but still had a ‘nipple’ on top. I went back to my computer and read more instructions. Apparently the batter should settle and smooth out without spreading too far. I blended the remaining batter a few more times with a spatula and tried again.

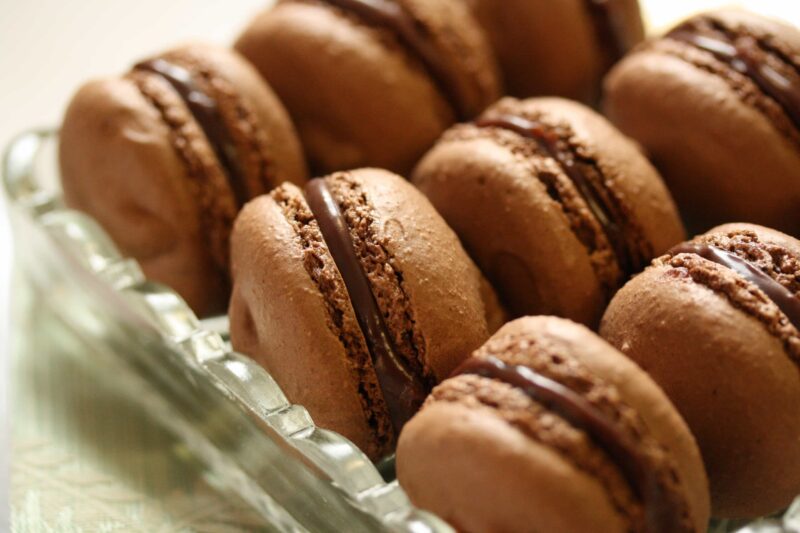
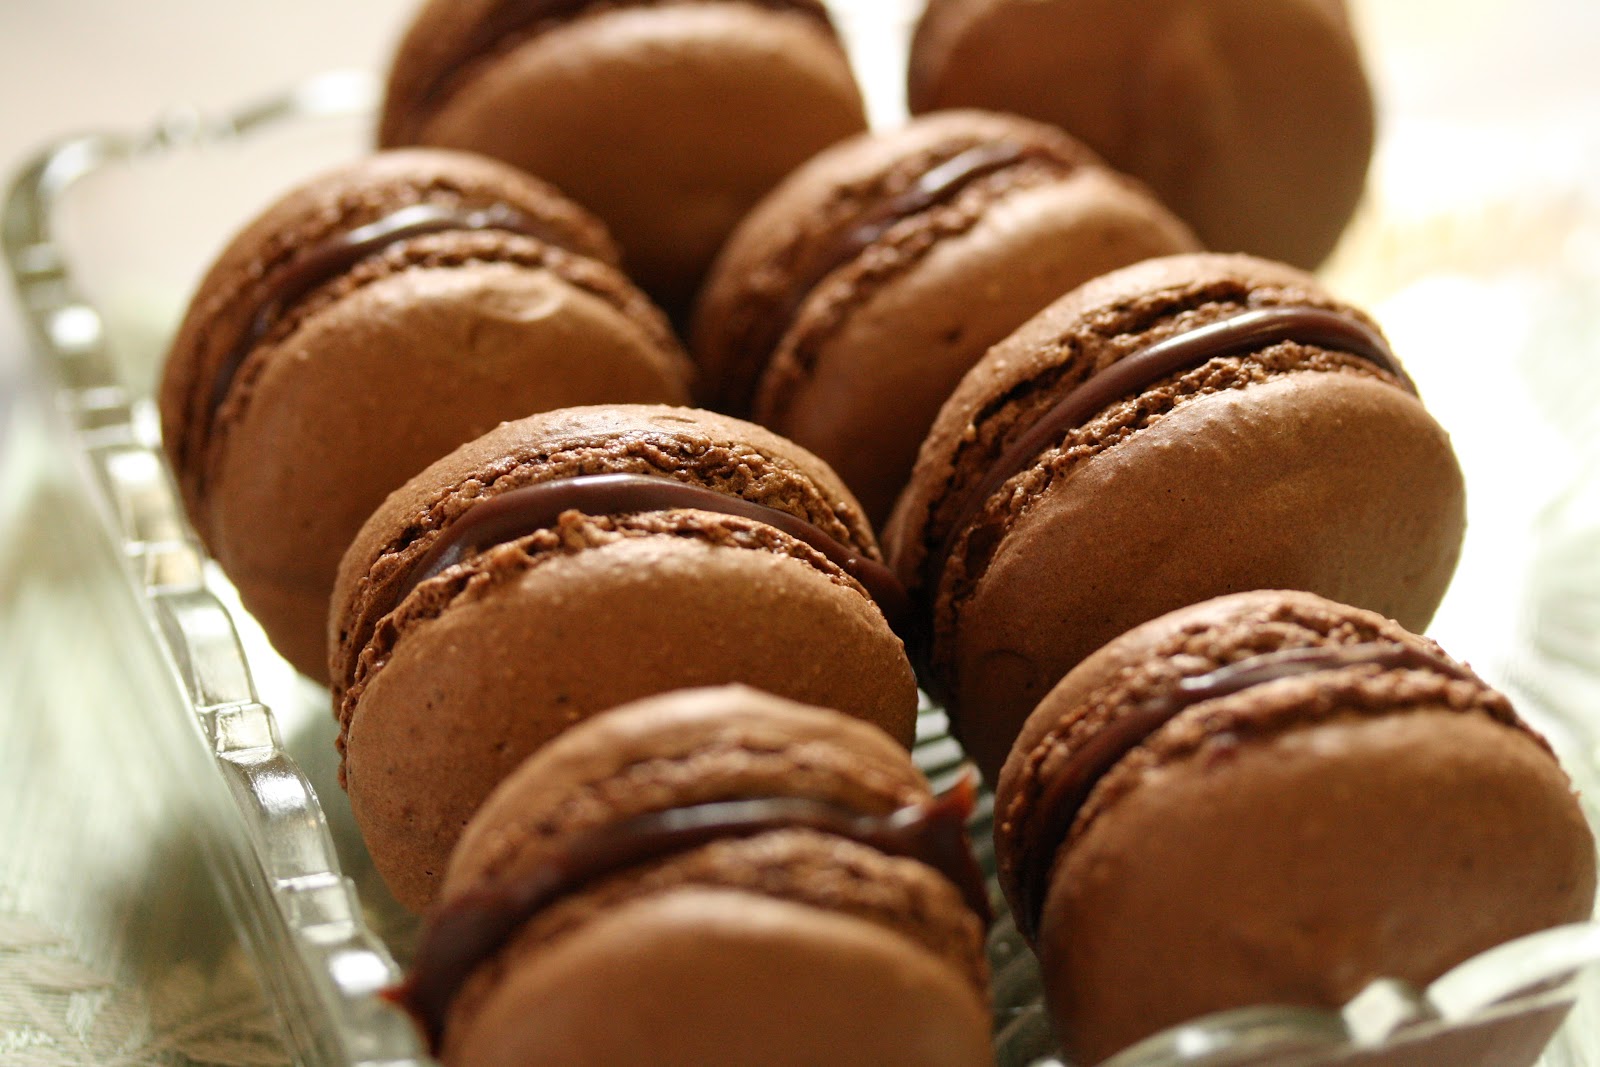
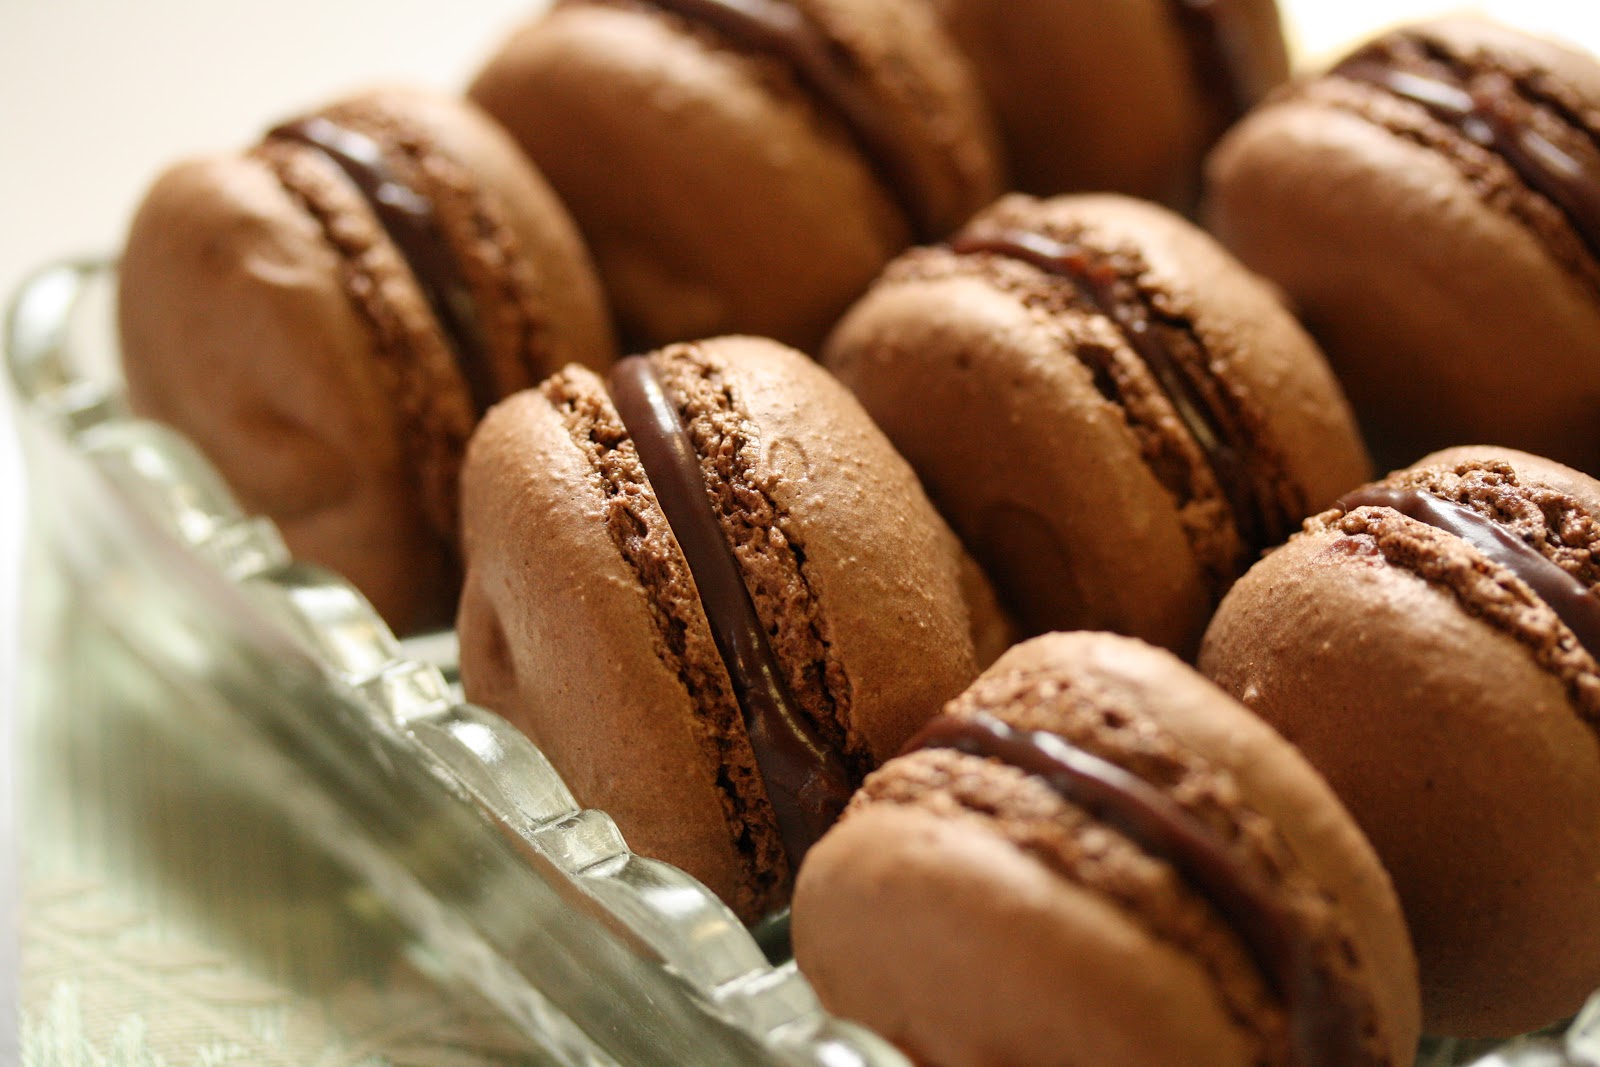
Now we’re getting somewhere. These are starting to look like a real macaron. I’d made enough so I stopped with these. But I will make more some day. I love a challenge!

I decided to make a chocolate filling because you can never have enough chocolate right?

I still had lots of left over semi-sweet chocolate chips from Christmas baking so I used Toll House Morsels. Heat the cream and corn syrup in a small saucepan until it starts to boil.
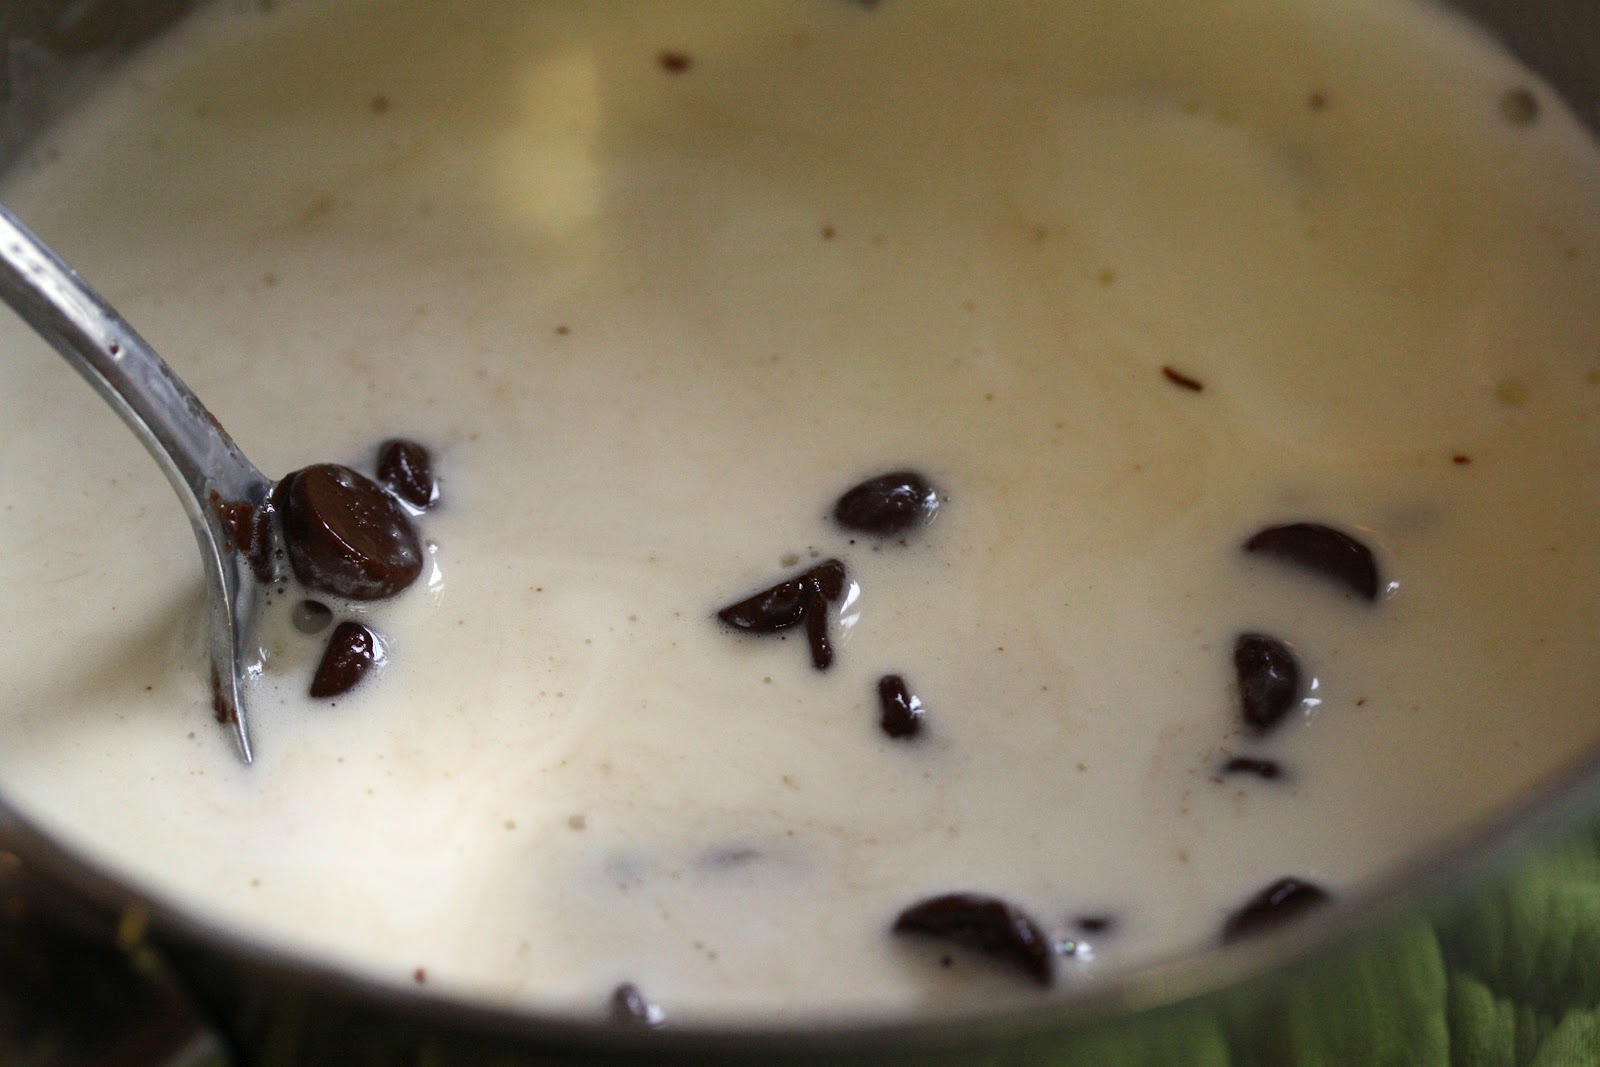
Remove the pan from the heat and add the chocolate chips. Allow them to sit for a minute to begin melting.

Stir until the chocolate chips are completely melted. Stir in the pieces of butter until all ingredients are blended. Allow the chocolate mixture to cool completely before icing the macarons.
Spread 1 teaspoon or more as desired and press the cookies together twisting slightly to spread the mixture evenly. Store in an airtight container in a cool location for at least 1 day before serving, to blend the flavors. If you refrigerate the cookies, allow them to sit at room temperature for at least a couple of hours before serving. Enjoy!

Check out the link to David Lebovitz’s blog about this recipe. He has some great tips and easy instructions. I also think it helps to read the directions several times before starting.

Chocolate Macarons
Prep Time: 30 minutes
Cook Time: 15 minutes
Total Time: 45 minutes
Yield: 32
Course: Dessert
Chocolate macarons with chocolate filling.
Ingredients
For the batter:
- 1 cup powdered sugar
- ½ cup almond meal finely ground
- 3 tablespoons Dutch-process cocoa powder
- 2 large egg whites room temperature
- 5 tablespoons granulated sugar
For the chocolate filling:
- ½ cup heavy cream
- 2 teaspoons light corn syrup
- ¾ cup semi-sweet chocolate chips
- 1 tablespoon butter cut into small pieces
Instructions
- Preheat oven to 350°F. Line two large baking sheets with parchment paper. Prepare a pastry bag with a ½ inch tip.
- Sift together the powdered sugar, almond meal, and cocoa so there are no lumps. Sift again discarding any large almond pieces. Set aside.
- In the bowl of a stand mixer beat the egg whites until they hold their shape. Continue whipping while adding the granulated sugar a little at a time. Beat until the meringue is very stiff and firm.
- Carefully fold in half the dry ingredients into the egg whites with a rubber spatula. Do not beat but blend until creamy and smooth. Add the remaining dry ingredients and fold gently until mixed. Spoon the batter into the pastry bag. Pipe the batter on the parchment lined baking sheets in 1-inch circles evenly spaced about 1-inch apart.
- Rap the baking sheet on a firm counter a few times to flatten the batter a bit. Bake for 15-18 minutes. Cool completely on the baking sheet before filling.
- To make the chocolate filling, mix the cream and corn syrup together in a small saucepan. Heat until the cream begins to boil. Remove from heat and dump in the chocolate chips. Set aside for 1 or 2 minutes to begin melting the chocolate. Stir until the chocolate in completely melted then add the butter. Stir until blended. Cool the filling completely before using.
- Spread about 1 teaspoon filling on the inside of one macaron. Sandwich another cookie on top and twist them slightly to spread the filling evenly. Store in an airtight container in a cool place. Let the macarons sit for one day before serving, to meld the flavors.
Recipe Notes
- Adapted from a recipe by David Lebovitz
Nutrition
Calories: 73kcal | Carbohydrates: 9g | Protein: 1g | Fat: 4g | Saturated Fat: 2g | Polyunsaturated Fat: 0.1g | Monounsaturated Fat: 1g | Trans Fat: 0.003g | Cholesterol: 5mg | Sodium: 6mg | Potassium: 38mg | Fiber: 1g | Sugar: 8g | Vitamin A: 58IU | Vitamin C: 0.02mg | Calcium: 10mg | Iron: 0.4mg

suiz
you're missing a few vital steps in the recipe. #1 it cannot be humid at all. has to be dry… if u live in a place of humidity, use a fan or air conditioning or something to move the air around. #2 u have to let the macaron form a "skin" by leaving it to sit for about 20 min before putting it into the oven. when u press on the macaron gently, it gives slightly but doesn't
Erin
I'm impressed! I would have gotten discouraged a lot sooner! I haven't made macarons before, but as soon as I do these would be the type I would try…chocolate chocolate! 😉
Shiloh Barkley
I have made them three times now and I just learned another trick a few weeks ago for my next batch: after you pipe, leave the pan on the counter for an hour before they go n the oven! I can't wait to try this.
Stella B's Kitchen
These are adorable! Pinning on my 'chocolate' board, for sure! I haven't tried making macarons yet, but your step-by-step photos are encouraging. Yours look bakery-display ready!!
Gerry @Foodness Gracious
You nailed it!! These are one of the toughest inconsistent things I've tried to bake and had many fails. Yours look great and inspires me to give them another try :)<br />Thanks for the kind comments on Foodness Gracious!
Mary
I love your perseverance. Wow. That last batch is as beautiful as any others I have seen this year. I've wanted to try making them, but I'm not a fan of cake-like cookies, so I keep putting it off. They are so pretty though!
Em (Wine and Butter)
Wow – sooner than you than me!! They look amazing though – and step by step directions like this (along with very humble failed batch photos!) is totally where food blogging comes into its own!!
Sue/the view from great island
I'm not kidding, I am in AWE of you for taking these one. They turned out perfect! I have been so intimidated by these cookies, but if I were to try, this is the flavor I'd go for.<br />Congratulations on the new grandson…and these amazing cookies!
Tanna at The Brick Street Bungalow
I can see Easter colored Macaroons in the future for little Isaac. But, I can tell you that if you had a challenge with this one, there is no way Alex and Roo will ever see any from their Noni. LOL! I know these were delicious!! Even the ones you deemed unacceptable. LOL! blessings ~ Tanna