This post may contain affiliate links. Please read my disclosure policy.
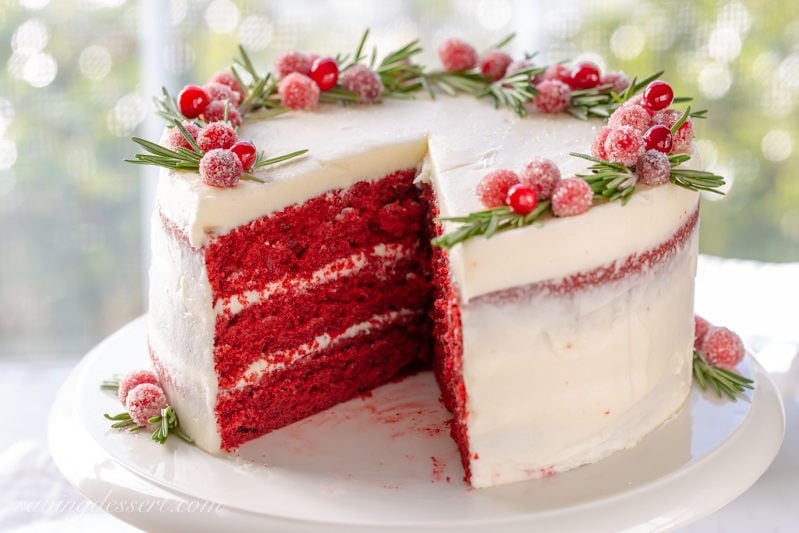
Tangy buttermilk Red Velvet Cake recipe
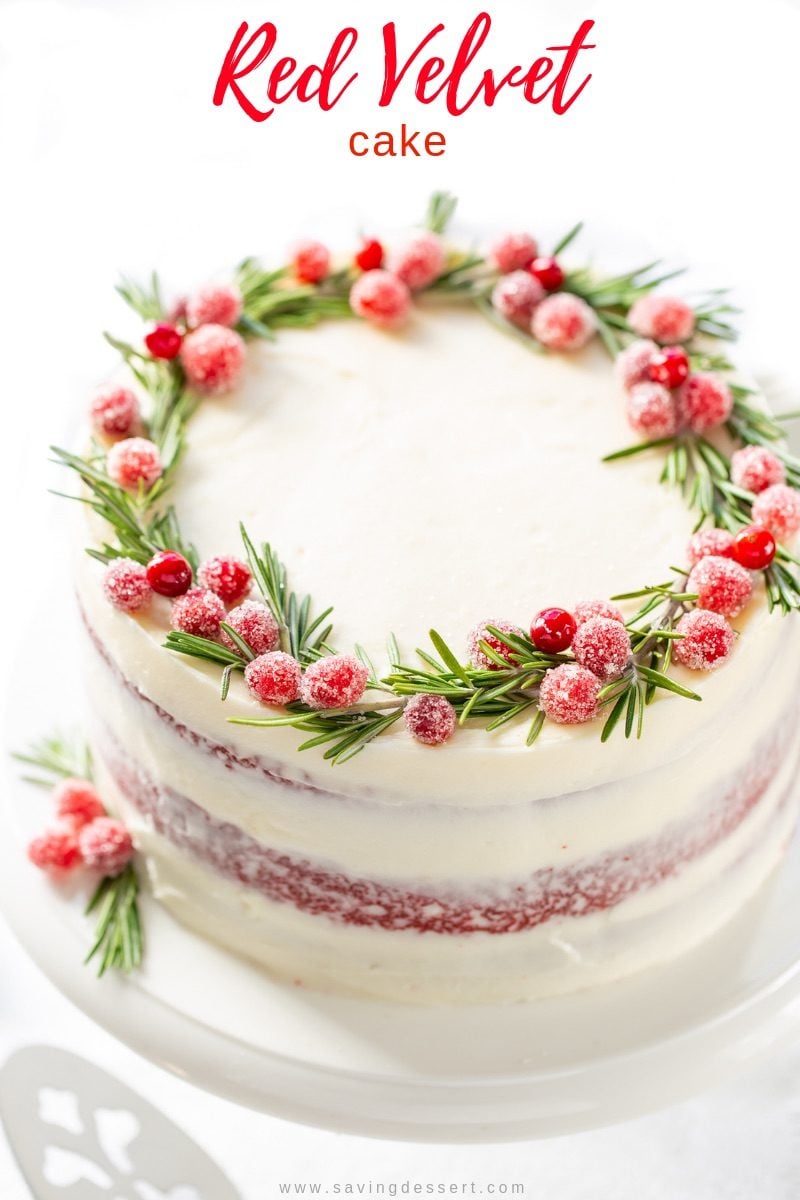
Have you ever had really great Red Velvet Cake?
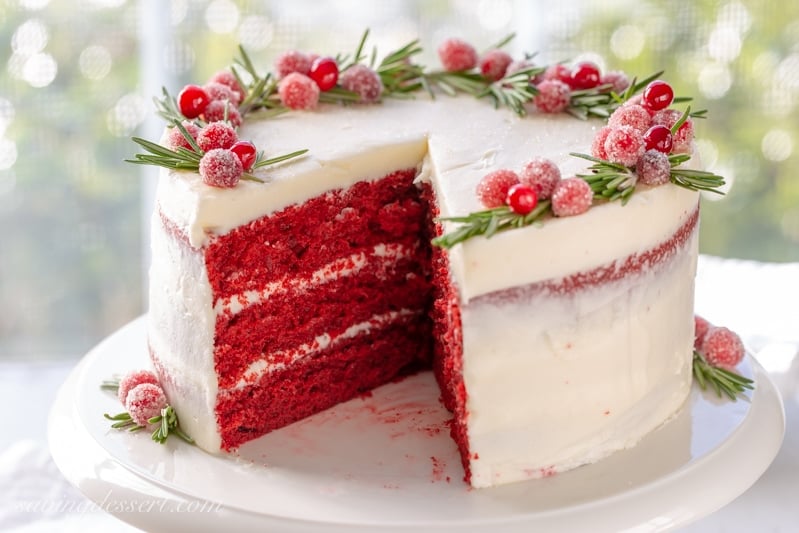
If you’ve had great Red Velvet Cake you probably remember the delicious tang from the buttermilk, the hints of cocoa, gorgeous red color and the moist, light crumb. And let’s not forget the best cream cheese icing on this earth!
What is Red Velvet Cake?
Real deal Red Velvet Cake always has vinegar and buttermilk in the mix. Occasionally you might find Red Velvet cake recipes that include red food color but not the vinegar and buttermilk. They may be called Red Velvet, but it won’t taste the same or have that wonderful texture.
The history of Red Velvet cake is interesting and thought to have been developed during the Victorian Era. The cake we enjoy today, with red food coloring, probably came about during the depression when a Texas company starting selling red food dye. This made Red Velvet Cake climb in popularity to the iconic showstopper we know and love today.
You can make your own red food dye by using beet juice but for this cake we used a one-ounce bottle of liquid red food coloring.
Overview: Ingredients
For the cake batter:
- unsalted butter at room temperature
- granulated or white sugar
- eggs at room temperature
- red liquid food coloring (not gel food coloring)
- cocoa powder
- salt
- vanilla extract
- buttermilk, full fat, well shaken
- cake flour
- white vinegar
- baking soda
For the cream cheese icing:
- cream cheese at room temperature
- unsalted butter at room temperature
- powdered sugar
- pinch of salt if using unsalted butter
- vanilla extract
Okay. I have a story about an infamous Red Velvet Cake.
While growing up Red Velvet cake was my favorite and always the one I asked for each year on my birthday. My mom made great cakes and I always loved her Red Velvet Cake, until I tried to make it.
It was around the time my husband and I got engaged.
I was trying to impress him with my baking abilities and it was his birthday so I decided to make my favorite cake in the whole world, Red Velvet. Generally, I don’t make great cakes, I make great pies – BIG difference. Anyway – always up for a challenge, I made the homemade cake and was pleased that it looked so pretty! Three layers with cream cheese, pecans complete with candles.
We did the birthday song and presents but much to my dismay, the cake was really, really dry. I over-baked it a bit, I think.
Sometimes those handwritten recipes don’t include ALL the pertinent information. Such as reduce the cooking time if you make three layers instead of two. Duhhh. Oh well, it didn’t taste terrible, it was just very dry.
I thought the cream cheese frosting covered any flaws the cake might have had, at least a little. It was edible … I think, but I may not be remembering it clearly because it was over 30+ years ago.
Being the supportive fiancé he was, he ate a few bites of cake each time I pulled it out of the fridge.
A couple of days after his birthday we went on a weekend camping trip and I slipped the leftover cake in the cooler. I was determined not to waste it because after all, it was homemade and wasn’t that bad!
Finally Ed had to tell the truth. “Trish, this cake is not very good and I just can’t eat anymore.” OK, you’re off the hook. I agree it’s a little dry.
I pitched the giant hunk of leftover cake in the blazing fire thinking it would quickly dissolve. We watched as the cake started to glow, not really burn, but glow, like a piece of coal or …. oh my gosh, it glowed like a Duraflame Log! It burned/glowed for hours like the piece of coal it was!
We laughed and laughed and from then on it was called the Duraflame cake. Our children have never wanted to try Red Velvet cake and who can blame them! But come on guys, it has been over 33 years! Let it go already!
25 years later I tried again.
The cake I made in 2010 was pretty good and not as dry as the Duraflame cake, but I still wasn’t thrilled.
Being the stubborn girl that I am, I ‘forewarned’ my husband that I was going to make another Red Velvet Cake this time with a holiday theme. His response was … “Oh good, a Yule Log.” I’ll never live this down. Not ever.
Thank goodness I’m a much better cake maker than I used to be. And this time I fixed mom’s recipe by reworking it into this amazingly moist and delicious chocolate cake you see here!
Mom’s original recipe called for vegetable shortening, like Crisco. I felt like the shortening was making the cake dry and tough, so I switched it out for unsalted butter. Then I added more butter and used full-fat buttermilk. Now we’re talking about the perfect Red Velvet Cake!
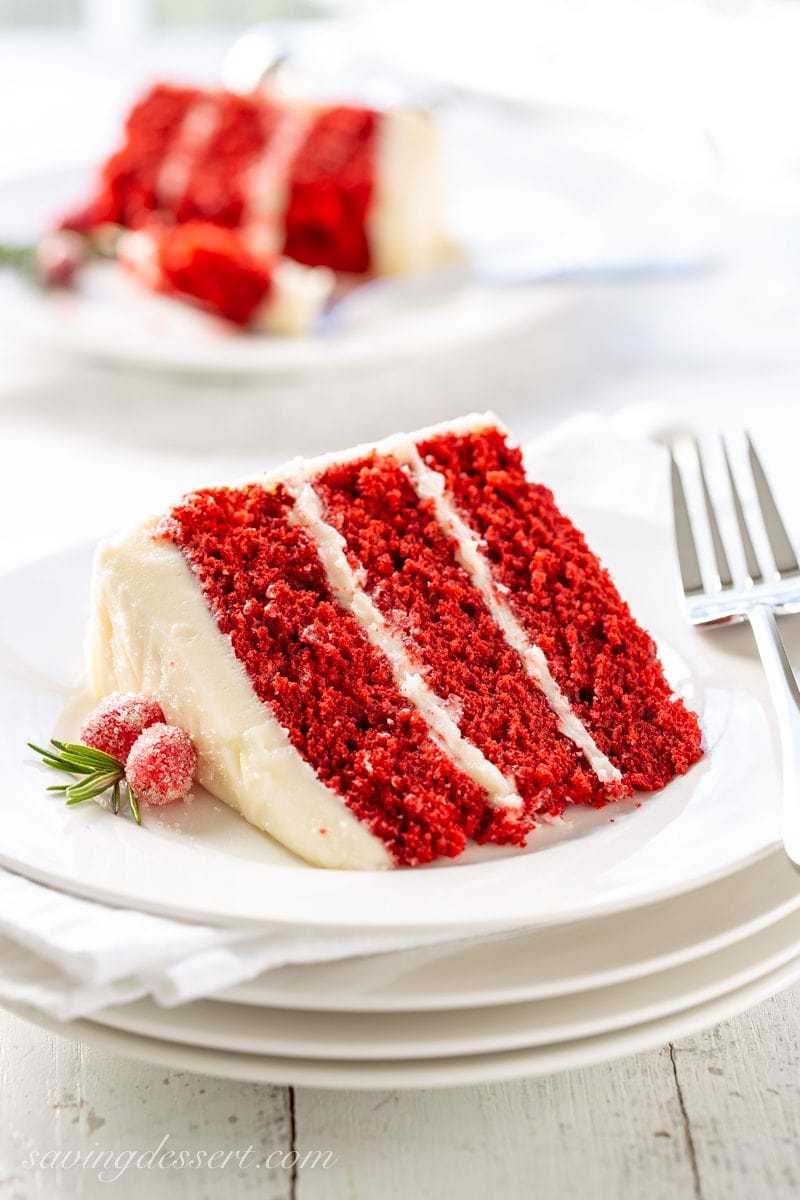
This is the Red Velvet Cake I dream about!
Our new and improved Red Velvet Cake is moist and tender, with a lovely tang that I’d recognize if I ate it blindfolded. The flavor might remind you of chocolate devil’s food cake, but with terrific flair!
It took me a long time, actually decades, but Mom’s cake is now a keeper. I think she would approve of my changes, especially after she tried it.
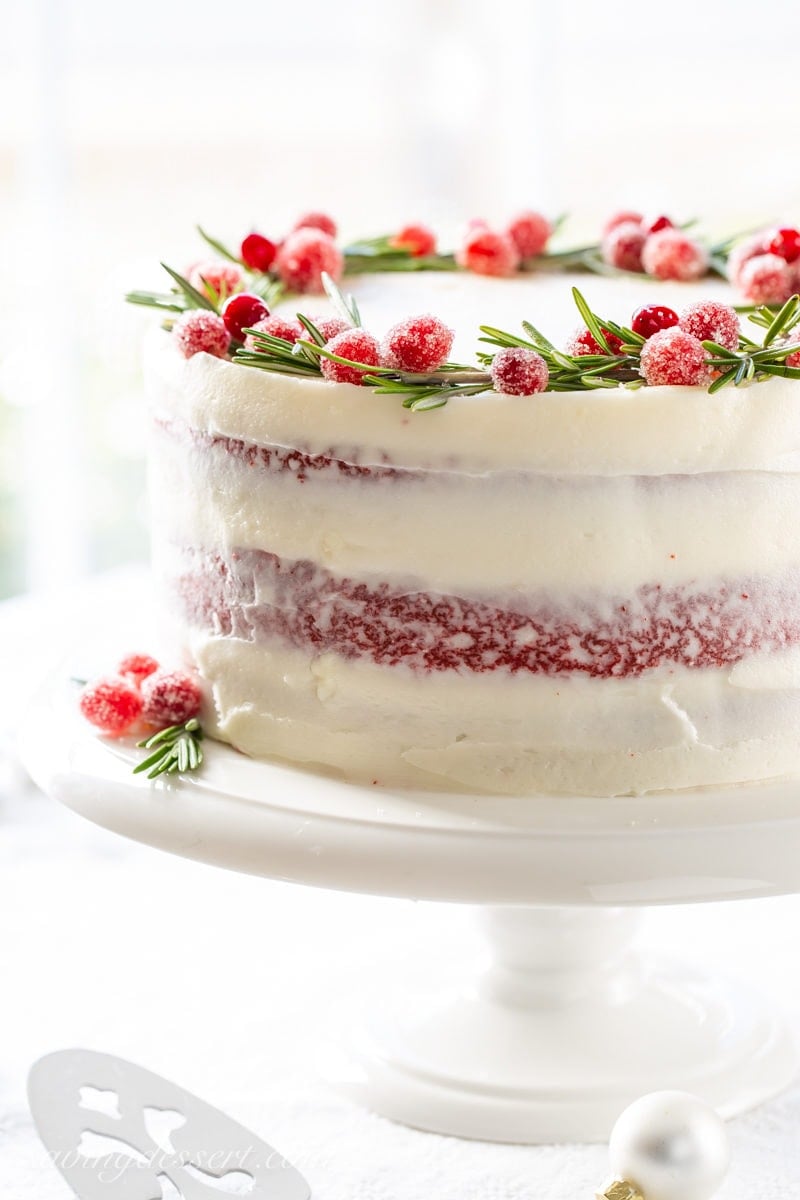
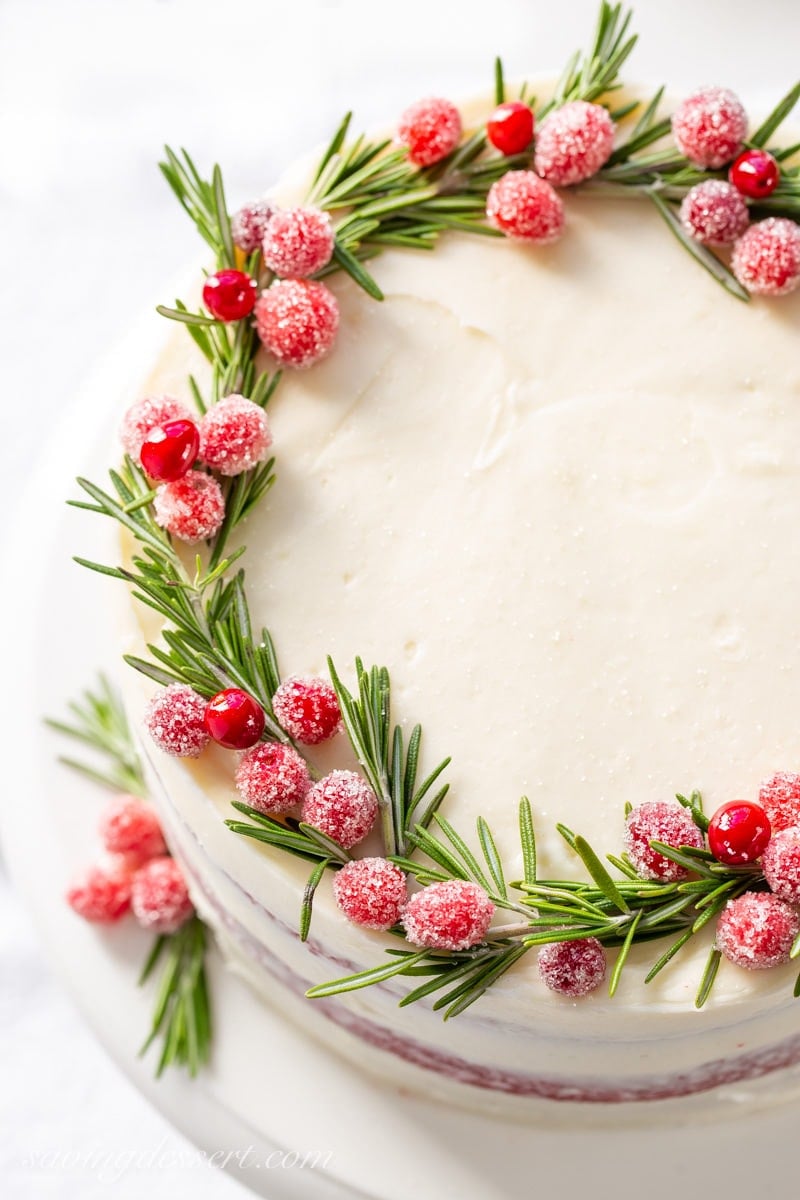
Even though we decorated this cake for the holidays, it’s great to make all year long. To give it a holiday theme use fresh Rosemary sprigs and a batch of our Sugared Cranberries to create a wreath.
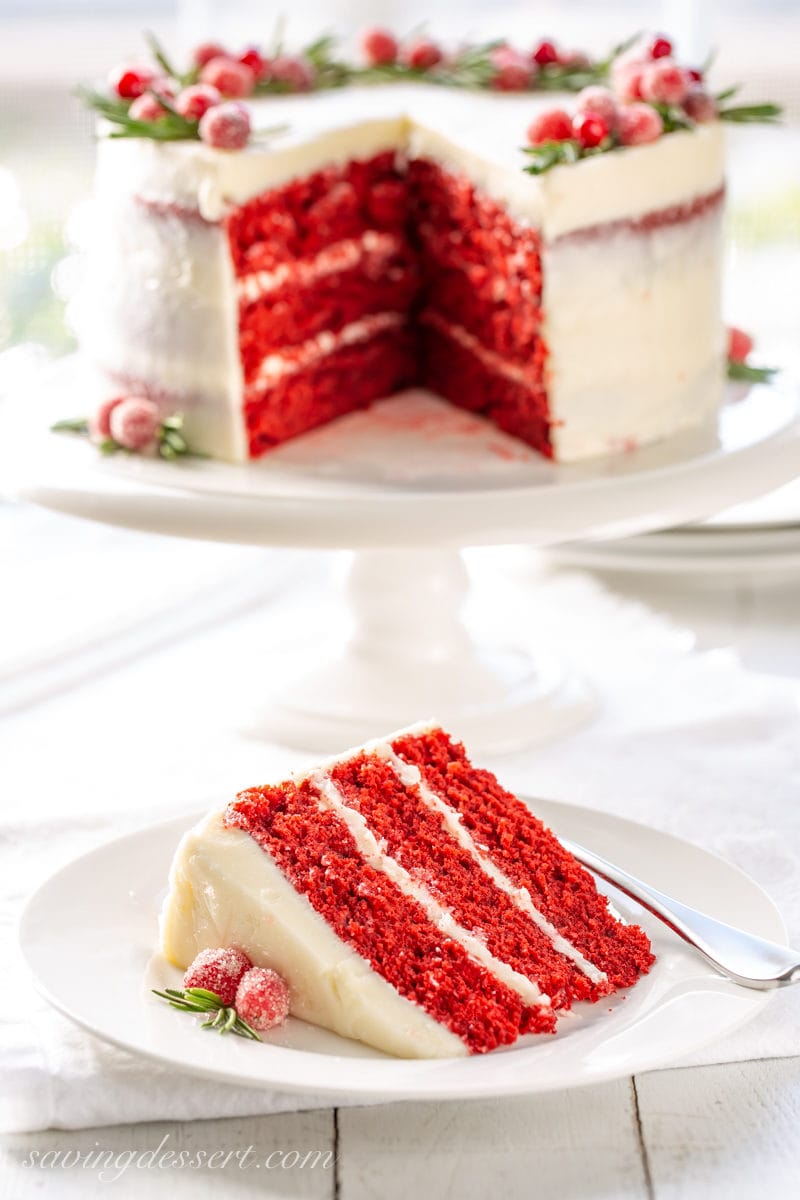
After 33 years of trying to live it down, I’ve finally achieved red velvet cake redemption!
My husband said, and I quote, “it’s perfect and I would marry you all over again!” Thank heavens!
Overview: how to make the BEST Red Velvet Cake
Prepare the cake batter:
- Preheat the oven. Grease and flour three 8 inch pans.
- In the bowl of a stand mixer fitted with a paddle attachment (or use a hand mixer) cream together the butter and sugar on medium high speed until light and fluffy. Add the eggs one at a time.
- In a small bowl combine the red food coloring with the cocoa, salt and vanilla. Add to the creamed butter mixture.
- Alternate adding the buttermilk and flour on low speed until incorporated.
- In a small bowl stir the vinegar with the baking soda until dissolved. Gently fold the mixture into the batter.
- Divide the dough between the prepared cake pans and bake until a toothpick inserted comes out with no wet batter. Turn out onto a wire rack and cool completely.
Prepare the icing:
- Combine the cream cheese and butter until blended. Add the sugar and vanilla and beat until combined.
- Frost the cake and decorate as desired. Refrigerate until ready to serve. Enjoy!
Thanks for PINNING!
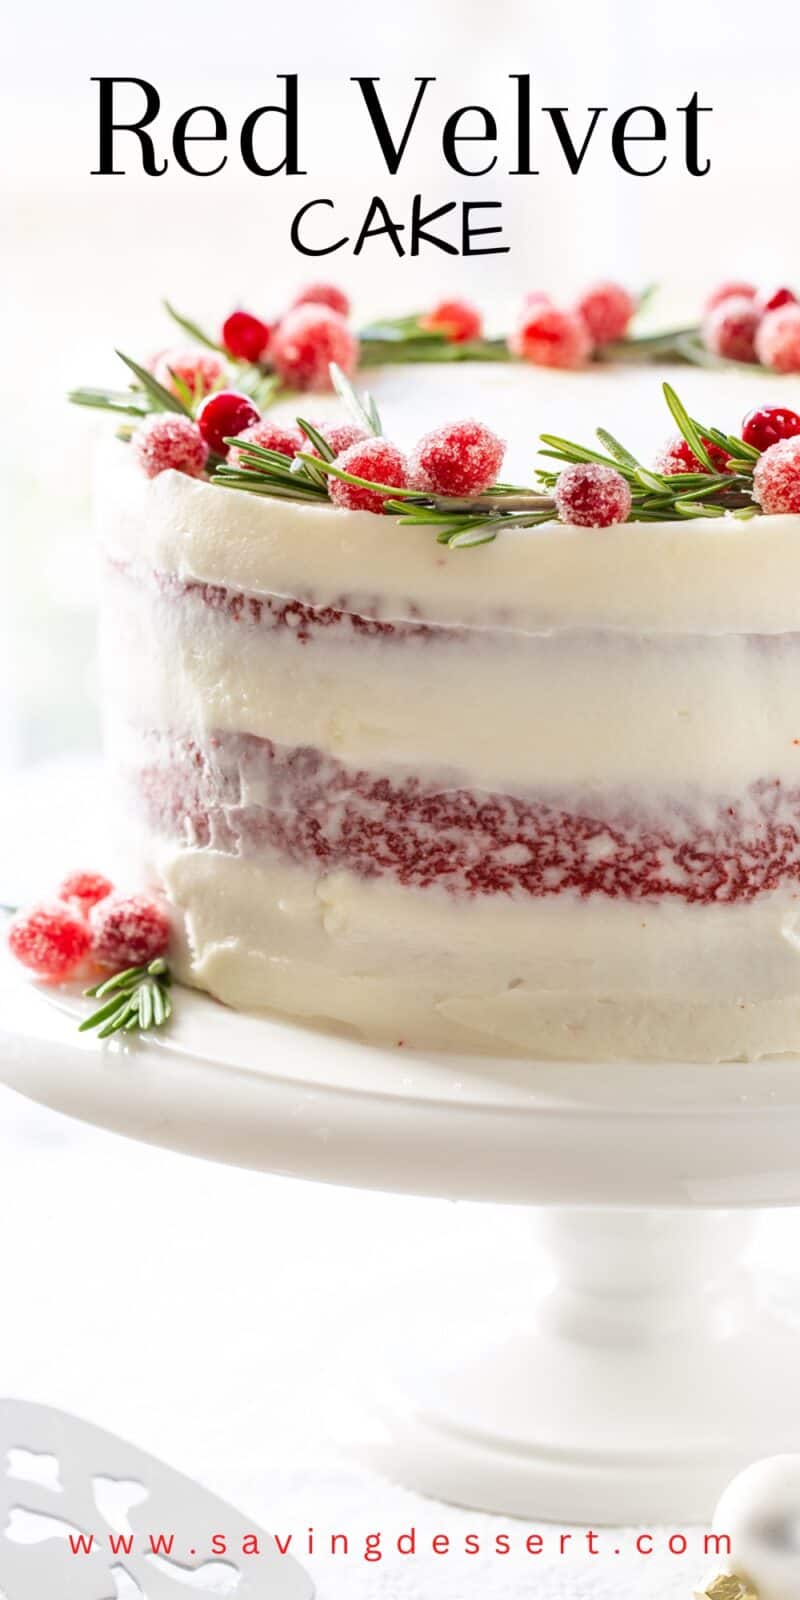
Red Velvet Cake Recipe with Cream Cheese Icing
Ingredients
For the cake:
- 12 tablespoons unsalted butter room temperature
- 1 ½ cups granulated sugar
- 2 eggs
- 1 ounce red liquid food color (not icing gel food color)
- 2 tablespoons cocoa powder natural, unsweetened
- 1 teaspoon salt
- 1 teaspoon vanilla extract
- 1 cup buttermilk well shaken
- 2 ¼ cups cake flour
- 1 tablespoon white vinegar
- 1 ¼ teaspoons baking soda
For the icing:
- 12 ounces cream cheese room temperature
- 12 tablespoons unsalted butter room temperature
- 24 ounces powdered sugar
- pinch of salt
- 1 ½ teaspoons vanilla
Instructions
To prepare the cake:
- Preheat oven to 350°F. Grease and flour 3 (8-inch) cake pans. Set aside.
- In a large bowl, cream together the butter and sugar until light and fluffy. Add eggs, one at a time, mixing just until the yolk disappears.
- In a small bowl whisk together the red food coloring, cocoa, salt and vanilla until blended. Add the cocoa mixture to the creamed butter and sugar mixture. Blend on medium-low until combined, scraping down the sides of the bowl as needed.
- Add ⅓ of the buttermilk and blend on low until incorporated. Next add ⅓ of the flour and mix on low. Scrape down the sides of the bowl as needed. Repeat by adding ½ of the remaining buttermilk and then ½ of the remaining cake flour taking care not to over-beat after each addition. Blend on low just until incorporated. Repeat until all the buttermilk and flour are incorporated.
- In a small cup stir together the vinegar and baking soda, until completely dissolved. Using a rubber spatula, gently fold the vinegar mixture into the cake batter. Do not beat!
- Divide the batter equally into the three prepared 8-inch cake pans and bake until a toothpick inserted in the center comes out clean (moist crumbs are okay – no wet batter) about 18 to 20 minutes. DO NOT OVER BAKE. Cool in the pans for 10 minutes, then turn the cakes out and cool completely on a wire rack.
To prepare the icing:
- Combine the cream cheese and butter and beat until blended. Add the sugar and beat until fluffy. And the salt and vanilla and mix on low until smooth and creamy.
- I use about 2 cups of icing in between the cake layers but you can probably use more. There is enough to frost this cake without leaving the layers showing through (naked). Frost the cake as desired. Cover and refrigerate until ready to serve. Cake keeps well up to 3 days.
Recipe Notes
- Decorate the top of the cake with fresh rosemary twigs and sugared cranberries if desired. Click HERE to get recipe for the sugared cranberries.
- I used three 8-inch cake pans. You can also make this cake into two 9-inch layers. Watch the baking time – dried out Red Velvet cake is not good!
- Recipe adapted from my Mom’s archives.

Melinda
I would like to split this into cupcakes if possible, could you give me guidance on bake time for it as cupcakes if you think it would work out at all.
Tricia Buice
Hi Melinda. I’ve made this recipe into cupcakes! You can find the recipe here: https://www.savingdessert.com/red-velvet-cupcakes/ Enjoy!
Melinda Smith
I’m hoping to make this for Christmas Eve, it’s the best recipe I’ve found but far. I would like to make it into cupcakes though if possible. Do you think they would work out? If so how long do you think I should start at for the bake time? I don’t want to open the oven more than necessary!!
Tricia Buice
Hi Melinda. Sorry to be so late in getting back to you. I came down with the flu and have been so sick :(. I have converted this recipe into cupcakes on a blog post you can find here: https://www.savingdessert.com/red-velvet-cupcakes/ Enjoy!
Eve
Hello, I’m making this cake for Christmas Eve but I will be out all day. Can I make it the day before? If so, how should I store it? At room temperature or in the Fridge?
Tricia Buice
Hi Eve. Store this cake in the refrigerator for best results. Remove from the refrigerator about 30 to 60 minutes before serving. Enjoy!
Eve
Thank you! can’t wait!
Julie
I will be making this for Christmas dinner! I am super excited to try it. It looks delicious! Can I make the cake layers in advance and freeze them for a few days? Or will freezing them dry out the cake?
Tricia Buice
Hi Julie. Freezing will dry the cake out a little. I would make it fresh if you can. So excited you’re going to make it! I LOVE this cake 🙂