This post may contain affiliate links. Please read my disclosure policy.
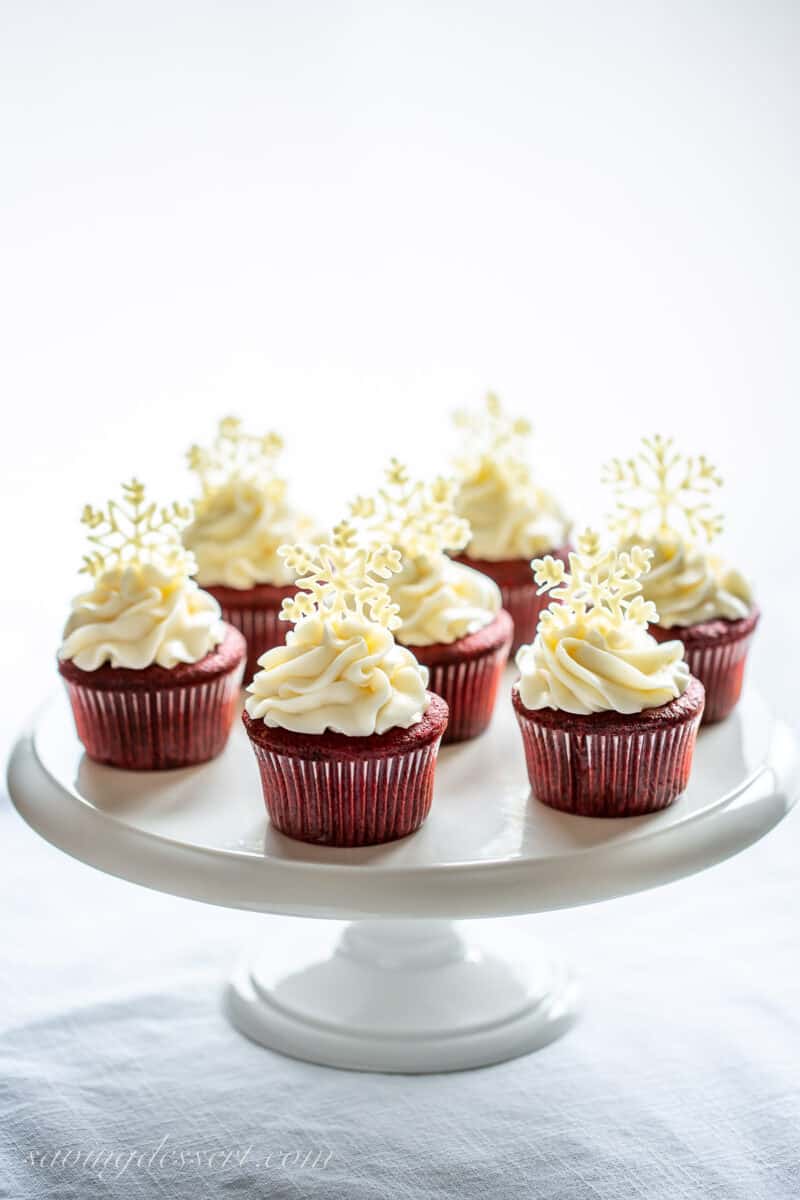
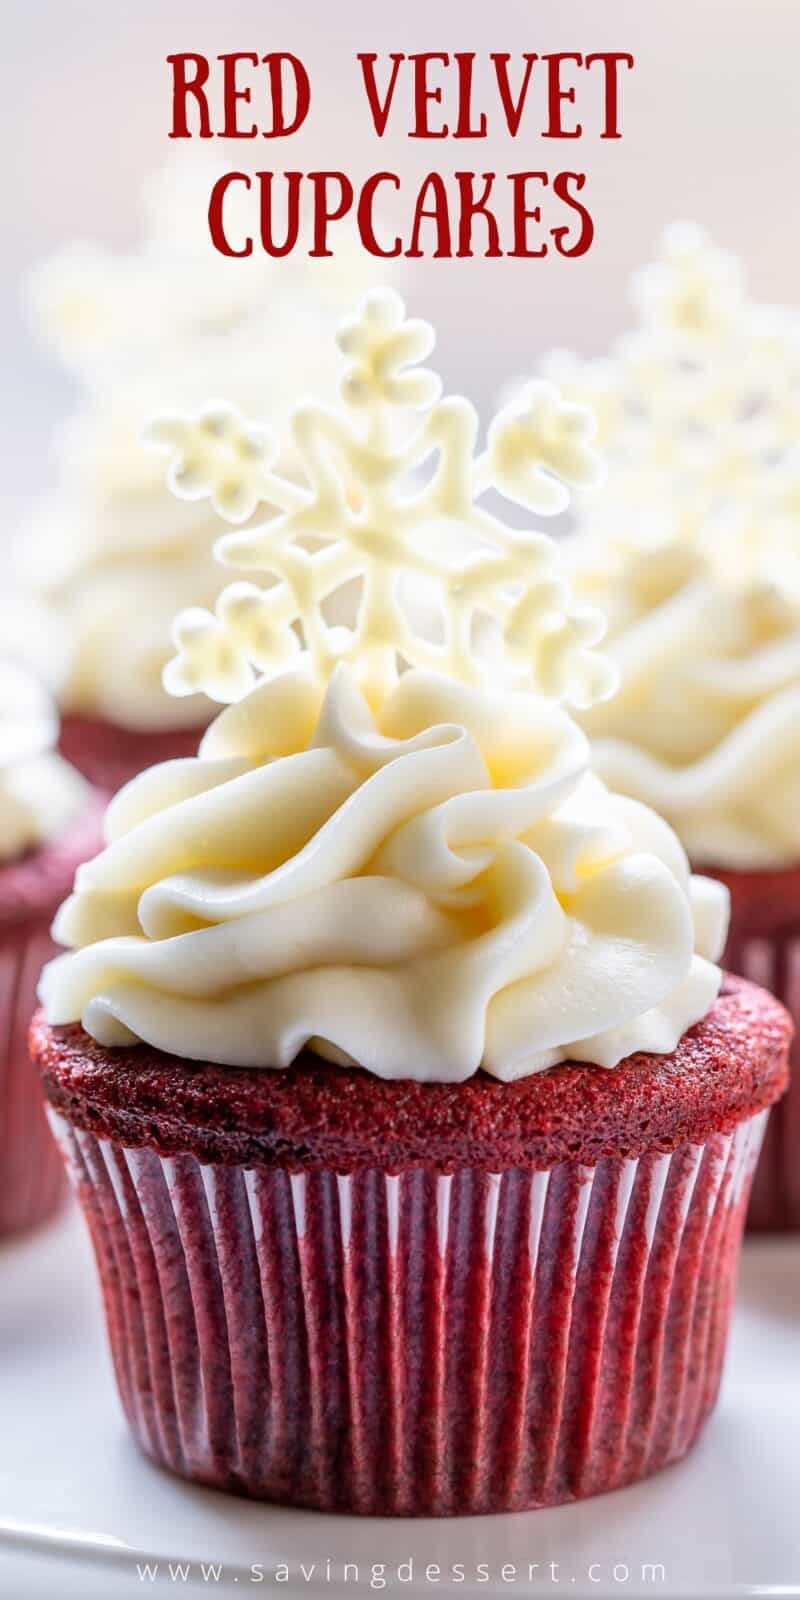
These tender, moist and delicious Red Velvet Cupcakes are topped with our favorite silky Cream Cheese Frosting and decorated with white chocolate snowflakes. They’re great for an easy, quick and festive holiday dessert!
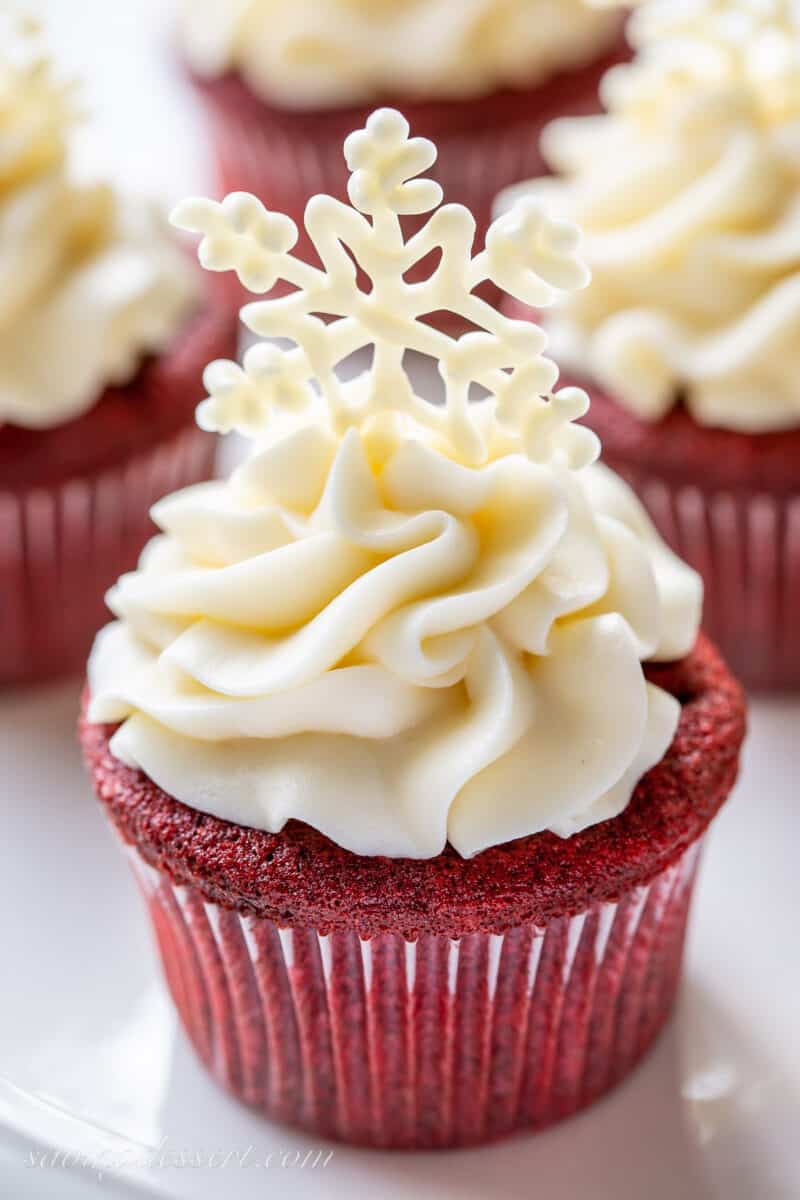
Perfect Red Velvet Cupcakes
We’ve adapted our favorite Red Velvet Cake recipe into terrific little cupcakes perfect for the holidays. They’re beautifully festive, easy to make, always a favorite around the holidays or all year long!
While the cupcakes and frosting are great on their own, we topped ours with a simple white chocolate snowflake to add a little pizzazz. Feel free to decorate your cupcakes with holiday sprinkles, red velvet cake crumbles, sugared cranberries or nothing at all. ❤️
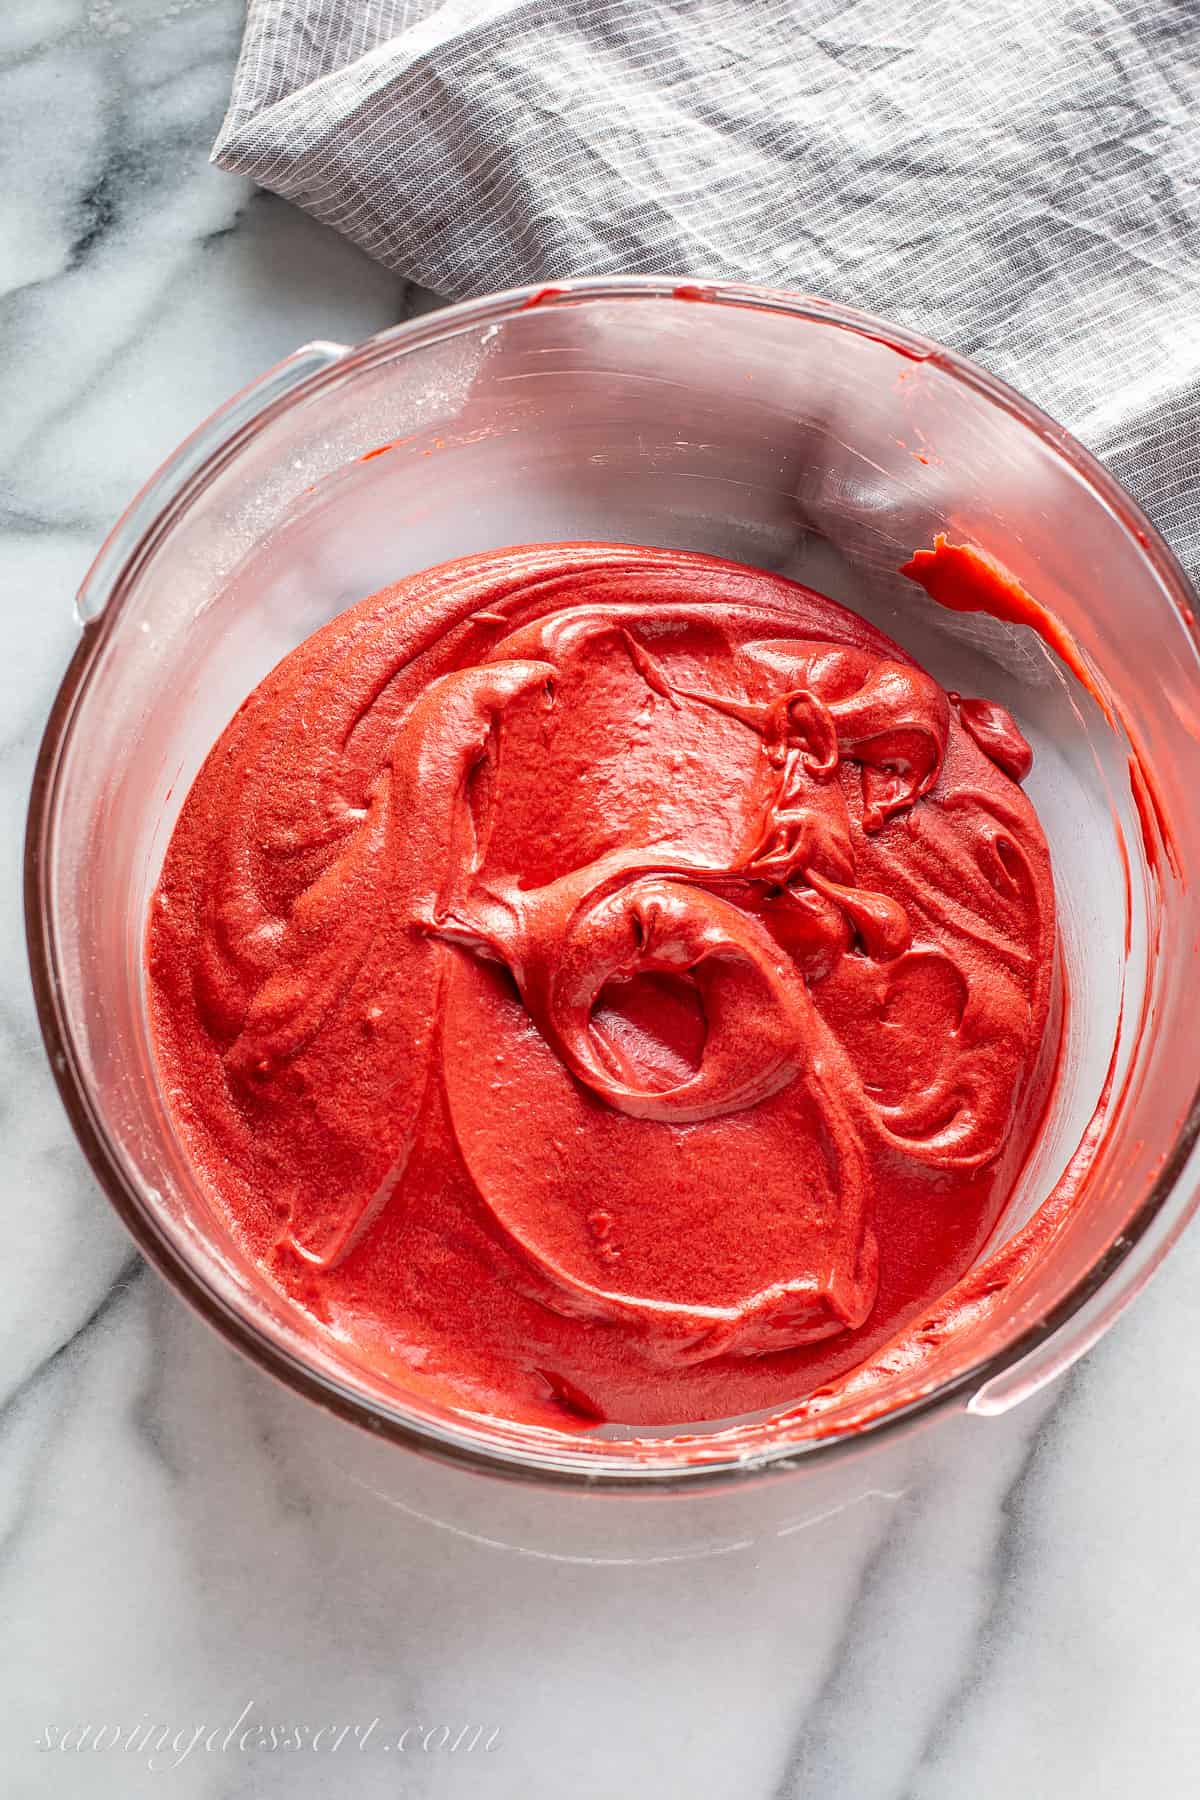
Ingredients Overview
For the cake batter:
- unsalted butter at room temperature
- a few tablespoons of vegetable or canola oil for added moisture
- granulated sugar
- one large egg at room temperature
- red liquid food color (not gel icing food color)
- unsweetened, natural cocoa powder
- salt
- vanilla extract
- full-fat buttermilk, well shaken
- all-purpose flour
- white distilled vinegar
- baking soda
For the frosting:
- cream cheese at room temperature
- unsalted butter at room temperature
- powdered sugar
- vanilla extract
- salt
Equipment:
- cupcake liners
- a 12-well muffin tin
- electric mixer
- piping bag and decorating tip if using (I use a Wilton 1M open star tip)
We participate in the Amazon Services LLC Associates Program, an affiliate advertising program designed to provide a means for us to earn fees by linking to Amazon.com and affiliated sites.
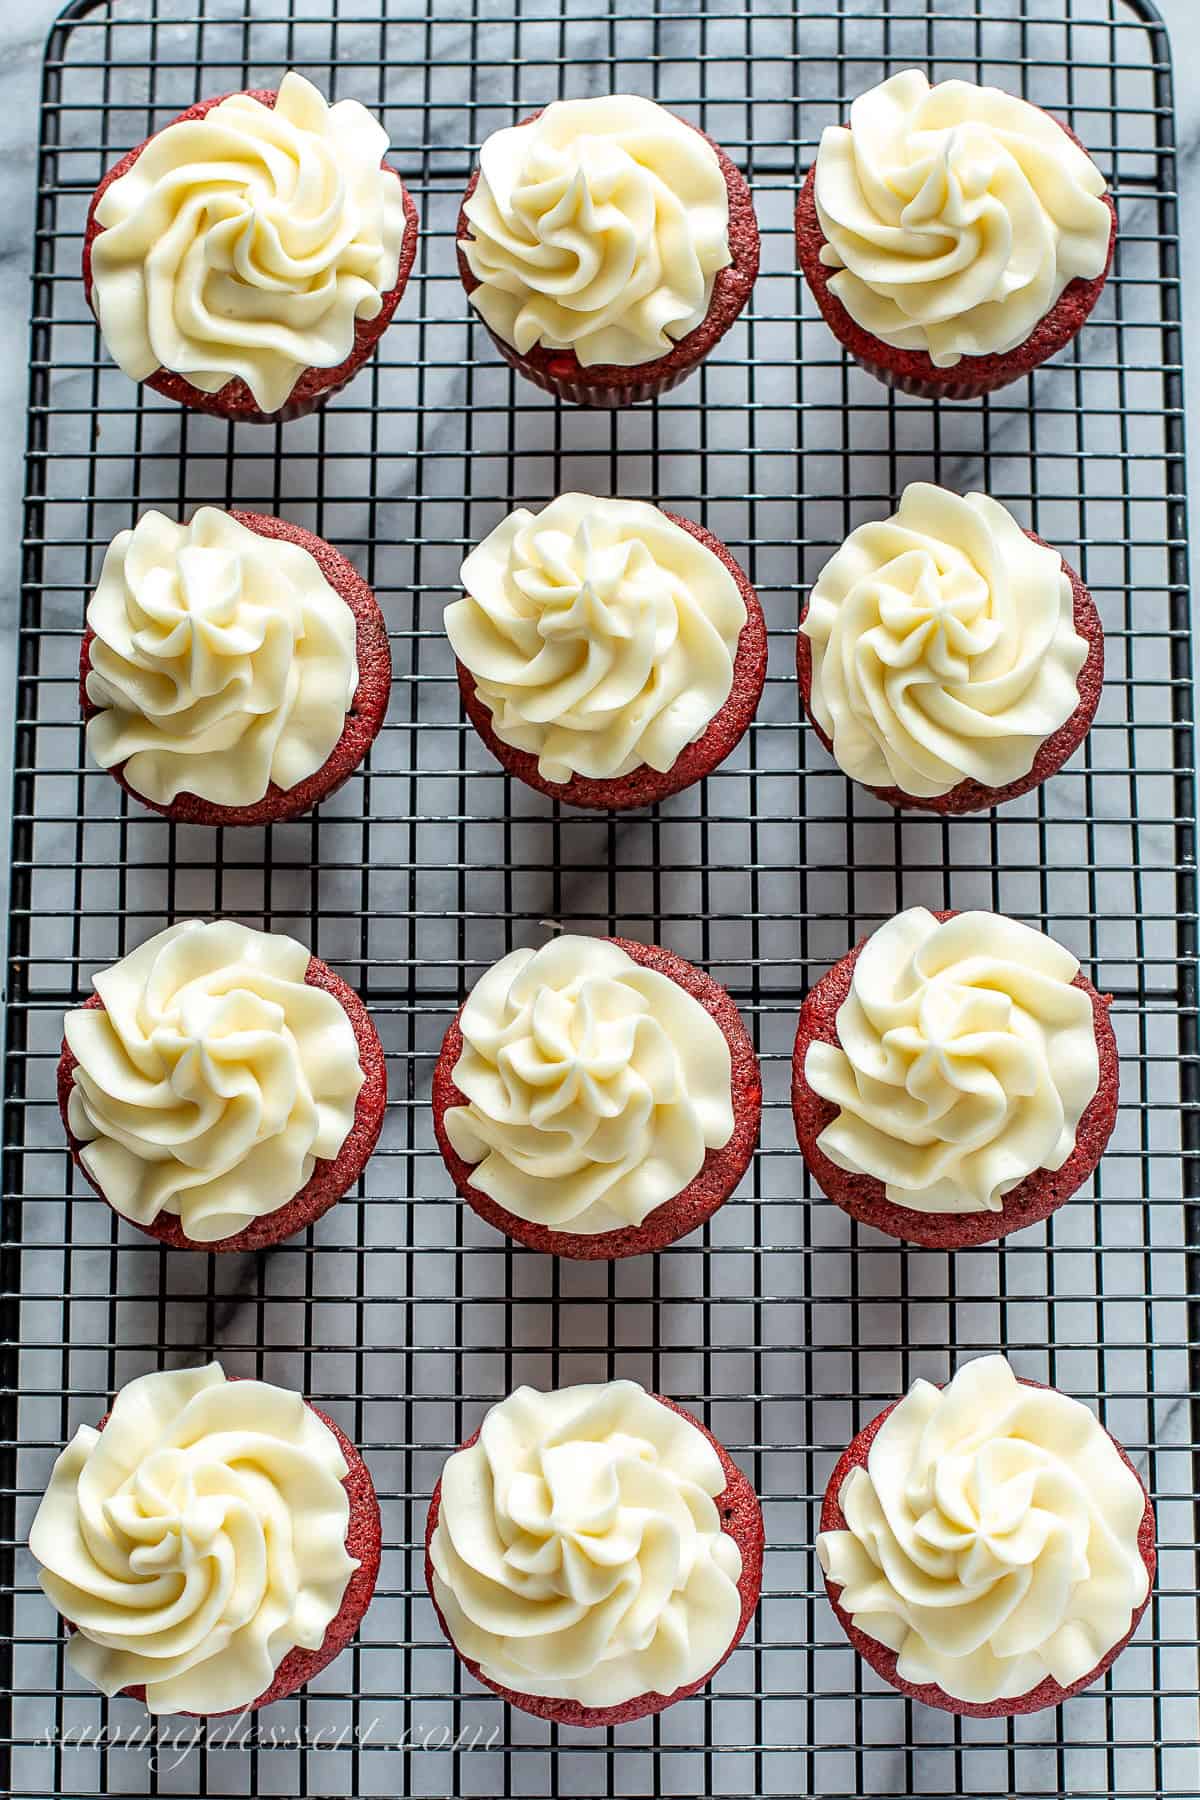
How to make Red Velvet Cupcakes
To prepare the cake:
- Preheat the oven to 350 degrees F. Line a 12-well muffin tin with paper cupcake liners. Set aside.
- In a large bowl cream together the butter, oil and sugar until light and fluffy. Add the egg mixing just until the yolk disappears. Scrape down the side and bottom of the bowl.
- In a small bowl whisk together the red food color, cocoa, vanilla and salt. Add the cocoa mixture to the creamed butter and sugar. Blend on medium-low until combined.
- Add on-third of the buttermilk and blend until incorporated. Next add one-third of the flour. Mix on low. Repeat adding half the remaining buttermilk, then half the flour. Blend on low just until incorporated. Finally add all remaining buttermilk and flour.
- In a small cup stir together the vinegar and baking soda until completely dissolved. Using a spatula gently fold the vinegar into the cake batter. Do not beat!
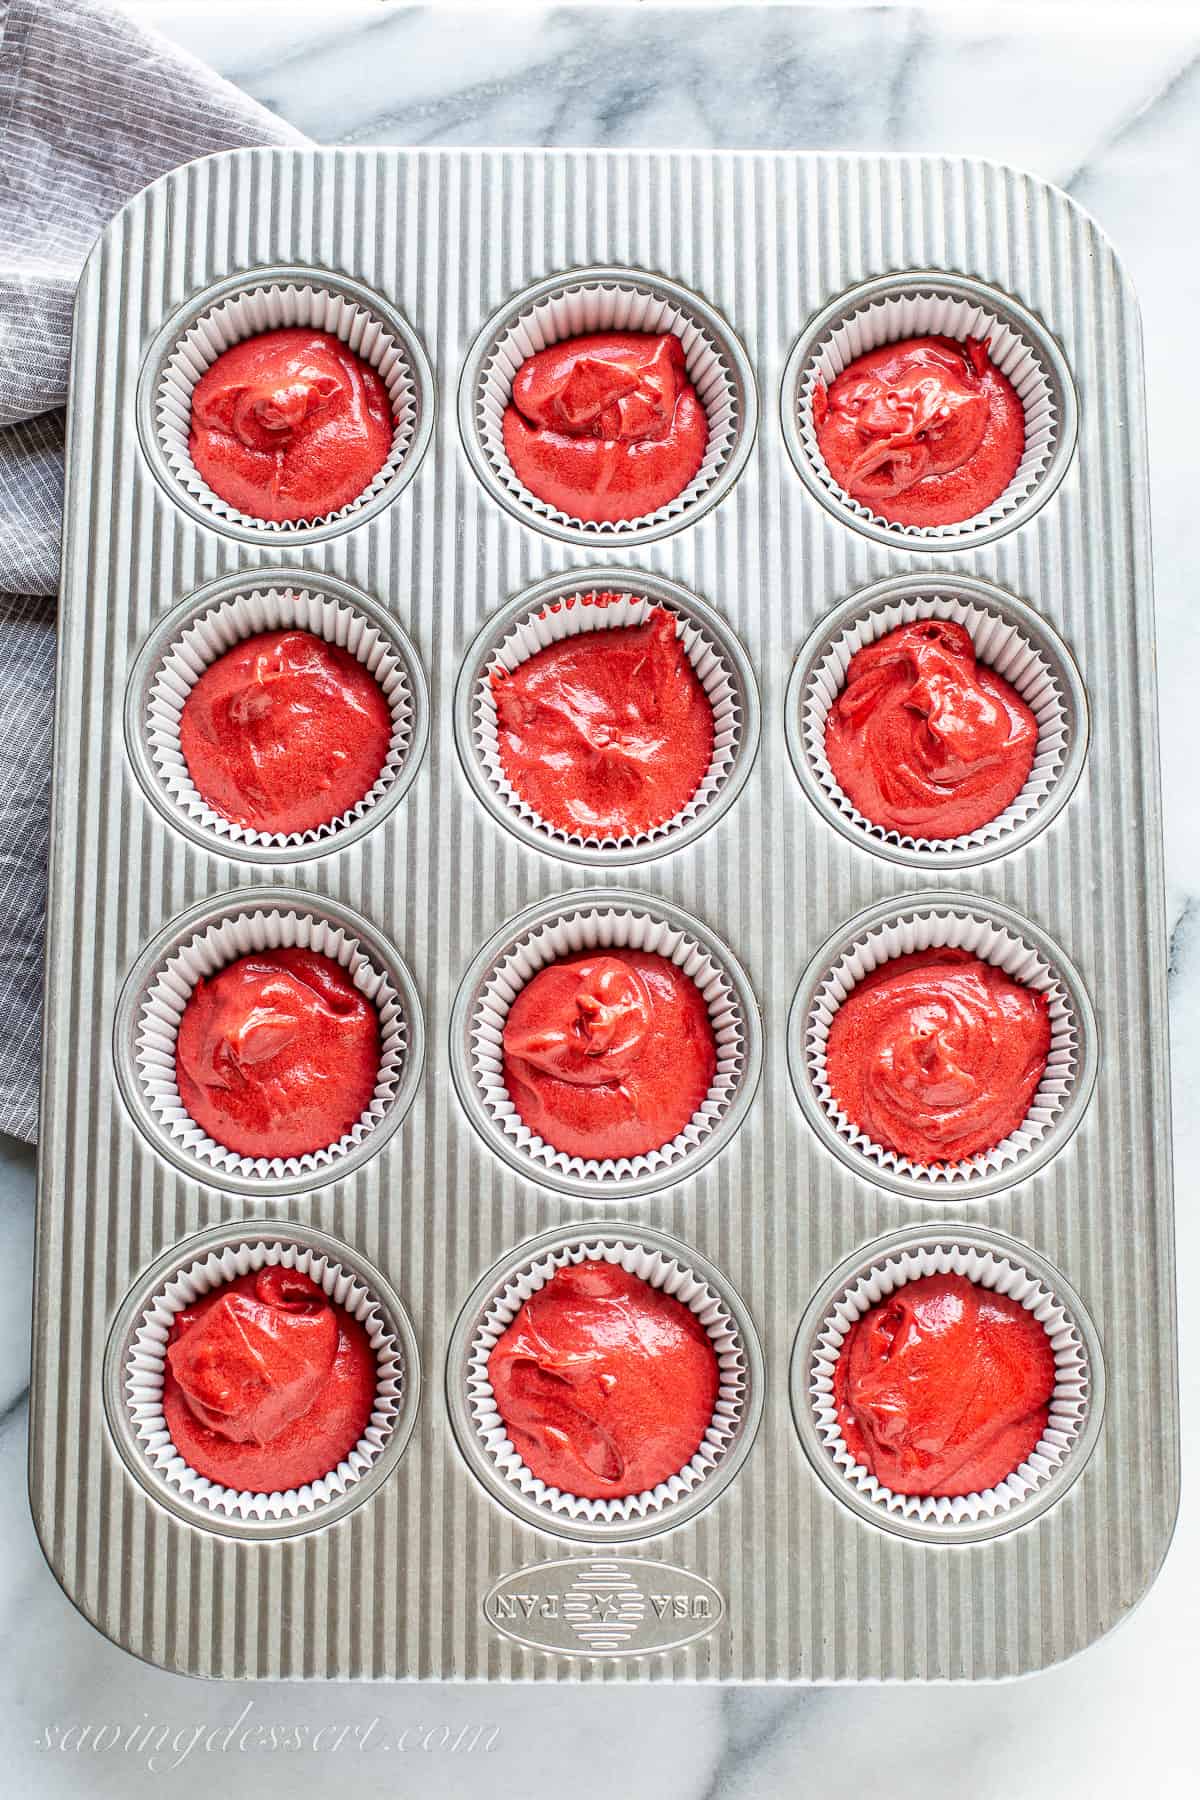
- Divide the batter equally between the 12 muffin wells. Bake until a toothpick inserted in the center comes out clean about 16 to 20 minutes. Moist crumbs are okay but no wet batter. Don’t over-bake!
- Cool in the pans for 10 minutes then remove to a wire rack to cool completely before frosting.
To prepare the frosting:
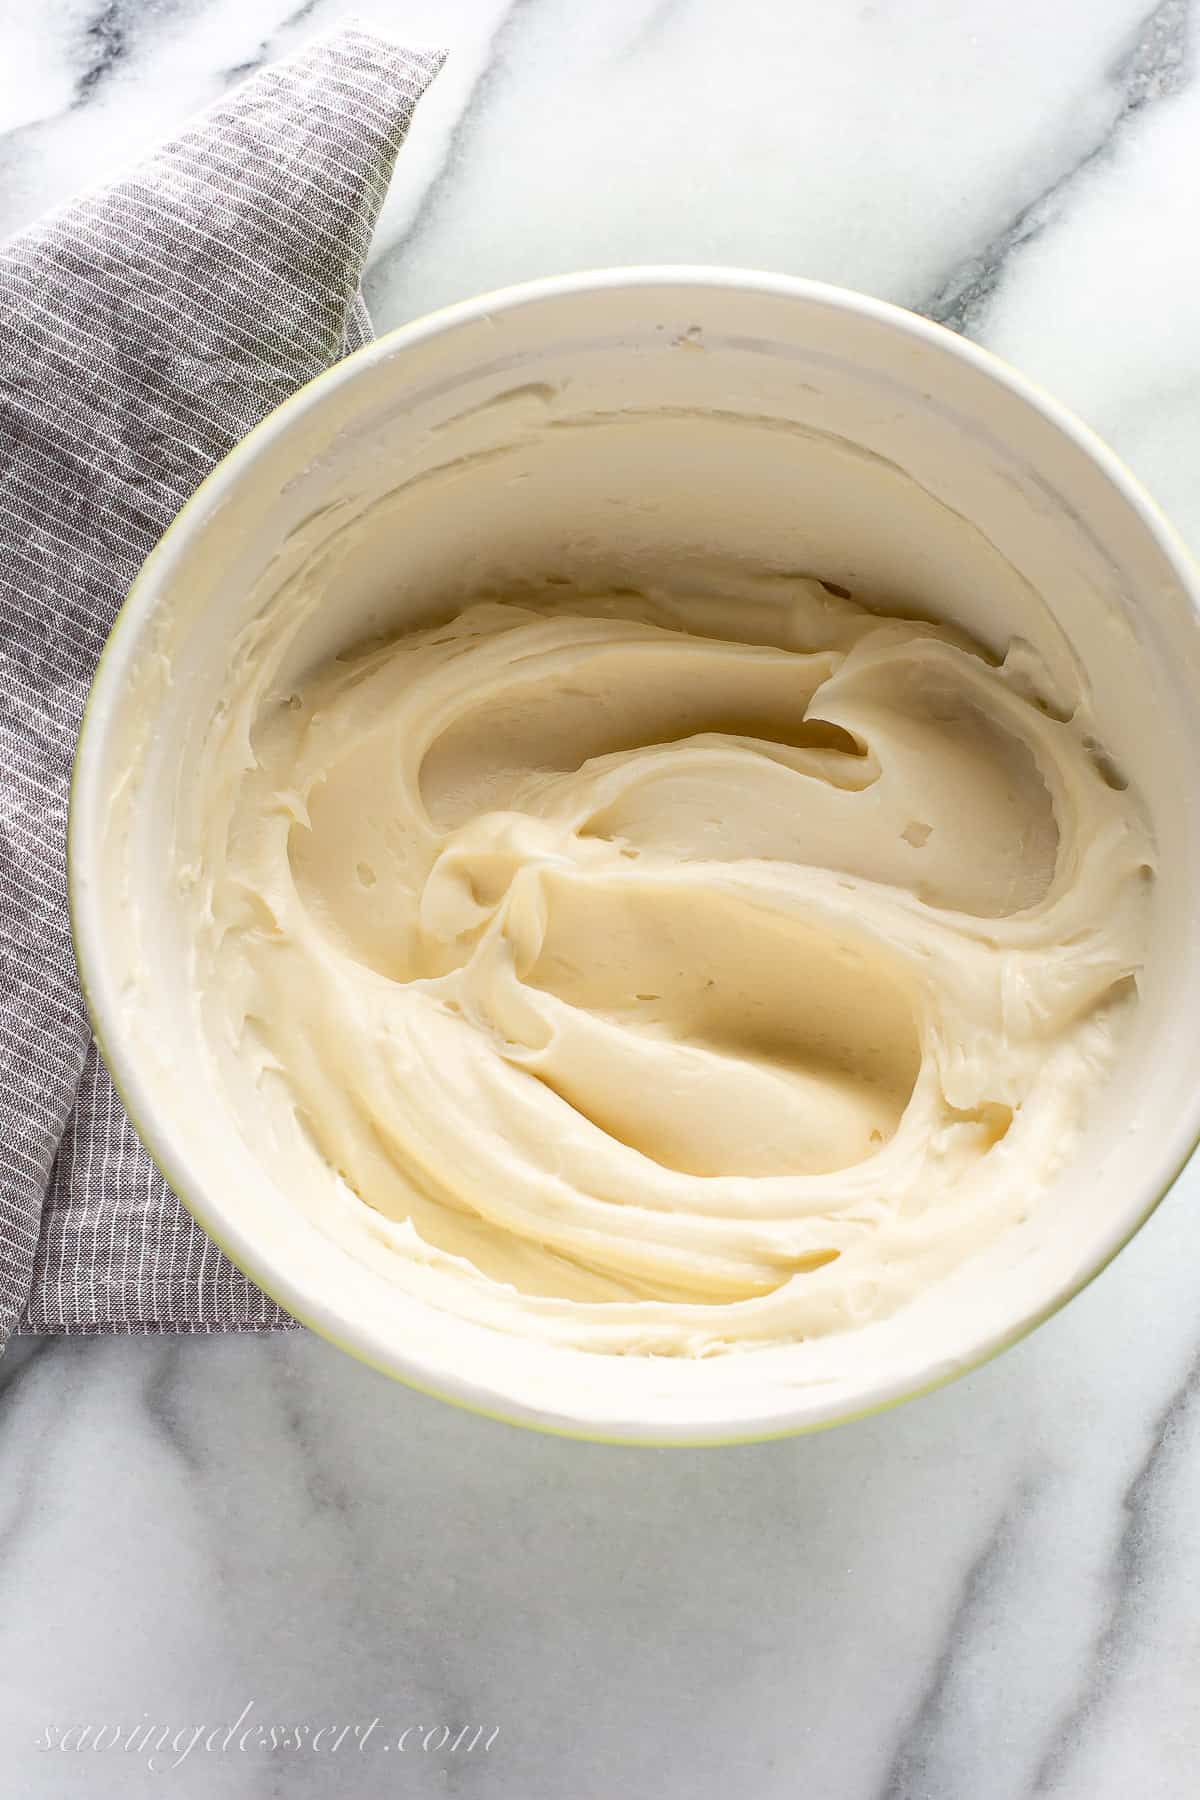
- Combine the cream cheese and butter and beat until blended. Add the sugar and blend on low. Pour in the vanilla and salt and mix on low until smooth and creamy. Don’t over-beat as this will add air bubbles to the frosting.
- Frost the cupcakes as desired. Cover and refrigerate until ready to serve. Cupcakes will keep well for up to 3 days.
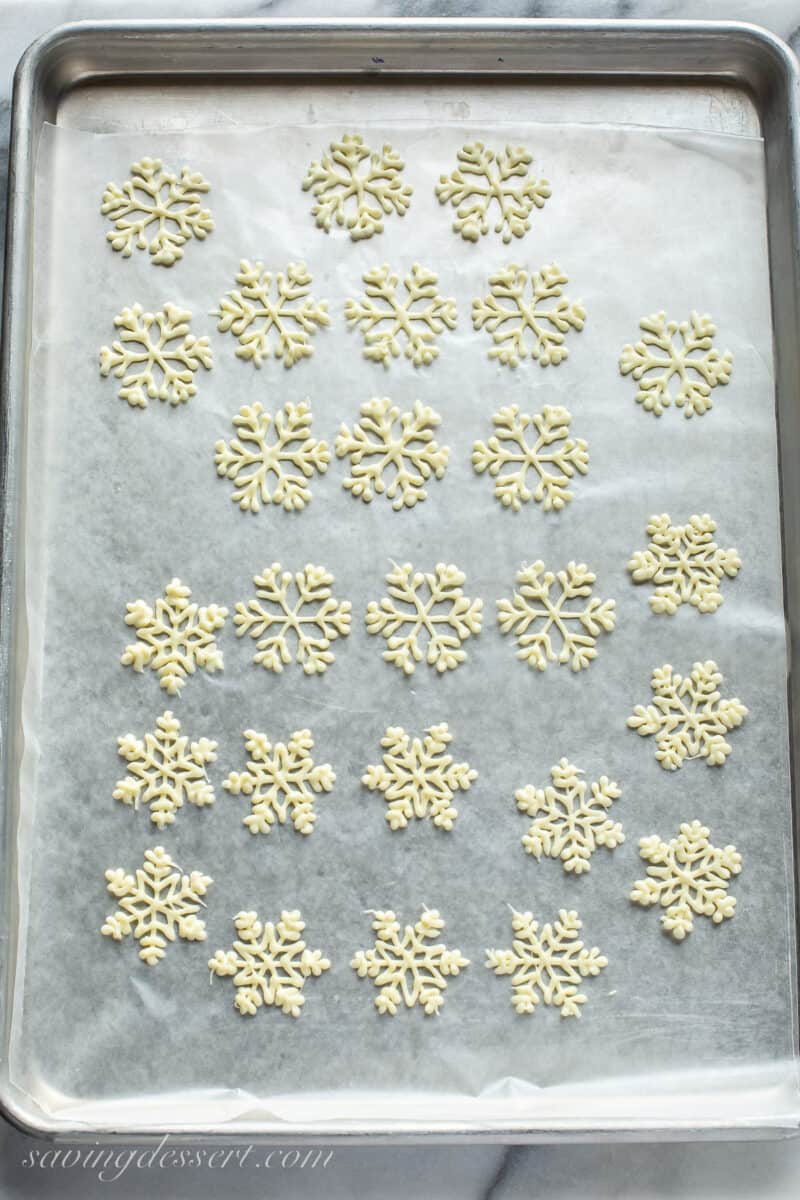
How to make white chocolate snowflakes
Print out a sheet of small 2-inch snowflake designs. I used these small printables from OriginalMom. Place the printed sheet under a piece of wax paper.
Melt white chocolate chips or baking chocolate according to the package directions. Keep the white chocolate warm by placing the bowl over a pan of slightly simmering water. Don’t let the chocolate touch the water as it will cause it to seize.
Next, transfer part of the white chocolate into a piping bag fitted with a small round tip. Trace the printed snowflake design onto the wax paper.
Continue until you have enough to decorate your 12 cupcakes, plus a few extra in case some break. I found that the snowflakes with more detail (bottom half of pan) held up better than those with thin lines of white chocolate.
Allow the snowflakes to set completely, or refrigerate as needed. Use a small, thin spatula to remove the snowflakes from the wax paper. Place the snowflake into the icing. Refrigerate the cupcakes until needed.
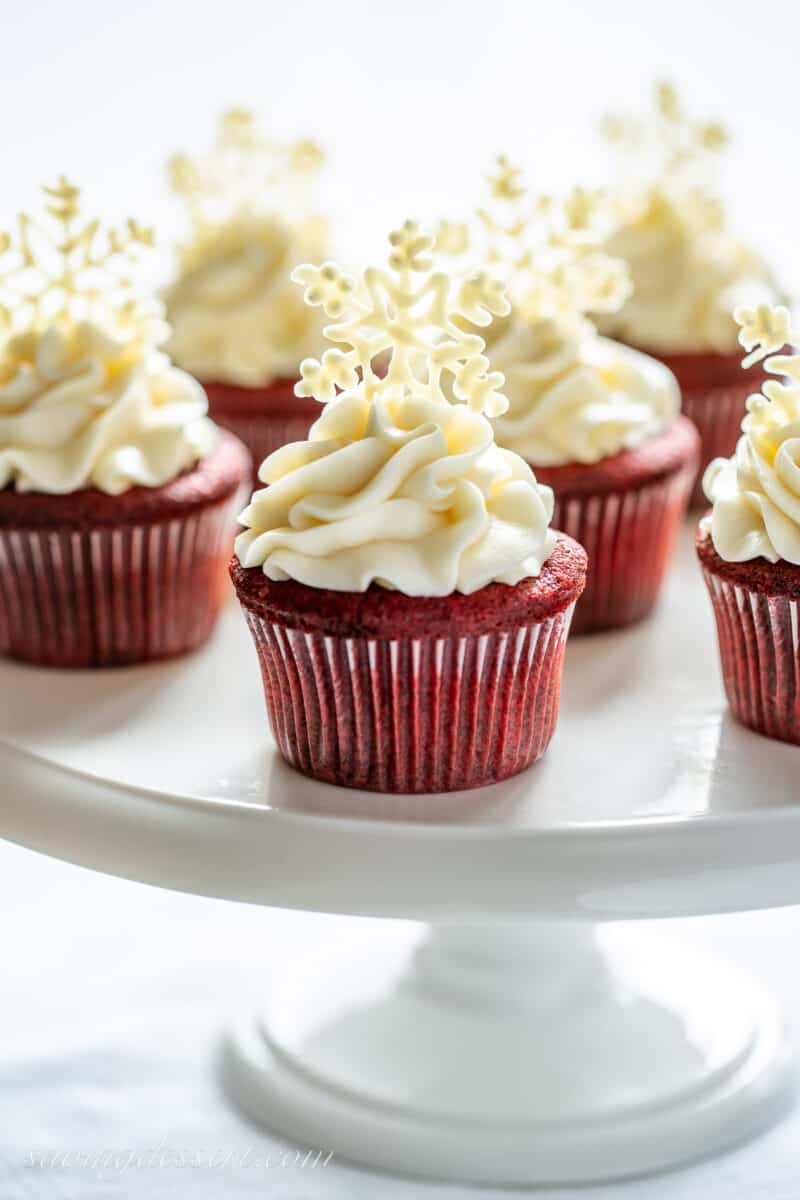
Decorating Red Velvet Cupcakes
As it is in real life, snowflakes are all different so don’t worry if they’re not perfect. If you don’t want to bother with piping snowflakes, simply decorate the cupcakes with red or green sprinkles, or a little crumbled red velvet cake.
If you want to get a little more fancy, try decorating with our sugared cranberries. They’re easy to make and taste good too!
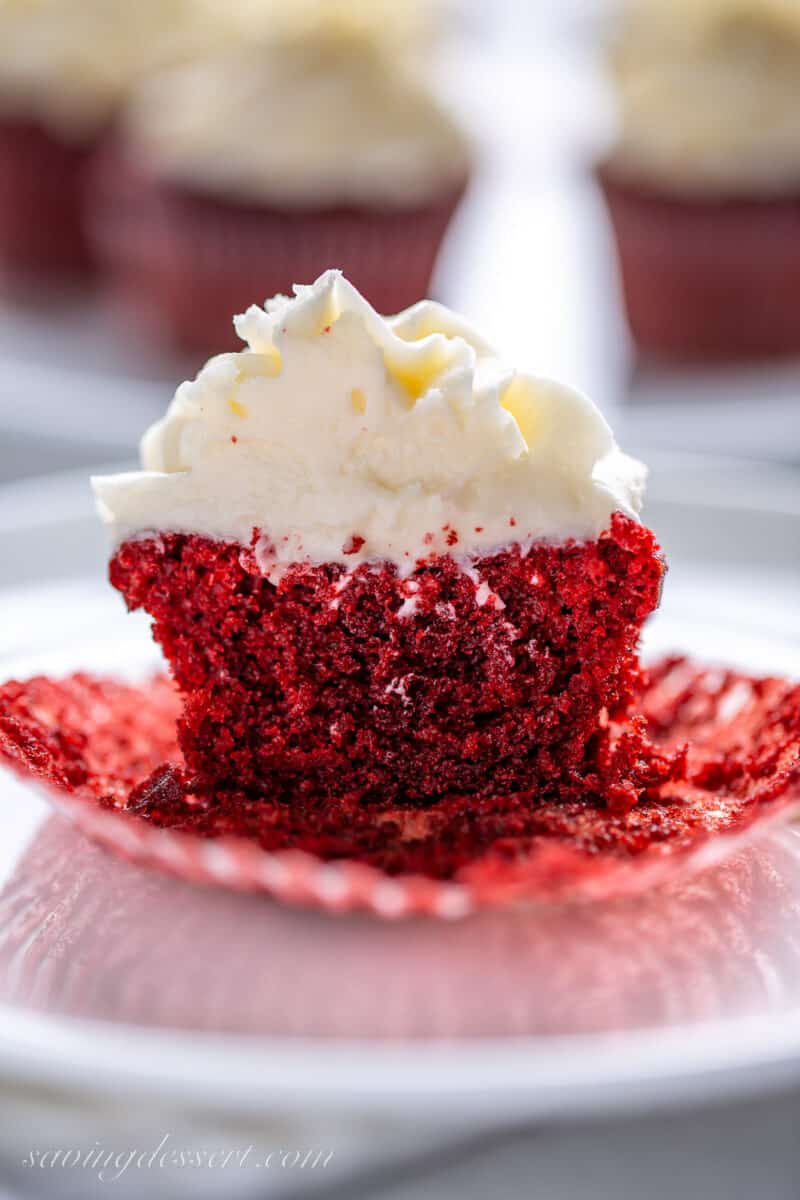
The best frosting for Red Velvet Cupcakes
We love serving red velvet cake and cupcakes topped with our perfectly silky cream cheese frosting.
However, if you prefer a vanilla buttercream or Swiss meringue buttercream then feel free to give that a try.
How to store Red Velvet Cupcakes
Once frosted we recommend storing Red Velvet Cupcakes in the refrigerator. You can wait to add the snowflakes until you’re ready to serve if that makes it easier to store the cupcakes.
If refrigerating for longer than a day before serving, store the cupcakes in an airtight container and refrigerate.
Remove the cupcakes up to an hour before serving to allow them to come to room temperature. This will ensure the best flavor and texture.
Thanks for PINNING!
Red Velvet Cupcakes
Ingredients
For the cake:
- 4 tablespoons unsalted butter room temperature (2oz)
- 2 tablespoons vegetable or canola oil (30g)
- ¾ cups granulated sugar (170g)
- 1 large egg room temperature
- ½ ounce red liquid food color (not icing gel food color)
- 1 tablespoon cocoa powder natural, unsweetened
- ½ teaspoon salt
- 1 teaspoon vanilla extract
- ½ cup full-fat buttermilk well shaken (4oz)
- 1 cup plus 2 tablespoons all-purpose flour (140g)
- 1 ½ teaspoons white vinegar
- ¾ teaspoon baking soda
For the icing:
- 6 ounces cream cheese room temperature
- 6 tablespoons unsalted butter room temperature
- 12 ounces powdered sugar (3 cups or 340g)
- 1 teaspoon vanilla extract
- ⅛ teaspoon salt
Instructions
To prepare the cake:
- Preheat oven to 350°F. Line a 12 well muffin tin with paper cupcakes liners. Set aside.
- In a large bowl, cream together the butter, oil and sugar until light and fluffy. Add the egg mixing just until the yolk disappears. Scrape down the sides and bottom of the bowl.
- In a small bowl whisk together the red food coloring, cocoa, vanilla and salt until blended. Add the cocoa mixture to the creamed butter and sugar mixture. Blend on medium-low until combined, scraping down the sides of the bowl as needed.
- Add ⅓ of the buttermilk and blend on low until incorporated. Next add ⅓ of the flour and mix on low. Scrape down the sides of the bowl as needed. Repeat by adding ½ of the remaining buttermilk and then ½ of the remaining cake flour taking care not to over-beat after each addition. Blend on low just until incorporated. Repeat until all the buttermilk and flour are incorporated.
- In a small cup stir together the vinegar and baking soda, until completely dissolved. Using a rubber spatula gently fold the vinegar mixture into the cake batter. Do not beat!
- Divide the batter equally between the 12 muffin wells. Bake until a toothpick inserted in the center comes out clean (moist crumbs are okay – no wet batter) about 16 to 20 minutes. DO NOT OVER BAKE. Cool in the pans for 10 minutes, then turn the cupcakes out and cool completely on a wire rack.
To prepare the icing:
- Combine the cream cheese and butter and beat until blended. Add the sugar and blend on low until incorporated. And the vanilla and salt and mix on low until smooth and creamy.
- Frost the cupcakes as desired. Cover and refrigerate until ready to serve. Cupcakes keeps well up to 3 days.
Recipe Notes
- Adapted from our Red Velvet Cake Recipe
Nutrition
Red Velvet Cupcake Recipe
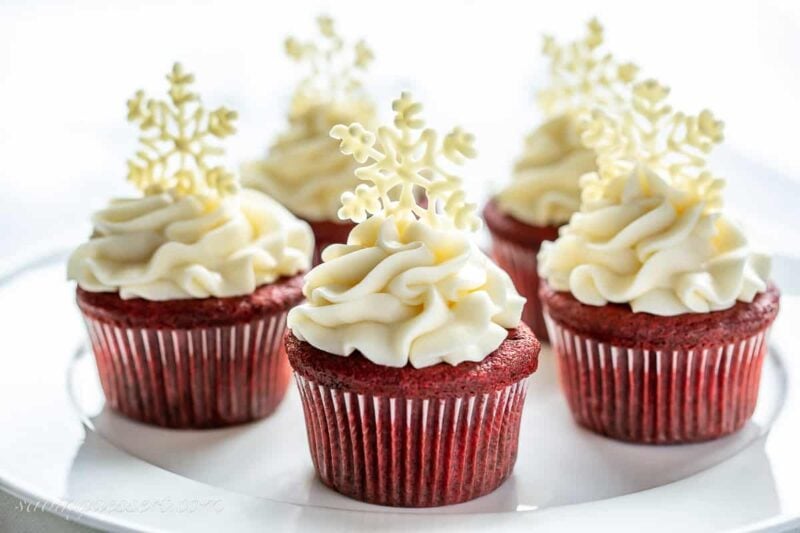
If you love red velvet cake, you’re going to love these Red Velvet Cupcakes! We adjusted our cake recipe slightly by adding a few tablespoons of canola oil for moistness and to prevent the cupcakes from sticking to the liners.
We used all-purpose flour in place of cake flour to make them a little more sturdy so they hold up well under the big pile of cream cheese frosting.
Other than those small changes, these cupcakes still have that wonderful hint of cocoa and tanginess from the vinegar and buttermilk we all love in a great red velvet recipe. Enjoy!

SallyBR
Such a beautiful cupcake with the snowflake on top, very elegant, classy… love it!
I wish you a wonderful holiday season, and a Happy New Year! Love your recipes, thank you for keeping the site so nice!
Tricia Buice
Thank you Sally! Best wishes to you and yours for an amazing new year!
Amanda N
What are the measurements for these ingredients?
Tricia Buice
Hi Amanda! The full printable recipe is at the bottom of the post. Enjoy