This post may contain affiliate links. Please read my disclosure policy.

Improve your techniques with our top 9 baking tips and tricks.
Some of these baking tips may seem a little ‘Captain Obvious‘ but these tried and true methods will help you turn out amazing treats, every time! Bake your best, improve your skills and pass it on.
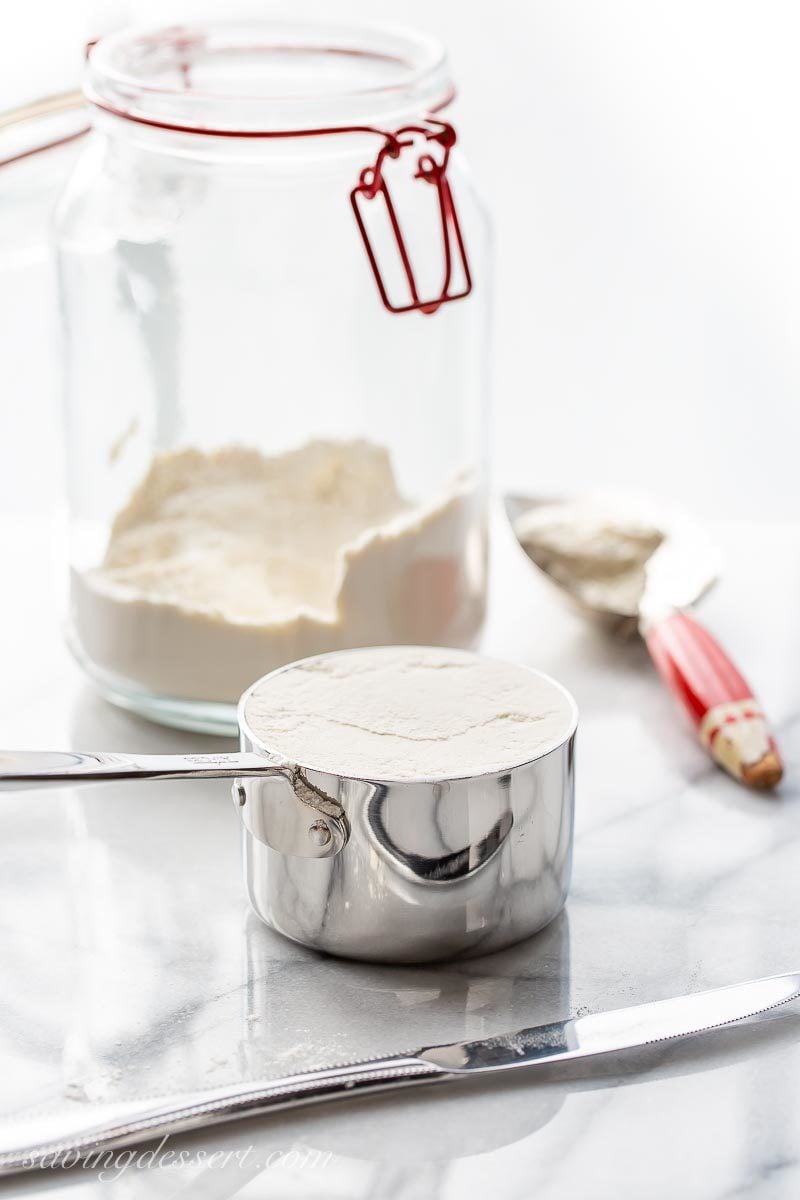
TIP NO. 1 – Baking tips for measured success
Measuring flour incorrectly is probably one of the most common mistakes made in baking.
Flour settles and becomes compact in the bag during shipping and storage. It’s a good idea to gently stir the flour before measuring, to fluff it up. I use the ‘spoon and sweep’ method to ensure the flour is measured correctly every time.
- Gently stir the flour in the bag with a spoon
- Spoon the flour into a measuring cup
- Using the back of a table knife, sweep the excess flour back into the bag
- Never tap the cup on the counter or shake it to level-off the flour. This will only pack the flour into the cup and you’ll end up with more than you need.
- Don’t swap out different flours. If a recipe calls for all-purpose flour, don’t use bread flour or whole wheat flour unless the recipe allows for this exchange. Flours have different flavors, textures and weights and may not work in your recipe.
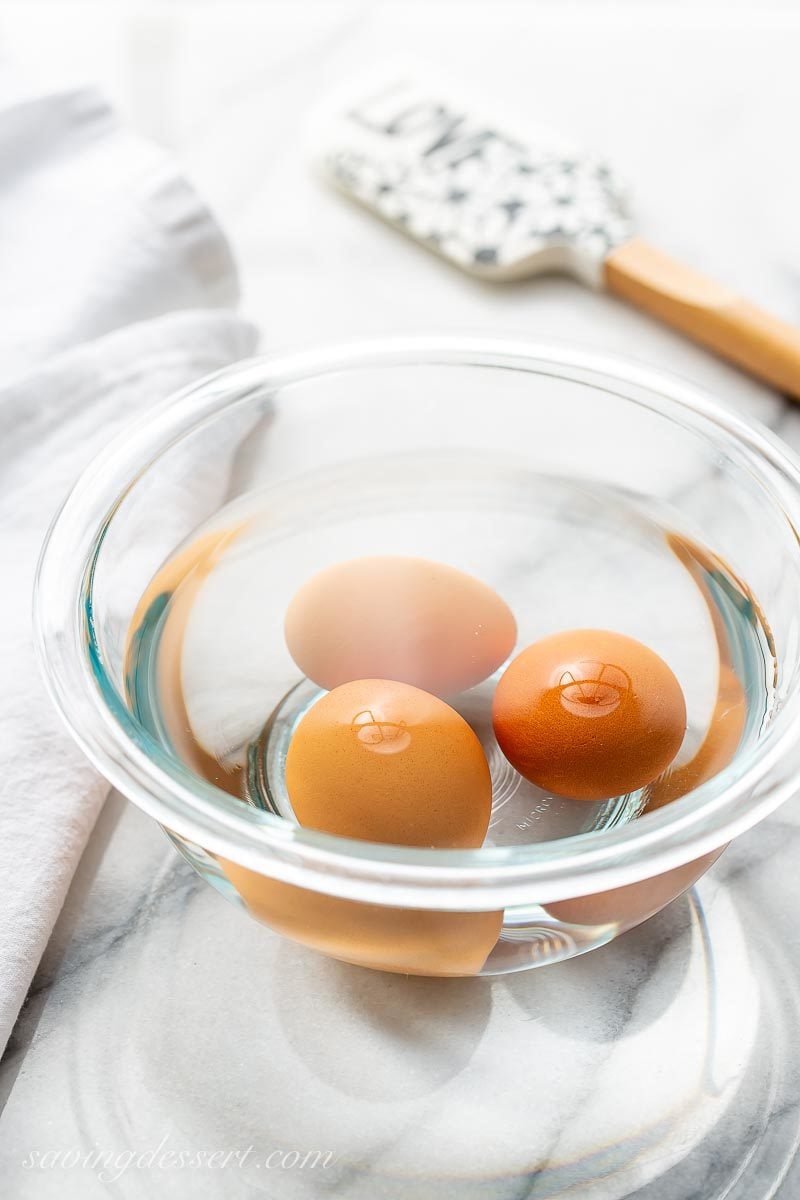
TIP NO. 2 – Room temperature eggs
Have you ever started baking only to realize you didn’t set the eggs out in time to warm to room temperature?
Yup, been there, done that… three million times. Some recipes are very forgiving and will probably be okay if you use cold eggs. But why take the chance? Room temperature eggs blend more easily into batters and doughs. And, room temperature egg whites whip up to a much bigger volume.
Here’s an easy, fool-proof way to remedy the problem of cold eggs:
- Place your cold eggs in a large bowl and cover them with warm, not hot, tap water.
- Let the eggs rest for 7-10 minutes while you prep the other ingredients.
- Warm the eggs just enough to help them blend. Don’t get in a hurry and cook them!
Cakes in particular, love warm eggs. Cold ingredients don’t trap and hold air bubbles efficiently, and air bubbles give cakes their beautiful rise.
If I have enough time before baking, I place my eggs and butter into my microwave with the task light turned on underneath. This warms the inside of the microwave just enough to help my ingredients achieve room temperature more quickly.
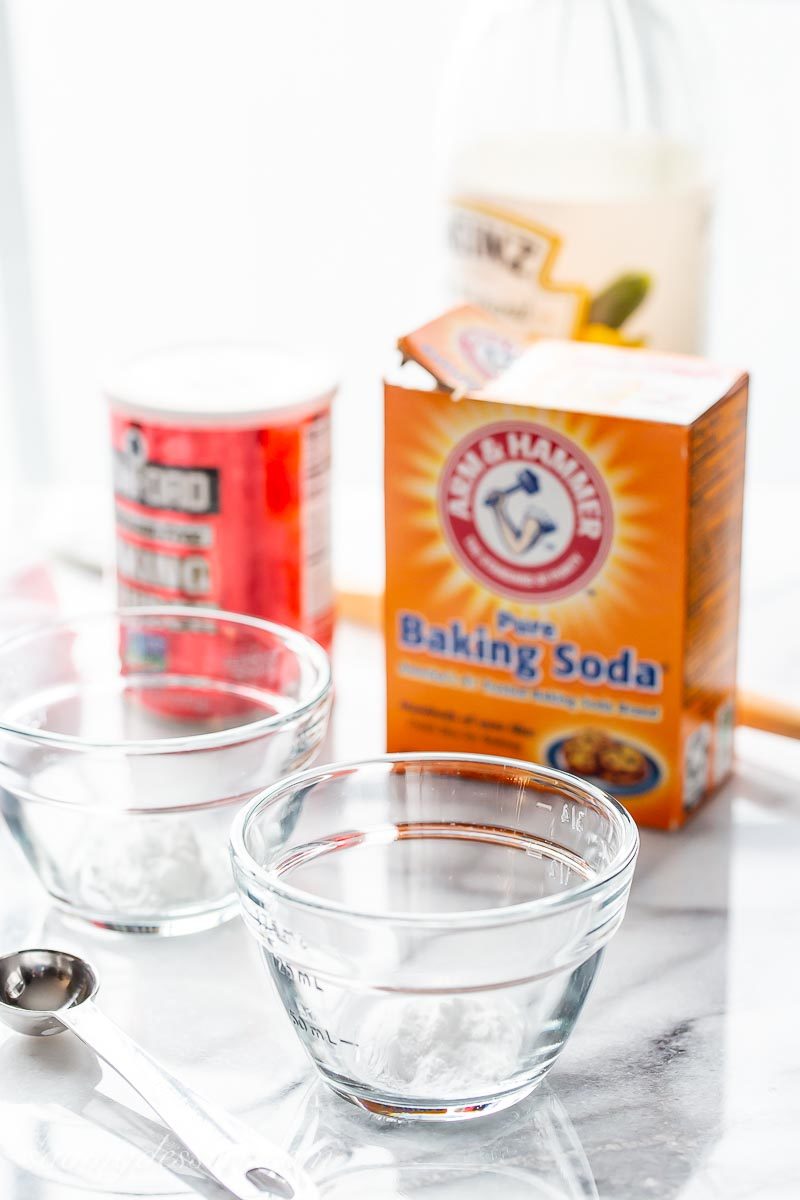
TIP NO. 3 – Baking tips to test baking soda and baking powder
If you’ve ever looked in your pantry and wondered if the baking soda and baking powder are as old as your children, they probably are. Whenever I buy a new box, or container, I always write the date opened in permanent marker on the side of the box. For years I relied on this method and discarded anything older than a year. However, that’s not a reliable method of evaluating whether these leaveners are still active. Sometimes before I start holiday baking, I buy new leaveners just to make sure. Nobody wants flat baked goods!
But there is another, fool proof way to ensure these essential ingredients will do the job.
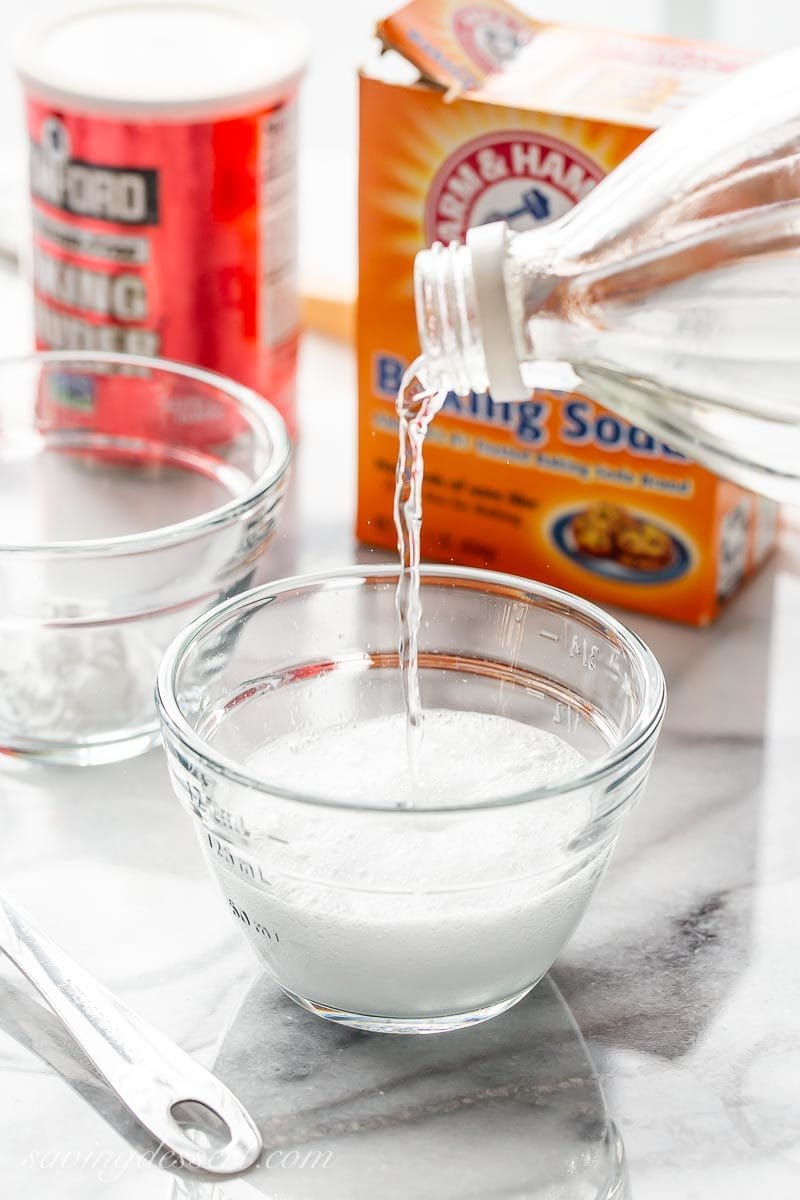
Use distilled white vinegar to test your baking soda.
- Place a teaspoon of baking soda in a small bowl and add white vinegar. If the baking soda bubbles and fizzes, it’s still working and you’re good to go!
This lovely reaction will help give your baked goods plenty of rise. Nobody wants flat instead of fluffy. Just saying.
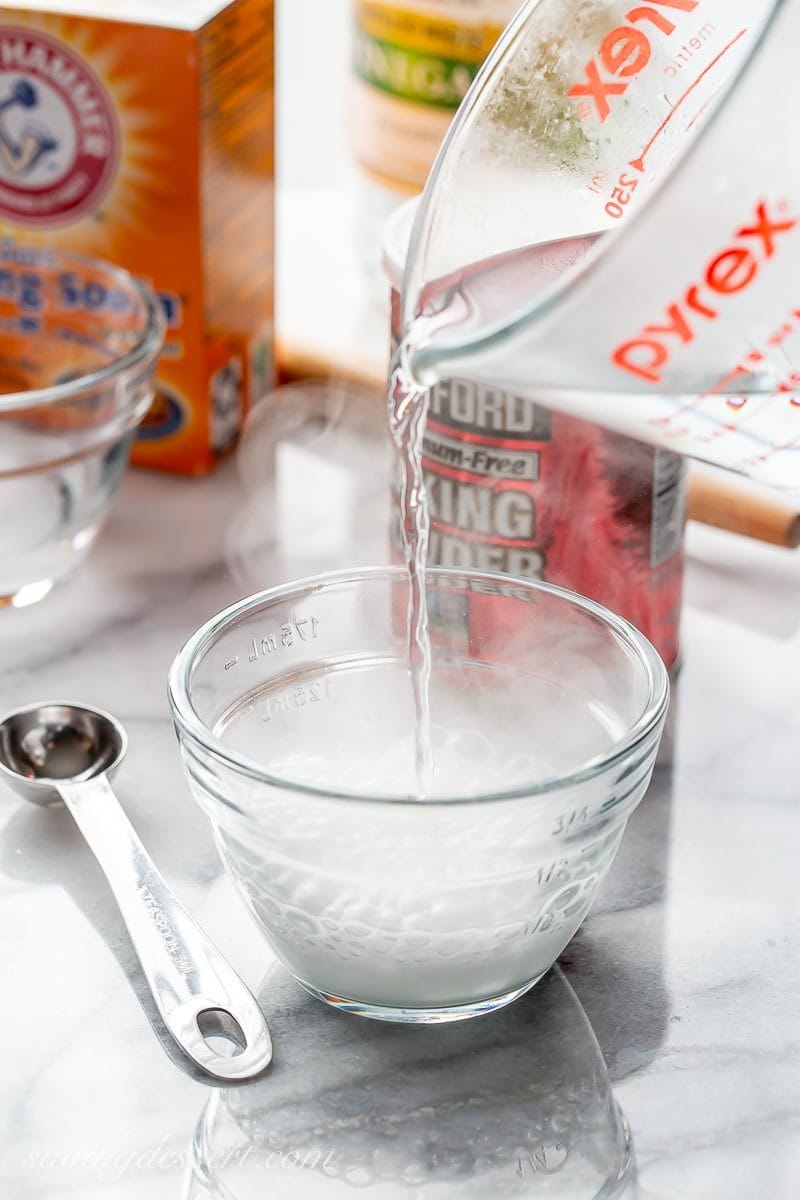
Use boiling water to test your baking powder.
- Place a teaspoon of baking powder in a small heatproof bowl.
- Carefully pour boiling water into the bowl. If the baking powder fizzes, it’s still active.
If you think the reaction was not hearty enough, trust your instincts and buy new baking powder or soda. It’s not worth ruining your recipes for less than $2.00.
TIP NO. 4 – Baking tips for properly measuring all your ingredients
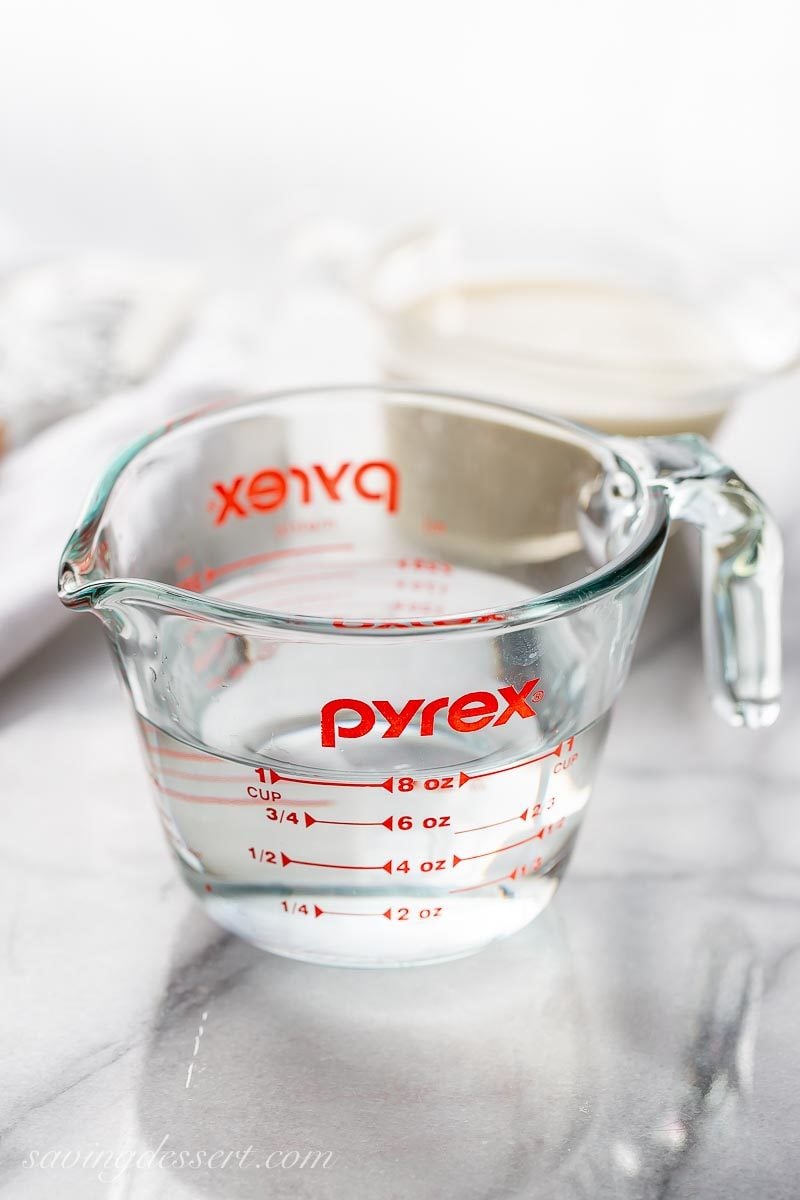
Measuring liquid ingredients:
- The easiest way to measure liquid ingredients is to use a clear cup with a pour spout.
- Check the line from eye level to ensure you have the right amount.
This may not seem very important now, but it can make or break a recipe. Too much liquid can dramatically change the flavor and/or texture of your finished recipe.
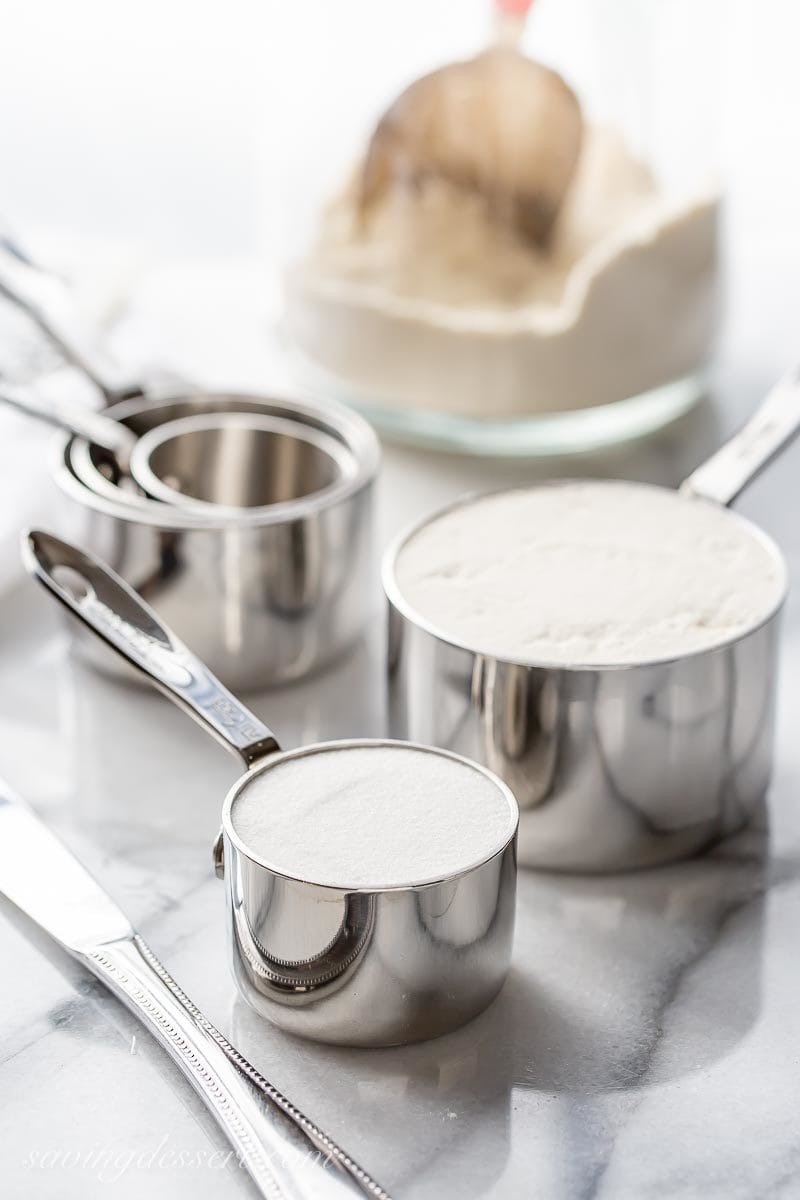
Measuring dry ingredients:
- Use flat-bottomed cups for measuring dry ingredients.
- Always use the spoon-and-sweep method mentioned in Tip No. 1 for flour.
Too much, or too little, dry ingredients can ruin a recipe. This measuring method works for all your dry ingredients such as sugar, flour, cocoa powder and oats, to name a few.
Measuring by weight: invest in a good digital kitchen scale
You may have noticed that many baking websites and cookbooks are now including the measurements by weight as well as volume. If you have a recipe that includes ingredients by weight, I highly recommend giving it a go. Weighing ingredients is an easy and efficient way to ensure your measurements are spot-on.
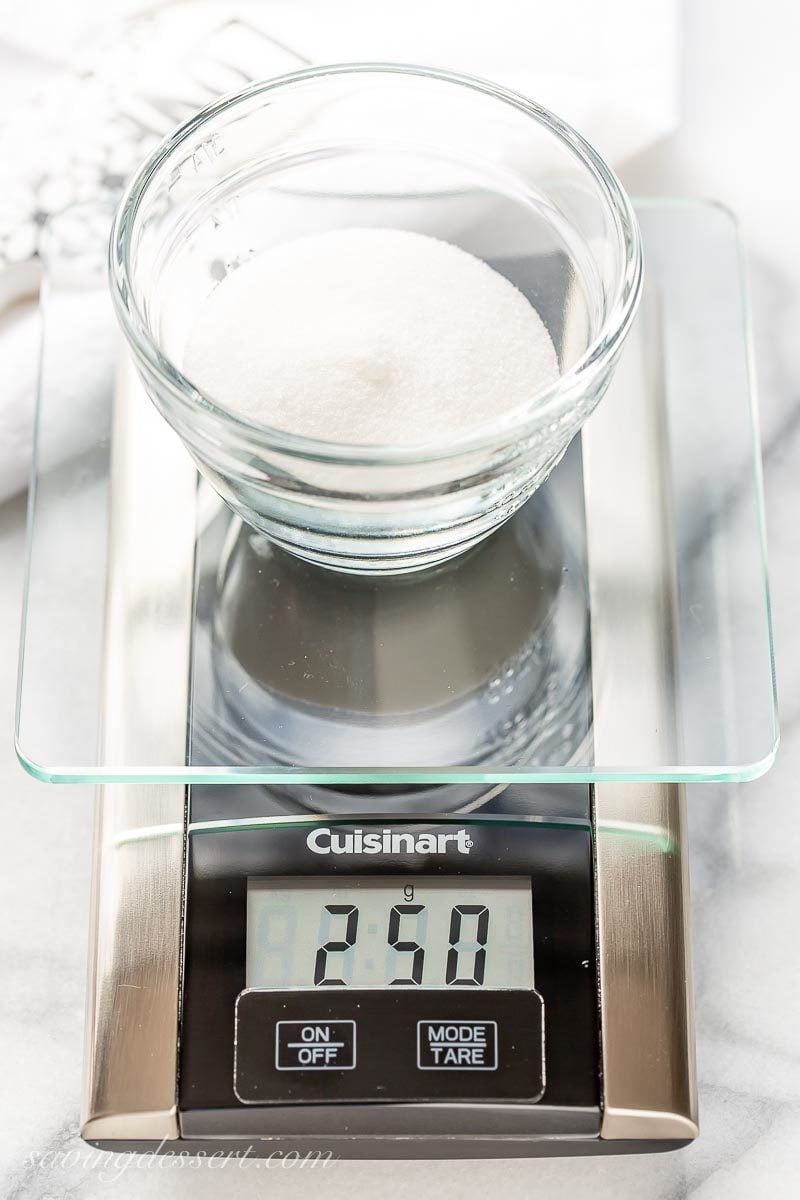
If you’ve ever watched The Great British Bake Off, you may have noticed how the contestants seem to be haphazardly pouring ingredients into their mixing bowls. In truth, they’re measuring everything by using a kitchen scale. For instance, your recipe calls for 250 grams of granulated sugar:
- Place your large mixing bowl on top of the scale and set the mode to grams. By hitting the Mode|Tare button, you reset the scale to zero. Add enough sugar to reach 250 grams, then hit the reset button again.
- Now add flour as directed, and reset the scale to zero again.
- Continue weighing your ingredients and resetting the scale as needed. Easy peasy!
You don’t have to worry about scooping and sweeping the flour, or packing the brown sugar. And, you don’t have to wash a bunch of measuring cups either!
I’ve started adding weight measurements to each and every recipe here on SRFD. If you have a kitchen scale, feel free to use these measurements instead of volume by cups, etc. If you’re thinking about getting a scale, here’s a link to Amazon for a Digital Kitchen Scale. There are many available for under $10, but in this case I think it’s worth spending a little more to buy something highly rated and reliable.
Read the reviews and compare the products. You’ll find what you need.
Why is weighing ingredients important?
In years past I tried making a few recipes that only included measurements by weight, but without a scale. I would search for conversions like 1 cup of flour = X grams, etc. But that never works for me. I’ve also tried converting some recipes from grams to cups for my readers, but that never worked well, either. Nobody wants to measure 1/3 cup of flour, less 2 1/2 tablespoons, to reach the proper weight.
Sometimes you have to use a scale, as it is with Mary Berry’s Viennese Whirls. I tried three different times to convert that recipe, and never had any luck. I guess I’m just a little hard headed – haha.
A good digital kitchen scale makes a great Christmas gift for the bakers on your list!
American bakers have long used volume instead of weight for measuring ingredients. However, there is a trend brewing in the US with many recipes now including both. Hopefully we will move to this brave new world sooner than later, and happily so!
Cook’s Country noted that measuring by volume can create up to a 20 perfect difference in the weight of the ingredients used. Wow, that explains a lot!

TIP NO. 5 – Cooking and baking at the correct temperature
Baking tips for the proper temperature:
Have you ever wondered if your oven is baking correctly? If there are any doubts you might want to spend $7.00 and buy this inexpensive, reliable oven thermometer just to make sure. All ovens have quirks, and some may run hot, and others run cold.
- To ensure it’s properly heated, hang this oven thermometer on the rack in your oven.
From time to time, check and see that your oven is heating properly. You can move the thermometer around to different locations inside your oven if you think your oven heats unevenly. If you find your oven is a few degrees short of 350F for example, adjust accordingly. Know your oven’s quirks!
- To bake at the proper temperature – keep the oven door closed!
Resist the urge to open the oven door until you need to check for doneness, or rotate a pan. Opening the door changes the air pressure of the baking environment so use the oven light and window to spy on your creations instead.
Cooking at the right temperature:
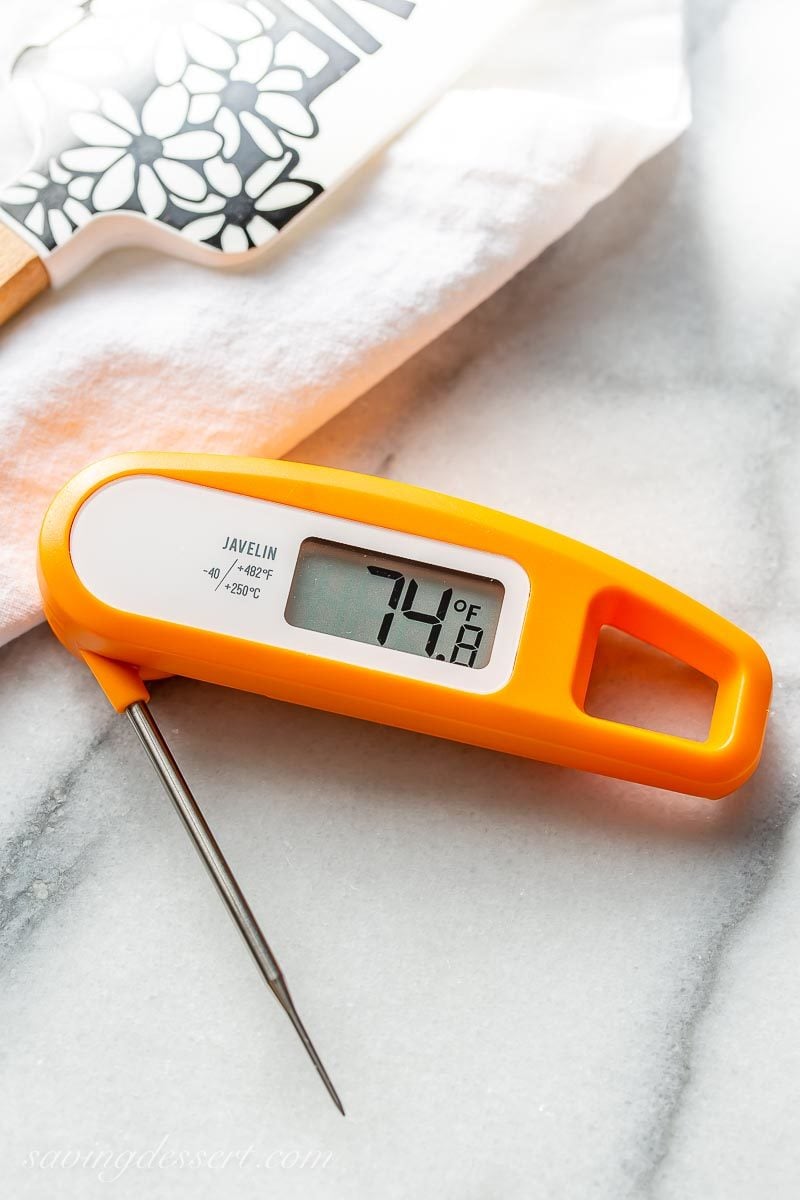
A digital instant read thermometer is great for checking the internal temperatures of meats and poultry, baking breads, eggy ice cream custards, and even the water used in yeasted recipes.
If you enjoy making candy during the holidays, you’ll need a way to check the temperature of your famous English Toffee before removing from the stove-top. I love my instant read thermometer and could not bake and cook without it!
TIP NO. 6 – Have your butter at the proper temperature
Pie crusts like it cold
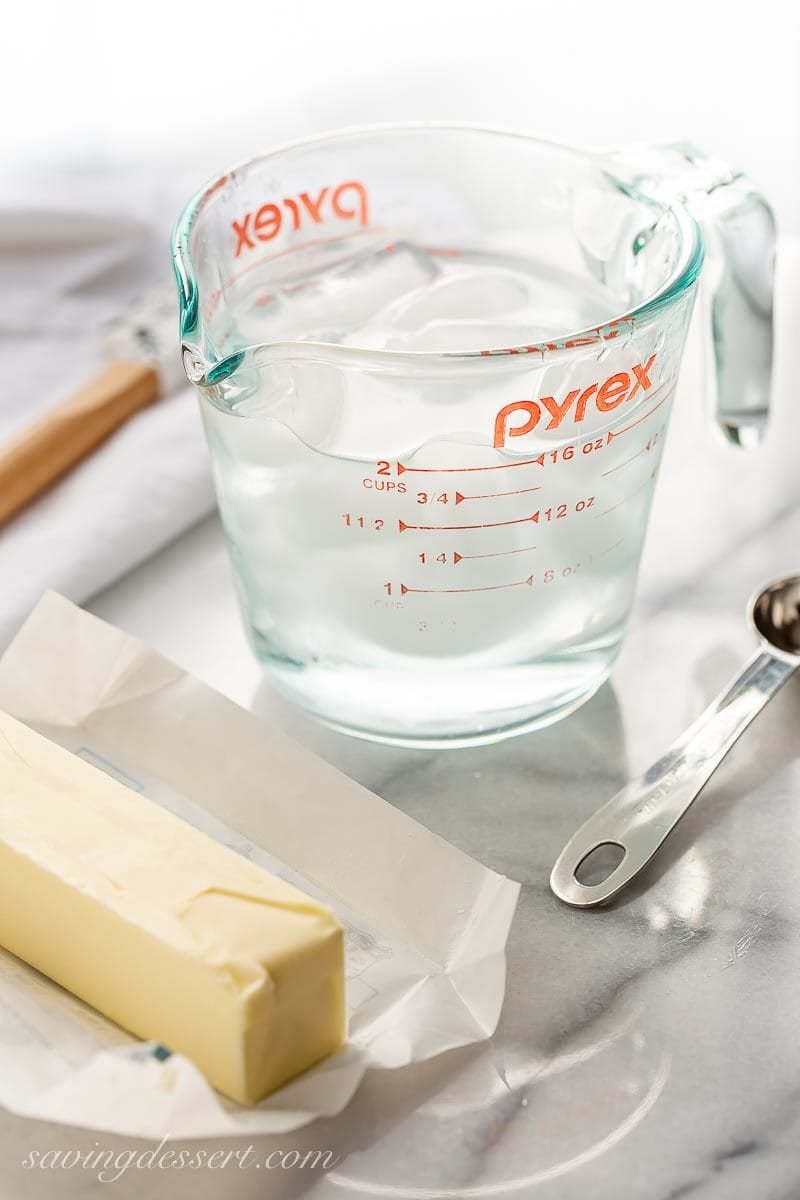
For the flakiest pie crusts, make sure all your ingredients are super cold. You can even chill your mixing bowls if you want!
- If the recipe calls for ice water, put ice in your water before measuring.
- Keep your butter or other fats chilled until needed.
- Roll out your dough on a cool surface, in a cold corner of your kitchen. Don’t make the mistake of rolling out your dough over a dishwasher in the drying cycle. The countertop may be warm to the touch and cause your dough to stick. Many bakers use a marble pastry board to help keep everything cool. Not a bad investment if you love to make perfect pie crust.
True story: My husband and I were traveling and stopped by to see his father and stepmother in north Georgia, who asked me to whip up a peach pie. We were only there for a few hours so there was no time to properly chill the dough. As they were elderly, they kept the house at about 78 degrees F. Combined with the high humidity, I was sweating. When I tried to roll out the pastry, it practically melted on the countertop. What a disaster! I don’t know how people made pies in the old days before air conditioning.
I finally got the pie crust pieced together but knew it had holes where the juices would bubble out. We left before it came out of the oven, but they said it tasted good. Looking back now, I should have popped the dough in the freezer or at the very least, put a large baking pan in the freezer, that I could use to roll it out.
Cakes like it warm
- If your recipe calls for room temperature butter, be sure you set it out an hour or so before baking.
- I’ve been known to forget so here’s a quick way to soften your butter. Place two cups of water in a clear microwave safe container. Microwave the water until it comes to a boil. Remove the water from the microwave and place the butter inside the warm microwave. Close the microwave door and leave the butter inside for about 10 minutes. The residual heat will gently warm the butter without melting it. Check at 5-minute intervals just to be sure it’s not melting.
- Don’t melt your butter unless the recipe calls for it.
TIP NO. 7 – Know your butter
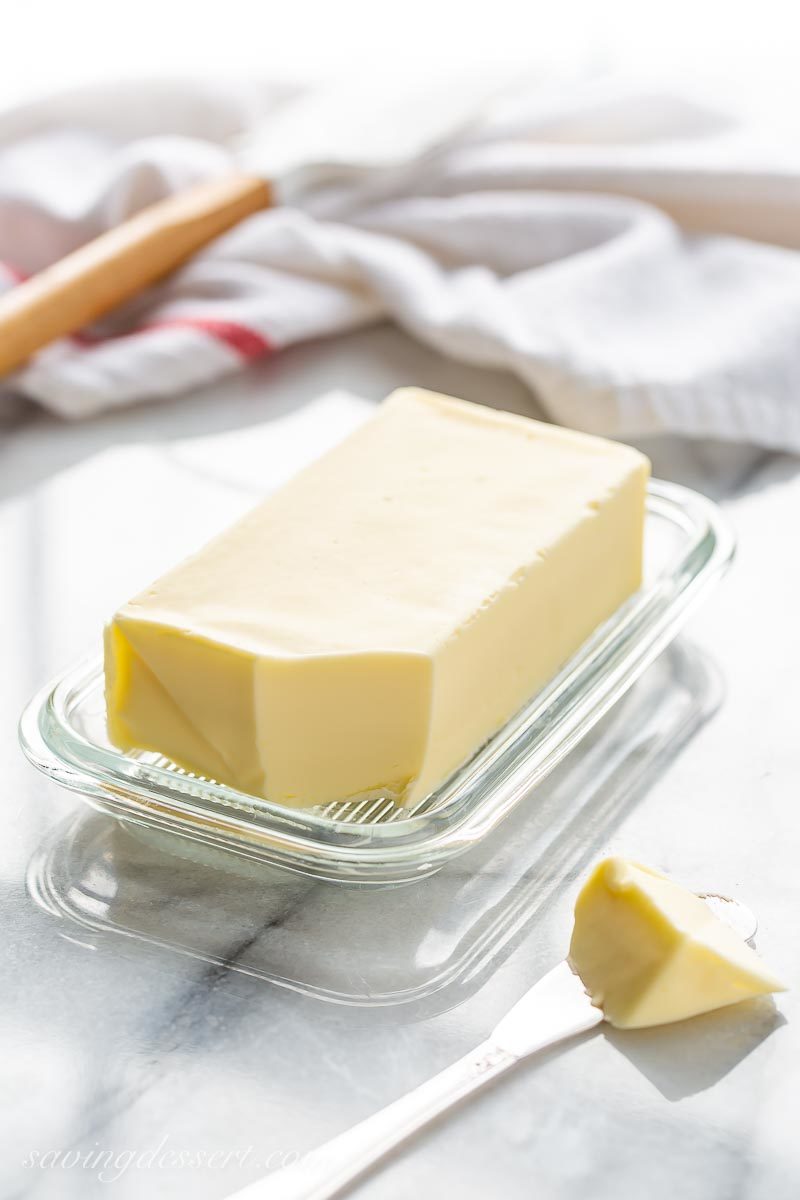
I always use unsalted butter for baking so I can control the amount of salt in my finished baked goods. Unsalted butter just tastes better, in my opinion. Use good quality butter for flakier pastries, chewier cookies and better flavor overall
- If the recipe calls for unsalted butter and you use salted butter instead, omit the salt in the recipe.
Even the most respected butters can produce a less than perfect batch from time to time. I recently had three tested recipes fail and become greasy due to a box of bad butter. Who knew butter quality could vary from box to box. It was distressing to say the least and took some detective work to figure out the problem.
We contacted the company and were given a bunch of free coupons. After decades of using this beloved butter, it made me sad to have this problem. I’ll probably use this brand again one day, but not during the holidays.
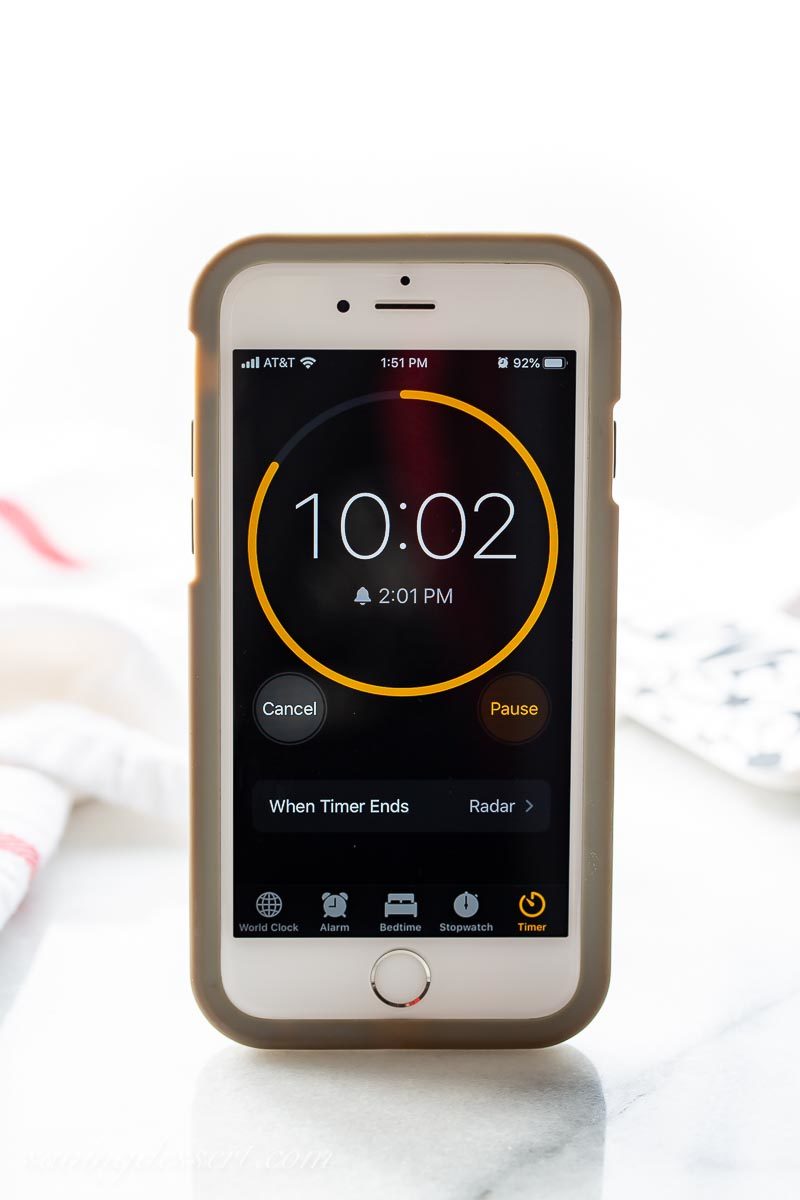
TIP NO. 8 – Use a kitchen timer!
This baking tip is for my daughter, who bakes all the time, but never used to set a timer! Like my daughter, I had to learn the hard way about the importance of setting a timer. Over-baked brownies, burnt cakes, dried up meatloaf – what a waste of time and money. I have too much to do to sit and watch the clock and I’m often easily distracted when baking.
- Buy an inexpensive kitchen timer with a loud bell
- Set the timer a few minutes before the recipe is supposed to come out of the oven, especially if it’s a new recipe you’ve never tried before. If you’re baking cookies and the range stated in the recipe is 11 to 13 minutes, I would check them at 9 or 10 minutes to be sure. One or two minutes can make a big difference in little baked goods.
- If you don’t have a kitchen timer, use the timer function on your microwave (my favorite.)
- Or, set the timer on your cell phone, which is probably the best idea since you always have your phone with you 🙂

TIP NO. 9 – Miscellaneous baking tips
If you can, bake in advance:
- Make several pie crusts and freeze them individually until needed.
- Try some slice and bake cookies to have on hand for the holidays. Make the cookie dough when you have time and store well wrapped in the freezer. When company comes bake straight from the freezer.
- Bake cookies ahead and have them ready to decorate when needed. I do this every year with our fool-proof Cut-Out Sugar Cookie Recipe. The dough is made, the cookies are cut out into holidays shapes, baked and then frozen. When the kids are ready to come over and decorate, I thaw them out overnight and we’re ready to go!
Replace your spices:
- Some spices lose their potency and freshness 6 months to a year after they’re opened. Replace these essentials before the holidays.
- To avoid waste, buy small bottles of spices instead of bulk.
- Use fresh herbs in place of dried, whenever possible.
Take care when using dark colored pans:
- Years ago, many recipes noted a lower oven temperature if using a dark, or glass pan for baking. For instance, bake at 350 degrees F or 325 degrees if using a darker-colored pan. Dark pans can cause baked goods to brown faster. To avoid overbaking, check for doneness a few minutes before the recipe says to.
For pre-baked pie crusts, place a foil-lined baking sheet in the oven to preheat.
- By placing the pie crust directly on a hot metal pan it helps brown and crisp the bottom under the filling. No soggy bottom!
And finally, one of my most important baking tips:
- NEVER, EVER, EVER try a brand new recipe you’ve never made before, on the day you need it. Don’t do it! So much can go wrong.
Let’s make this a community post and help our newby bakers.
We have a lot of great bakers and cooks that follow SRFD, making this one of the best blogs around! I know you all have baking tips you can share for our rookies and brave first time bakers. Please feel free to share your sage advice and stories in the comment section. Let’s make this post a resource for anybody looking for ways to better their skills and learn tricks from the best.
Thanks for PINNING!
Let’s be baking friends! When you try our recipe please leave a comment on this post. If you loved this recipe we’d appreciate a 5-star rating! Sharing your experience, variations and insights will help all our readers, and it helps me too. If you’re on Pinterest feel free to leave a comment and photo there if you have one. If you share on INSTAGRAM tag @savingroomfordessert so we can stop by and give your post some love. And we’d be very happy if you’d FOLLOW Saving Room for Dessert on FACEBOOK| INSTAGRAM| PINTEREST | TWITTER and subscribe to our YOUTUBE channel for all the latest recipes, videos and updates. Thank you!!!SRF
Thanks so much for stopping by! Tricia
Saving Room for Dessert is a participant in the Amazon Services LLC Associates Program ~ I earn a small commission, at no additional cost to you, which I use to pay for web hosting and services for this blog.
Thanks to savoryonline.com, Cook’s Illustrated, Cook’s Country and Whole Foods Market for some of the inspiration behind this post.

Billy
There’s always something new to learn. Thanks for the tips.
Tricia Buice
Thanks Billy! Truer words were never written 😁 I think I learn something new with every recipe that is developed.
Kj Hess
I have made a couple of your recipes so far. They are very good and your tips help out a lot. I love your site and will continue to use it for the tips and recipes … Now to bake your oatmeal raisin cookies!! I am making one adjustment using cherries instead of raisins for a change of pace.. Thank you and look forward to baking more delicious desserts
Tricia Buice
I bet the cherries will be great KJ. Let us know how they turn out for you. Thanks for your kind words 🙂
Joyce Heady
I loved all your good hints
Tricia Buice
Thank you Joyce! I hope they help. Thanks for commenting.
Maryann
I use Tupperware containers for my baking soda, bkg powder, and flour. I cut out the expiration date and tape it to the container. It helps me keep track of expired ingredients. Now I can also try the method you listed to check if bkg soda or powder are still active. Thanks.
Tricia Buice
Thank you for the great tips Maryann. I may have to try using tupperware. Thanks and happy baking!
jim carter
your recipes are always right on the mark. my mother and i run a bakery and try your ideas for a new twist. oatmeal jammies. HOME RUN
Tricia Buice
Thank you Jim!
Arlene Rodstrom
Thank you for the Great recipes and baking ideas. I enjoy looking at all of them.
ajlagel@gmail.com
Hi Tricia! Just started trying some of you’re recipes and love them!
Regarding your baking tips which were super helpful to have handy, what was the brand of the beloved brand of butter that has not met your expectations? Maybe you can send me a note privately if you are reluctant to share.
Thanks! Sue
Tricia Buice
Hi Sue! Land-O-Lakes is the brand I was referring to. I went back to using LOL butter and haven’t had any further issues. Hopefully it was just a bad batch and won’t happen again.
Ashley
Great tips and definitely very useful!
Tricia Buice
Thanks Ashley! Happy holiday baking to you 😉
Mia
Thanks for the tips! I always question whether my baking power and baking soda are still good to use. I will make sure to try out the tests!
Also, I think my kitchen scale and oven thermometer are the best purchases I’ve made for baking and just cooking in general.
Tricia Buice
Thanks for commenting Mia! I completely agree. Hope you have a wonderful baking season 🙂
Jennifer @ Seasons and Suppers
Such great tips! There’s always something to learn about baking, so this is a great resource for those who want to up their baking skills.
Tricia Buice
Thanks Jennifer. I learn something new everyday 🙂
Darlene Doucot
Love your terrific baking tips ! And your recipes! Best tip I want to share, I now always check banana breads and other baked goods with digital read thermometer, a simple check in middle always confirms done at 200-205 degrees! No more surprises of uncooked doughy middles!
Tricia Buice
Great tip Darlene! Thank you so much for sharing 😉
Larry
Great tips from an excellent baker
Tricia Buice
Thank you Larry! Always good reminders for sure 🙂